Put together the Krazy Kar v2
Got our Krazy Kar Kit and ready to get started? Follow along to put it together here.
Don’t like instructions? Use your creativity and make a krazy octopus instead.
Goals
- Make the Krazy Kar.
- Don’t break anything.
- (Or if you break anything, learn how to fix it)
!
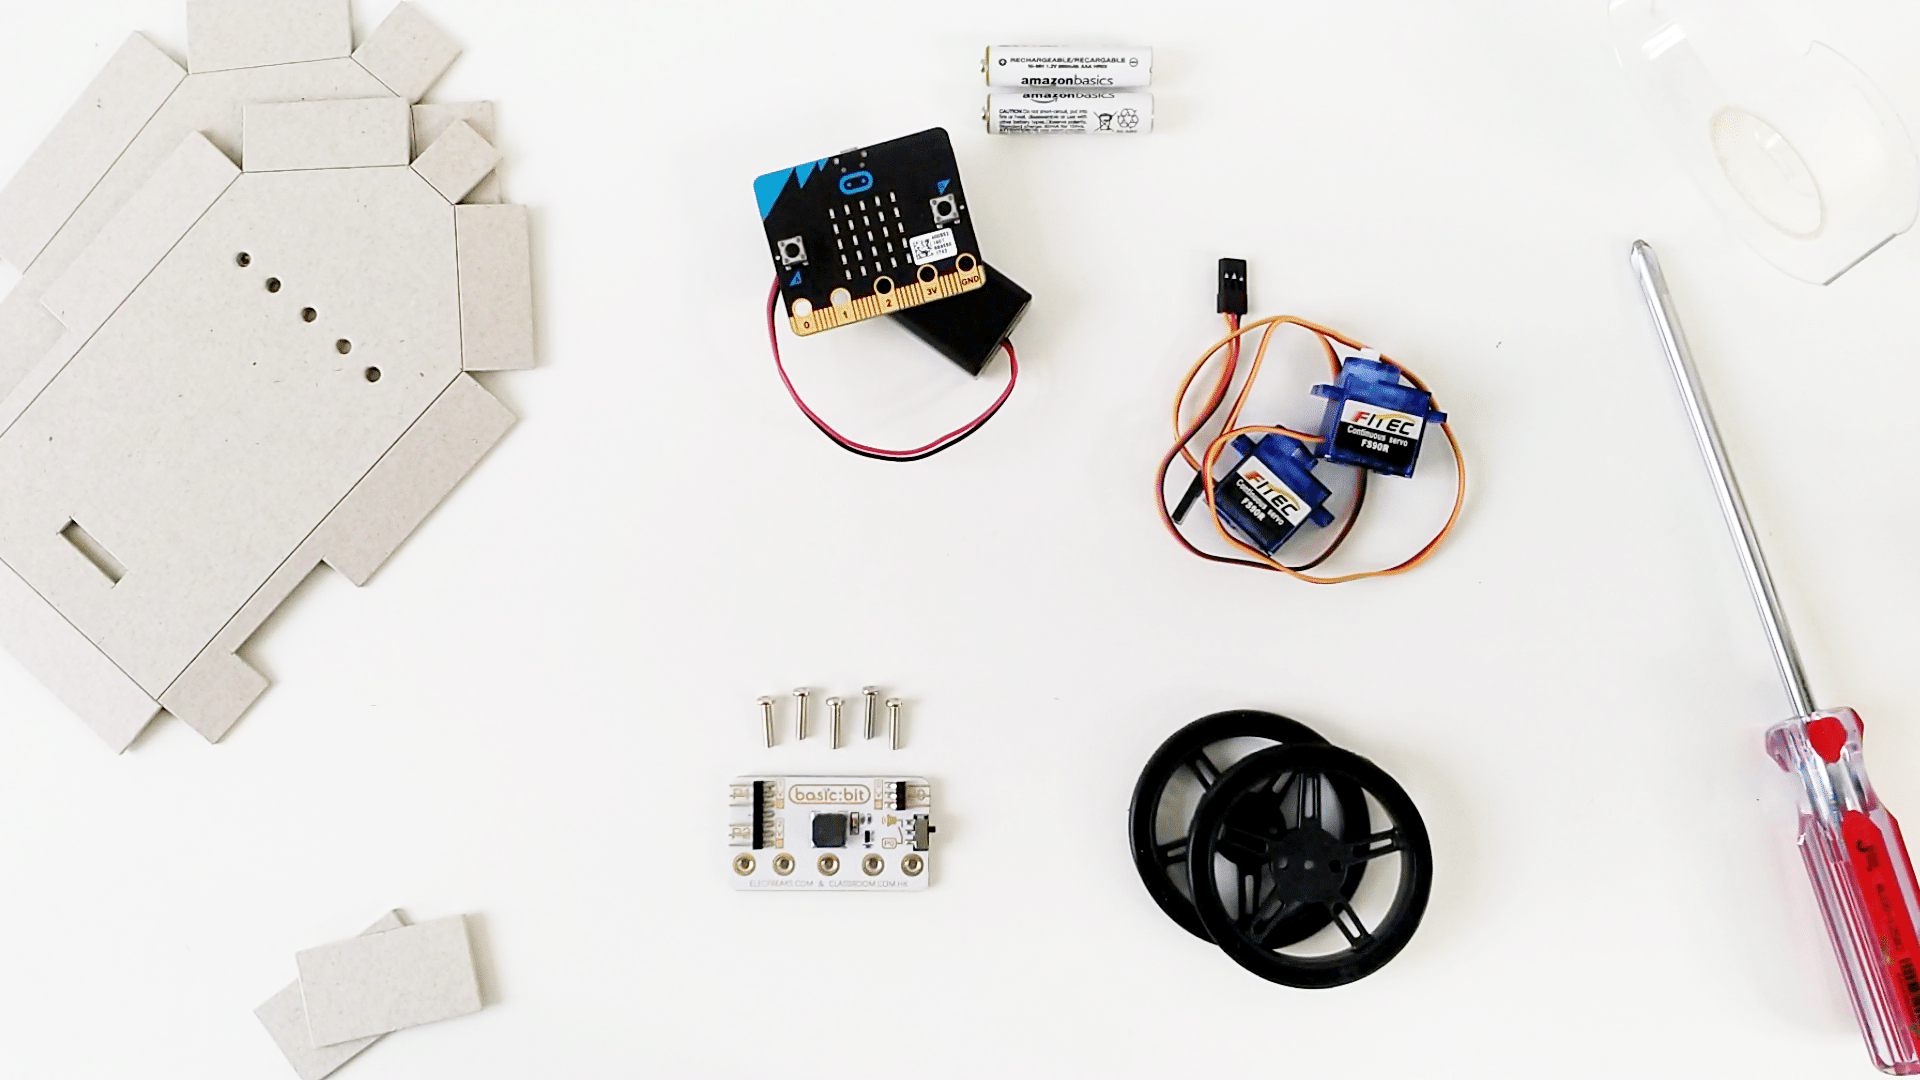
Materials
|
|
Step 1 – Shell it!
- Fold up the cardboard shell where the line cuts are.
- Tape it such that the sides stand 90 degrees to the base.
- You should be able to slot the top shell (one with 5 holes) into the bottom shell now.

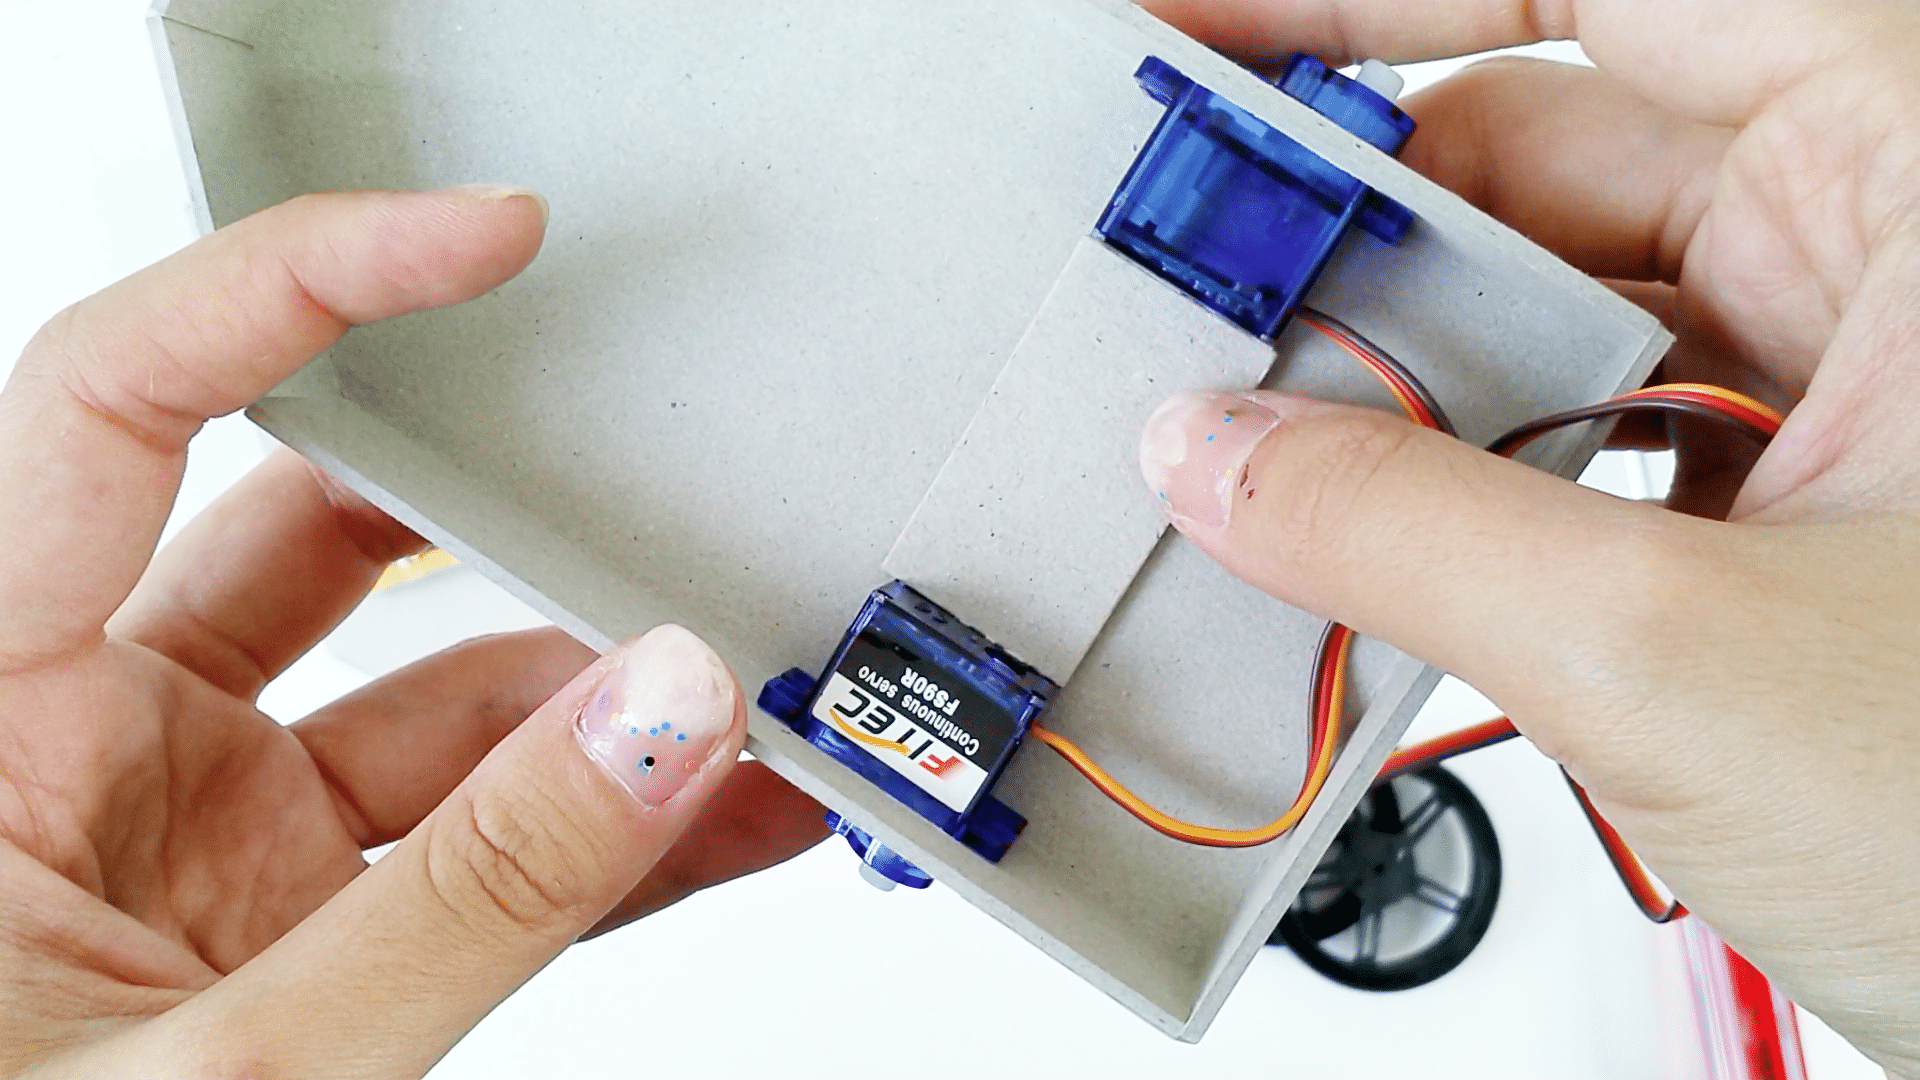
Step 2 – Put in the Innards.
- Insert the two servo motors into the holes at the sides.
- Behind the stabilizing rectangle is some double-sided tape. Peel off the paper and push the rectangle in between the servos to secure them in. Stick it down well onto the base!
- Fill the battery pack with batteries and place it in the front of the krazy kar.
Step 3 – On to the Outside!
- Screw the wheels onto the continuous servo motors.
- Thread the servos and battery pack’s wire through the rectangular hole in the top shell. And fit the top shell onto the bottom.

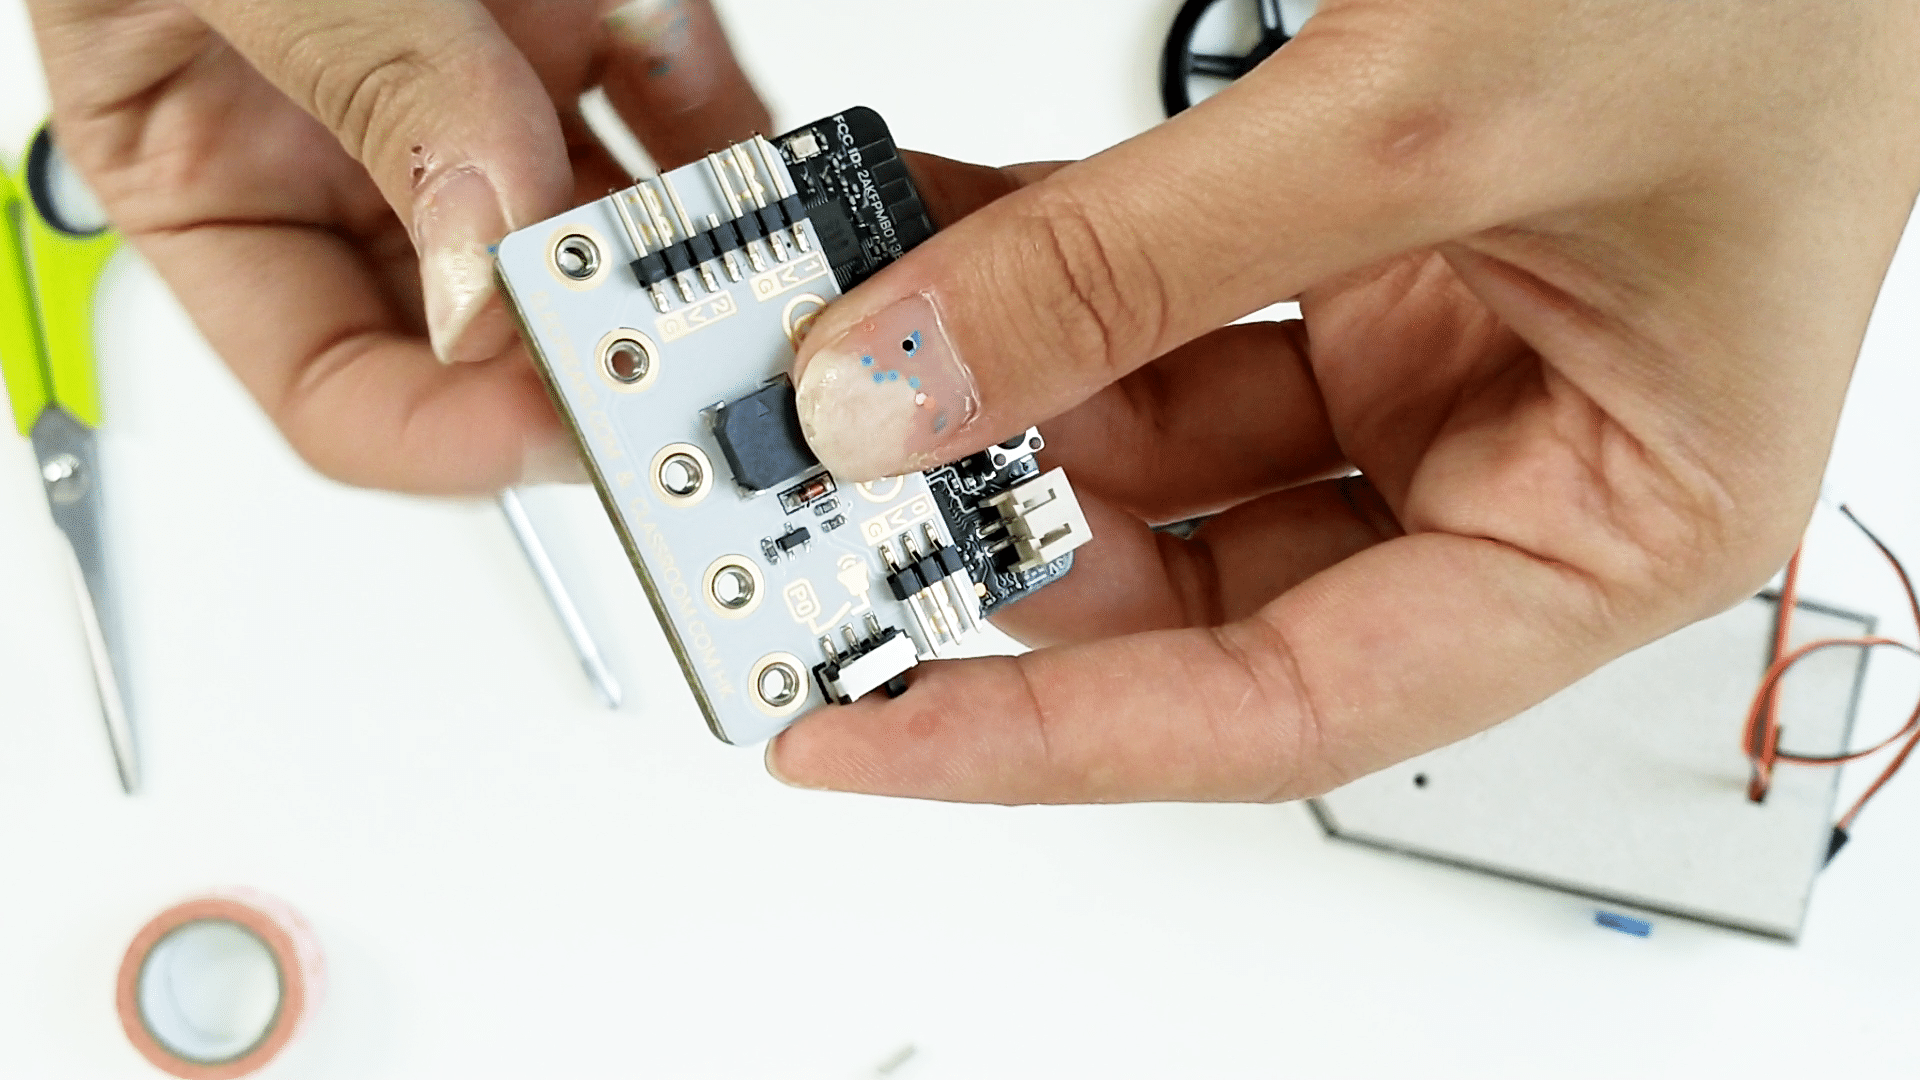
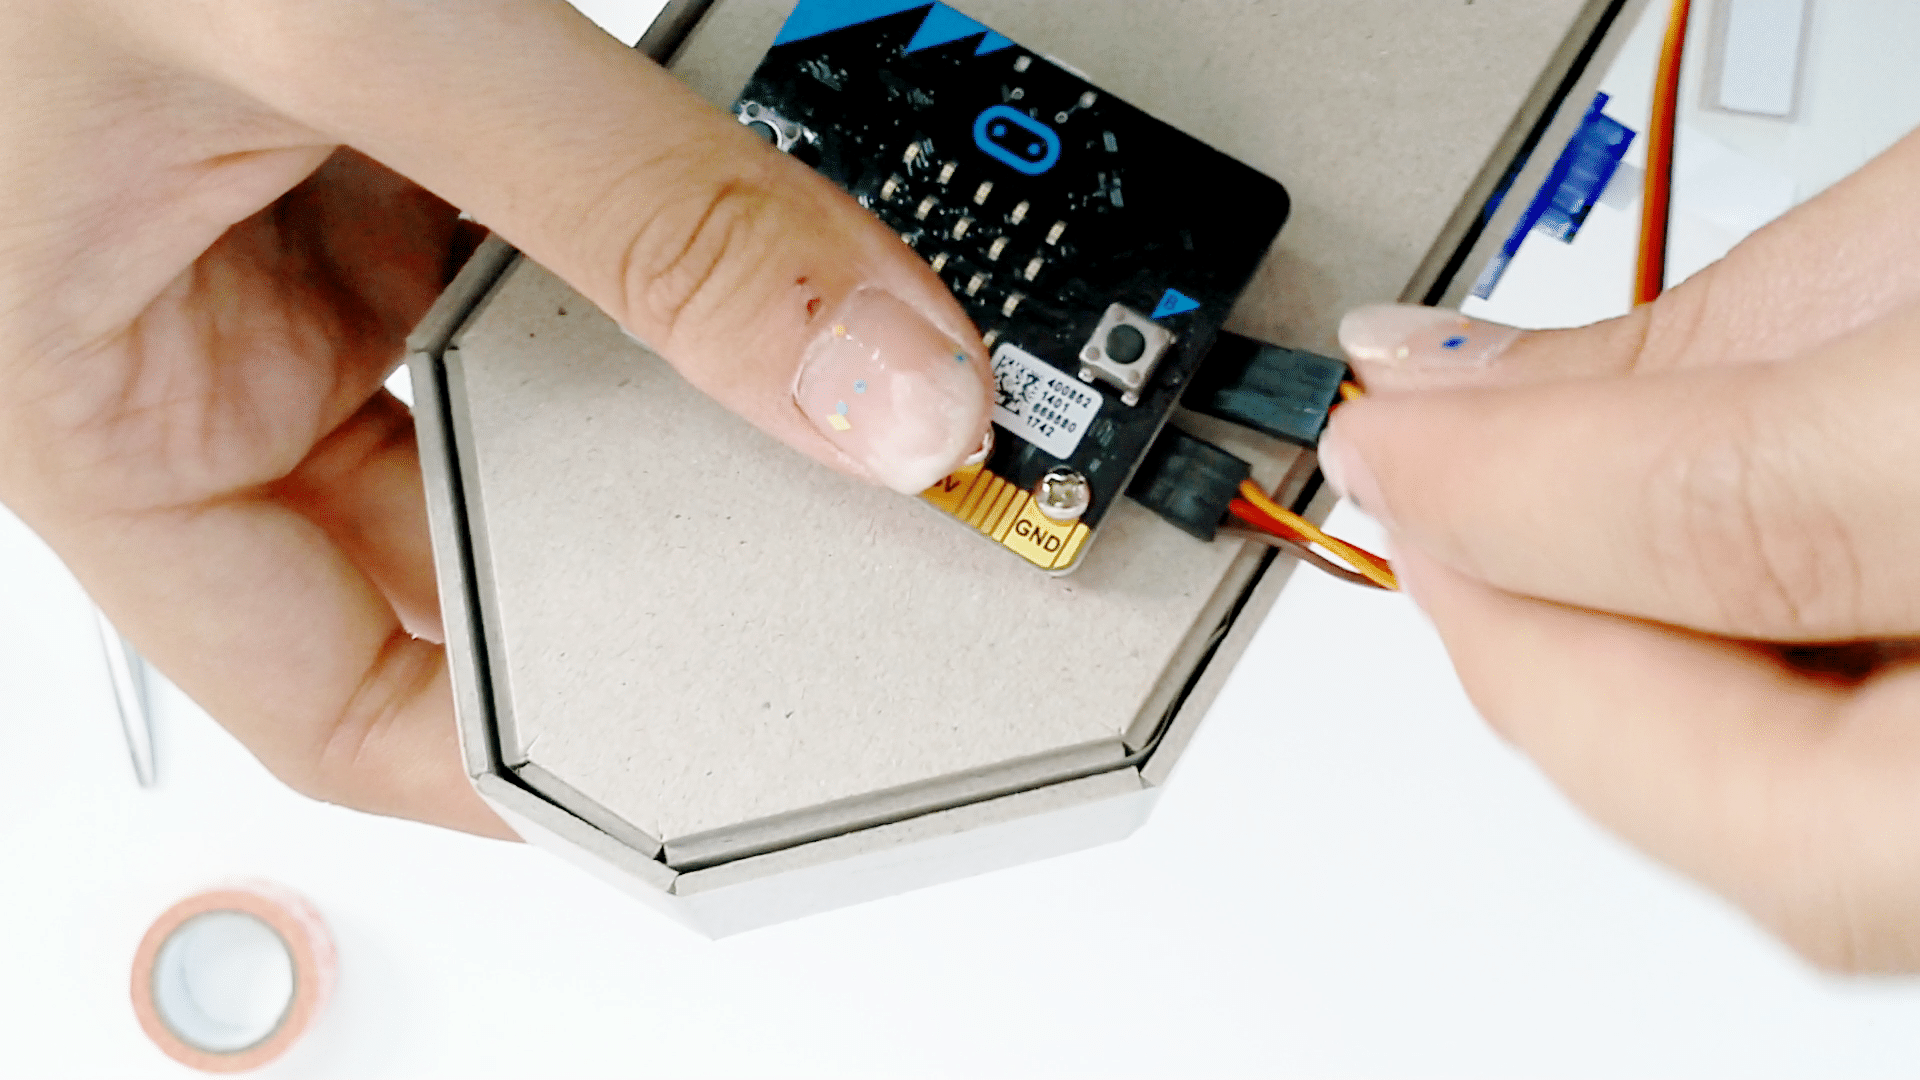
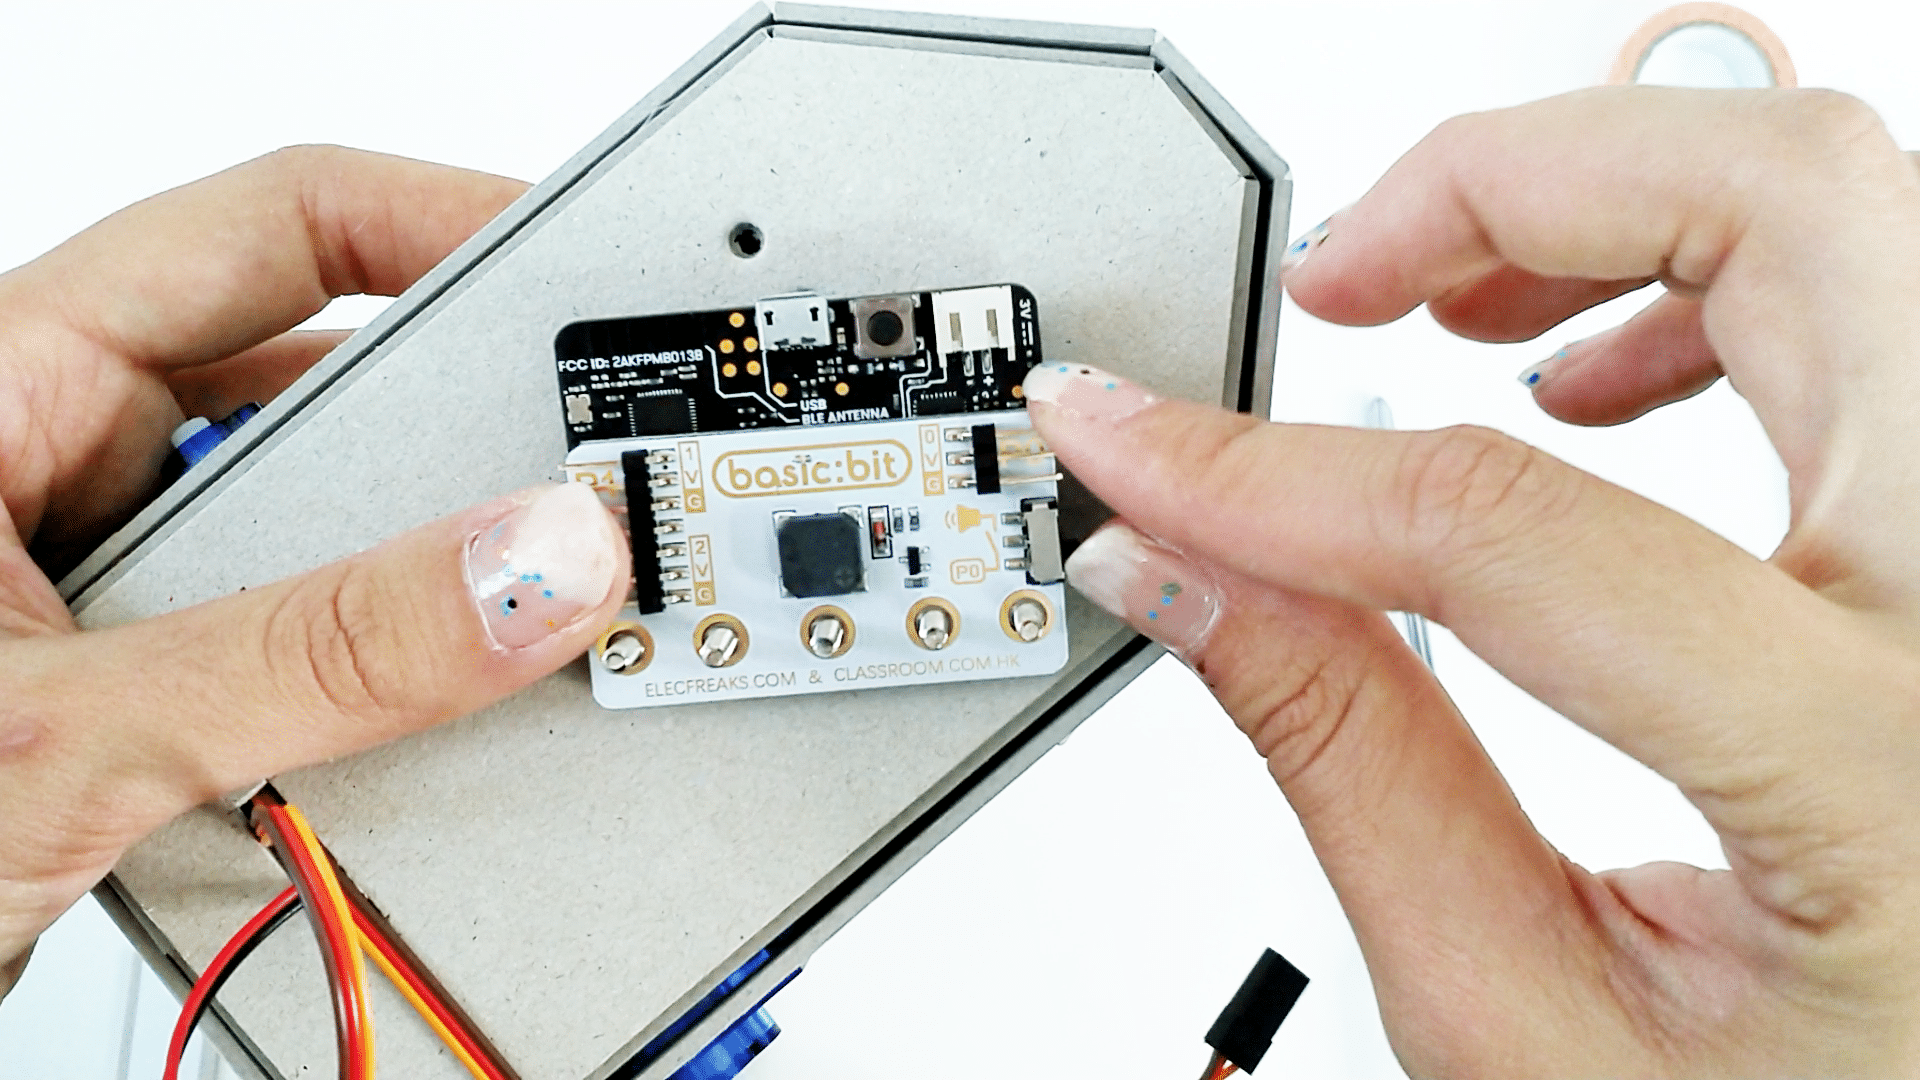
Step 4 – Upgrade the micro:bit
-
- Screw the micro:bit onto the basic:bit using the longer screws provided. Note that the holes should align, P0 to P0 and G to G.
-
- Affix the two servos into P1 and P2 of the basic:bit, making sure that the brown wires goes to G and the yellow wires go to S.
-
- Switch the P0/Buzzer switch on the basic:bit to buzzer. If it was already there – lucky you.
- Switch the P0/Buzzer switch on the basic:bit to buzzer. If it was already there – lucky you.
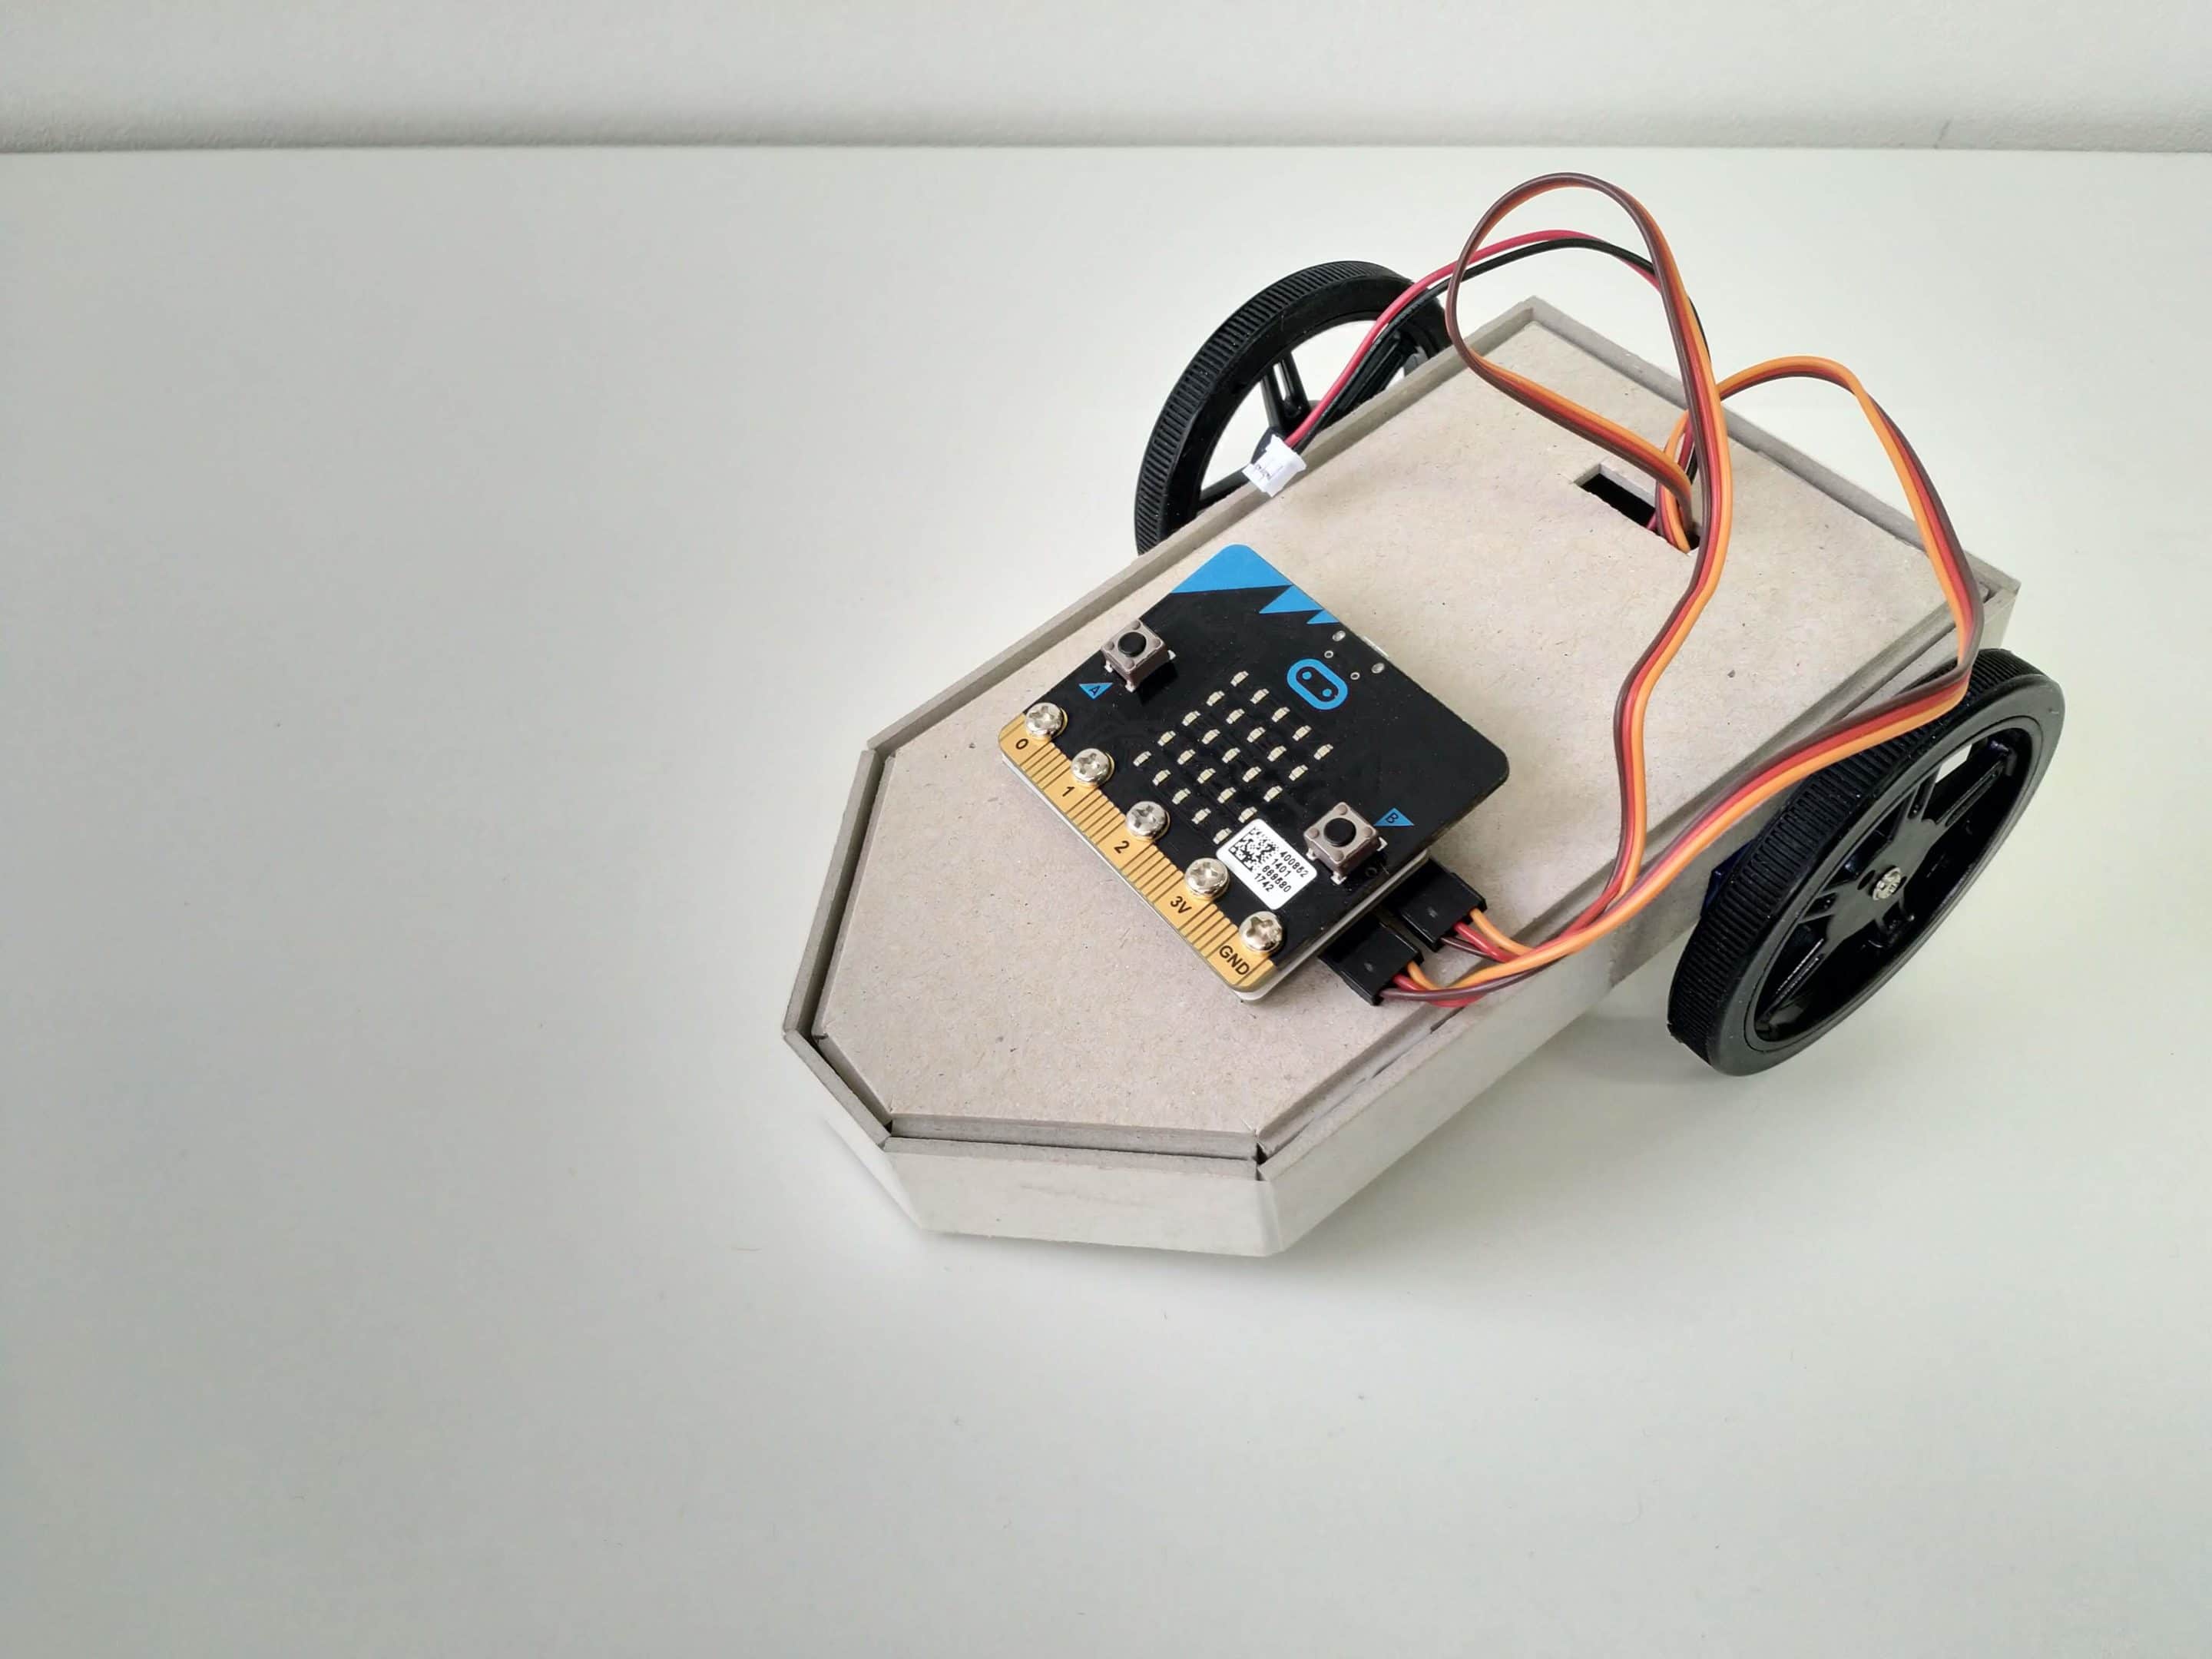
Step 3 – On to the Outside!
- Using the 5 screws, fit the micro+basic:bit cyborg into the 5 holes on the top of the krazy kar.
- Decorate decadently. And code it to get moving!
Cool stuff!
If you’ve used a continuous servo with your micro:bit before – try coding this kar yourself!
Otherwise, get some help from our tutorial here!