micro:bit Tutorials
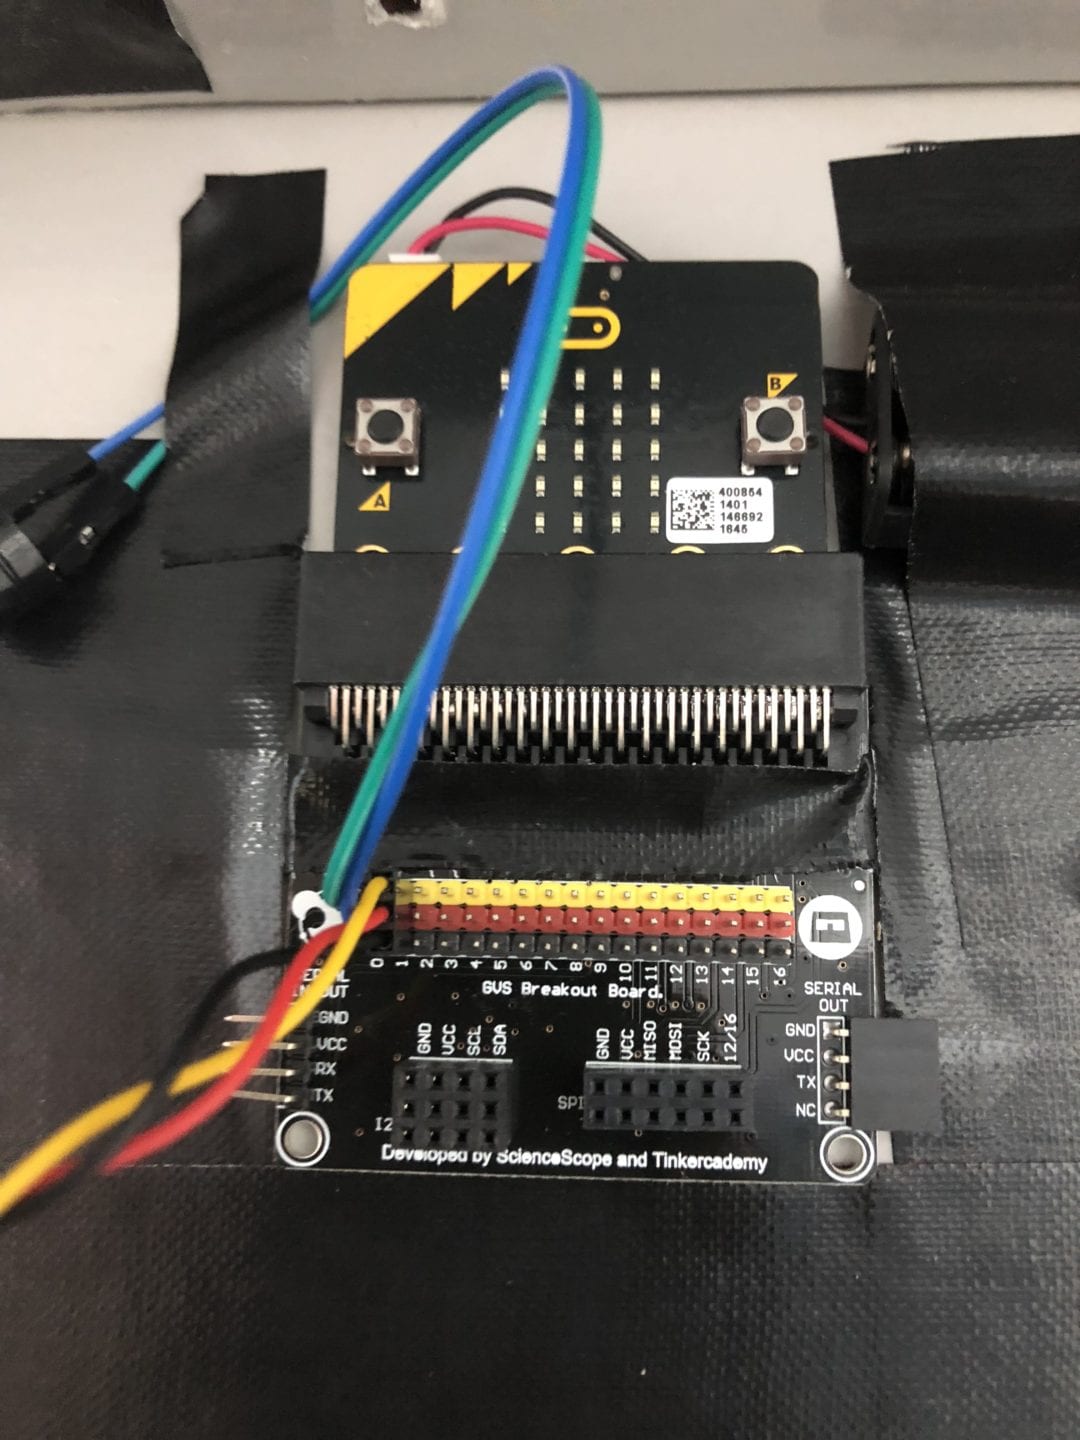
Get started with our BBC Micro:bit Kit and the Breakout Board here!
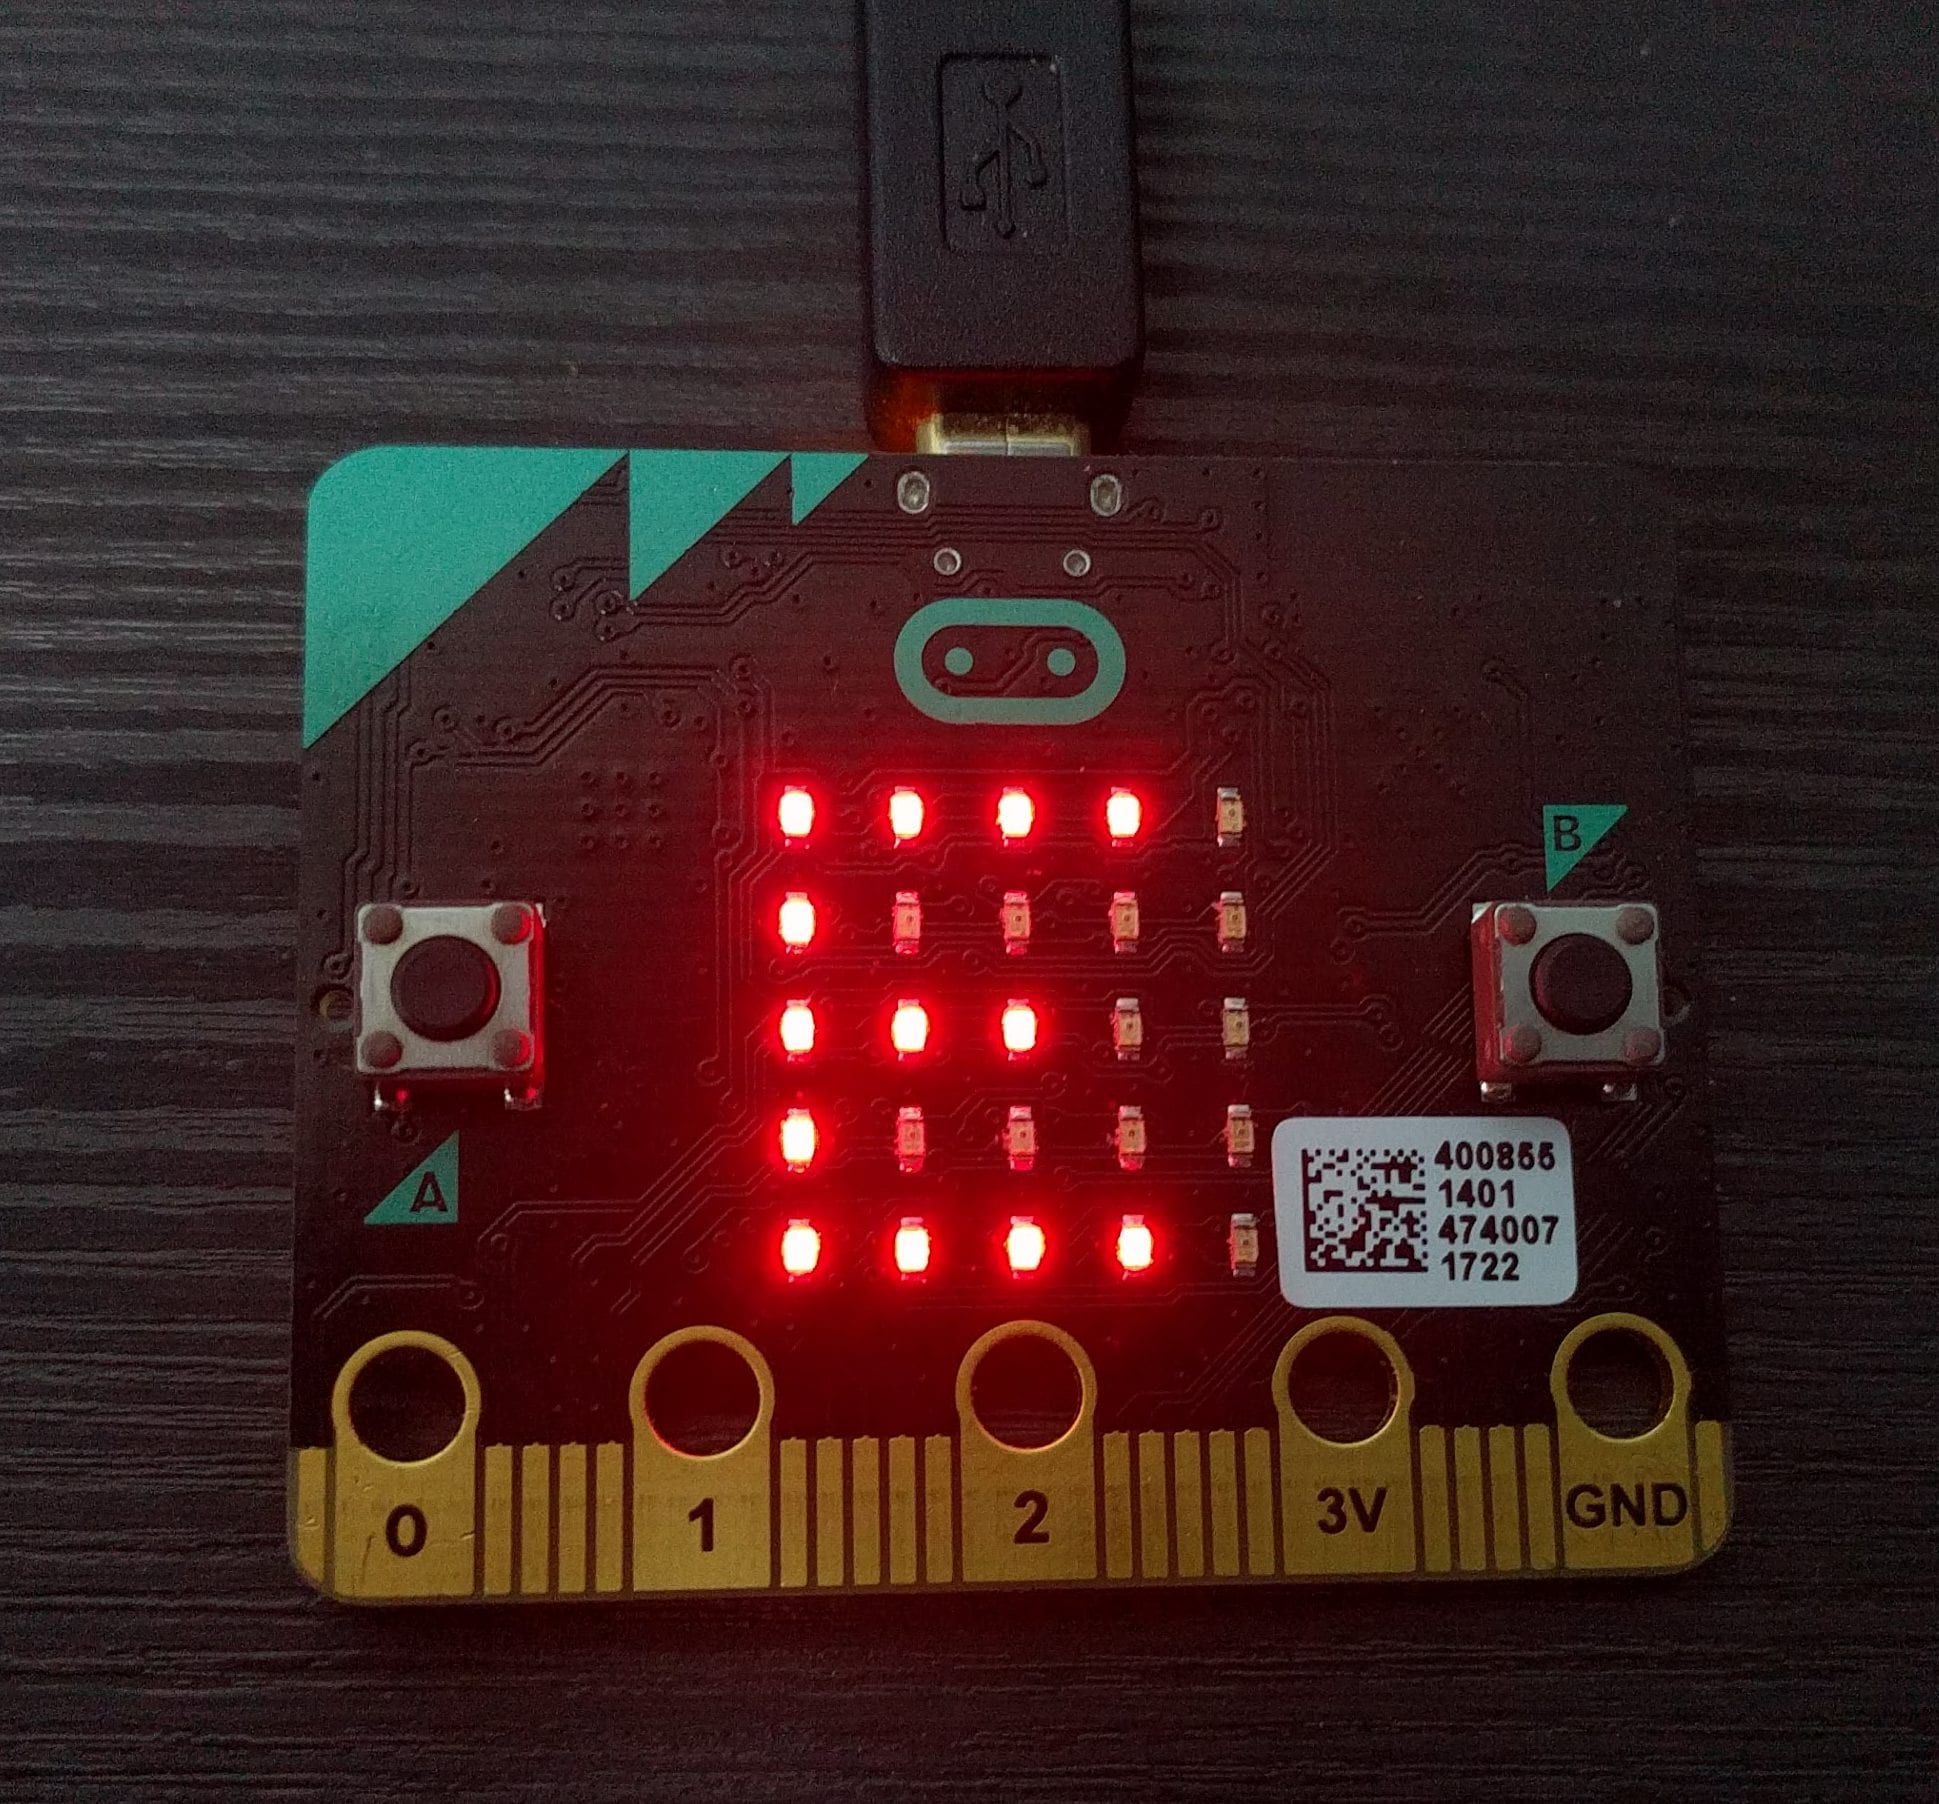
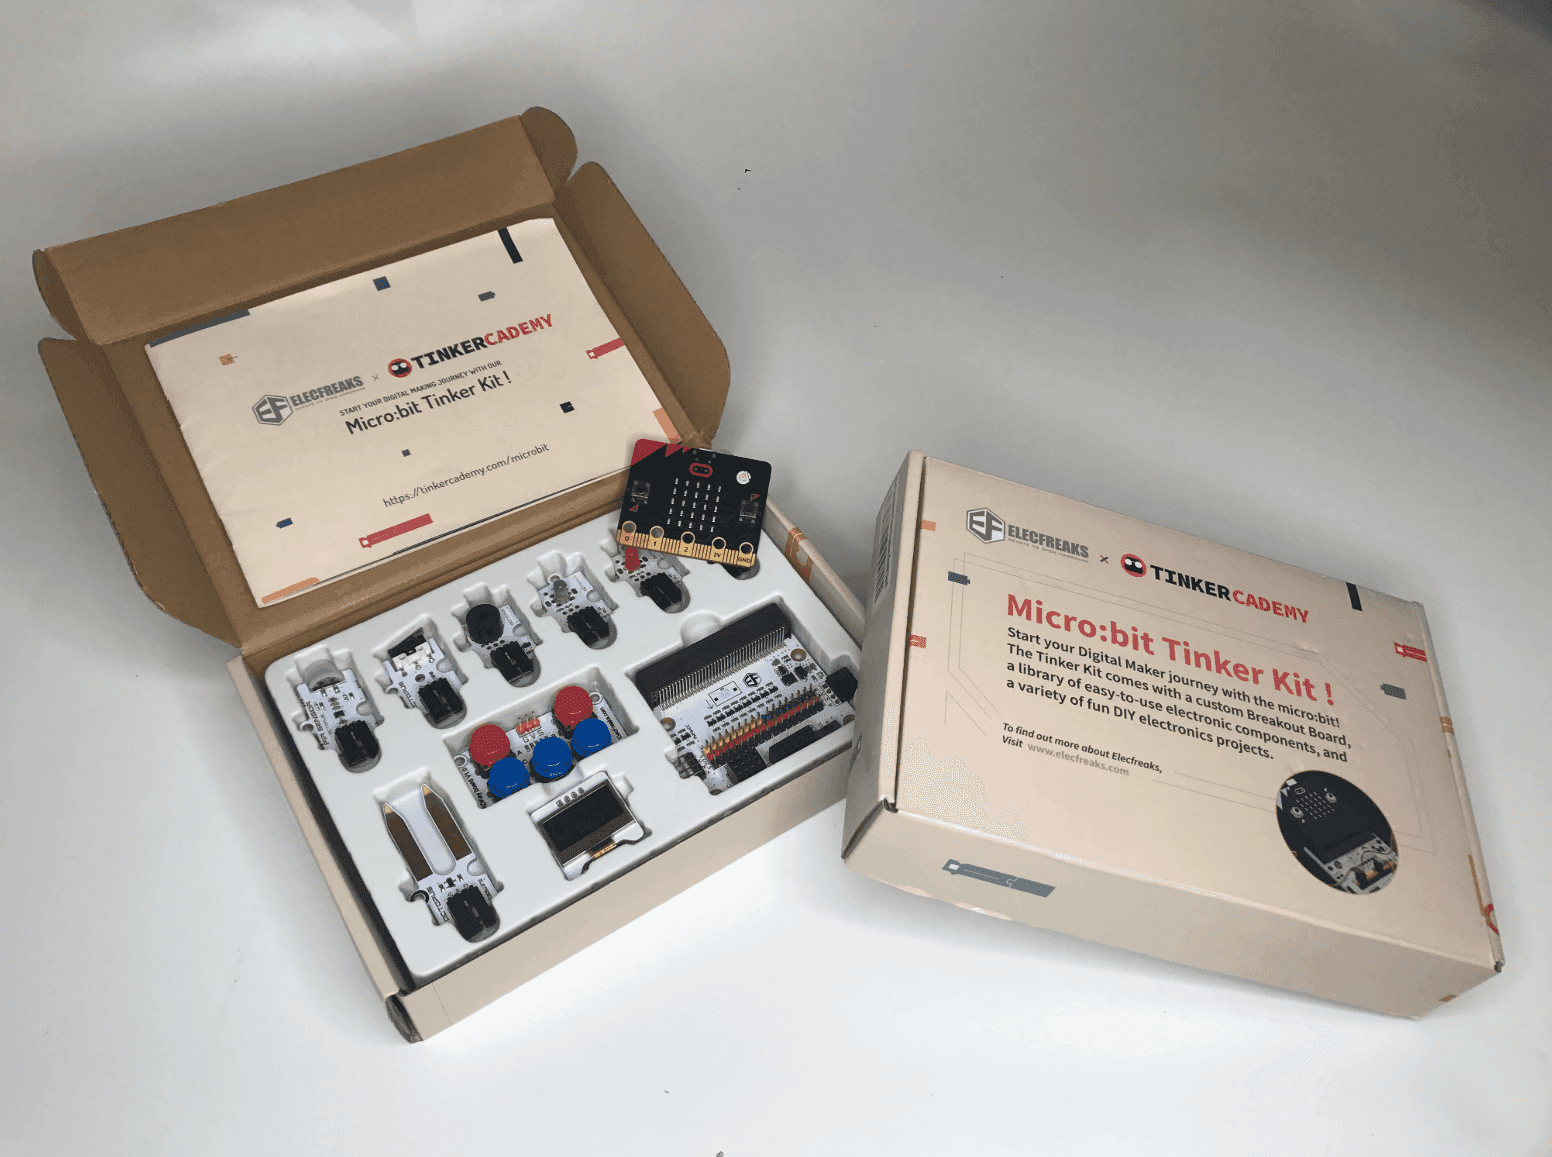
Getting started with the micro:bit Tinker Kit
Tinkercademy is proud to present our very own Micro:bit Tinker Kit. Made in Singapore! The kit is designed to get you tinkering with the BBC micro:bit straight out of the box, and each one comes with a set of components ready for every tutorial on this page.
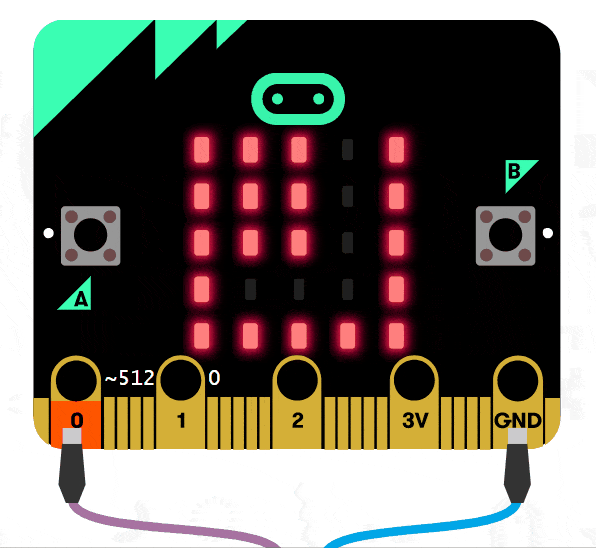
Follow the graphical guide to get started on using the Breakout Board, and try out the tutorials below.
We're proud to be a launch partner of the Infocomm Media Development Authority for the launch of the Digital Maker Programme in Singapore.
Have a new micro:bit? Here's where you can get started:
- microbit.org — the home of the micro:bit, with guides and downloads.
- microbit.org/code — jump straight into the official editors.
- Code with Microsoft MakeCode — drag-and-drop blocks that translate to JavaScript.
- Prefer JavaScript right away? check here for resources.
- Browse community projects on Instructables.
- Read more about the Digital Maker Programme here.
Ready to tinker with your new micro:bit? Look through our micro:bit tutorials!
Access Denied! A Door Entry Tutorial
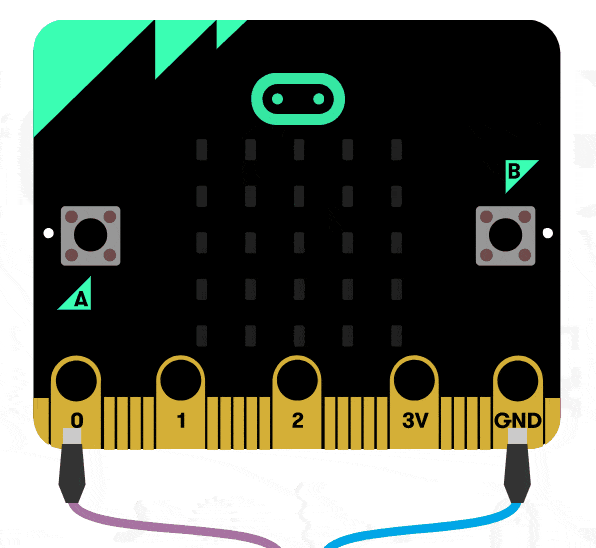
Step 1 – Setting Up!

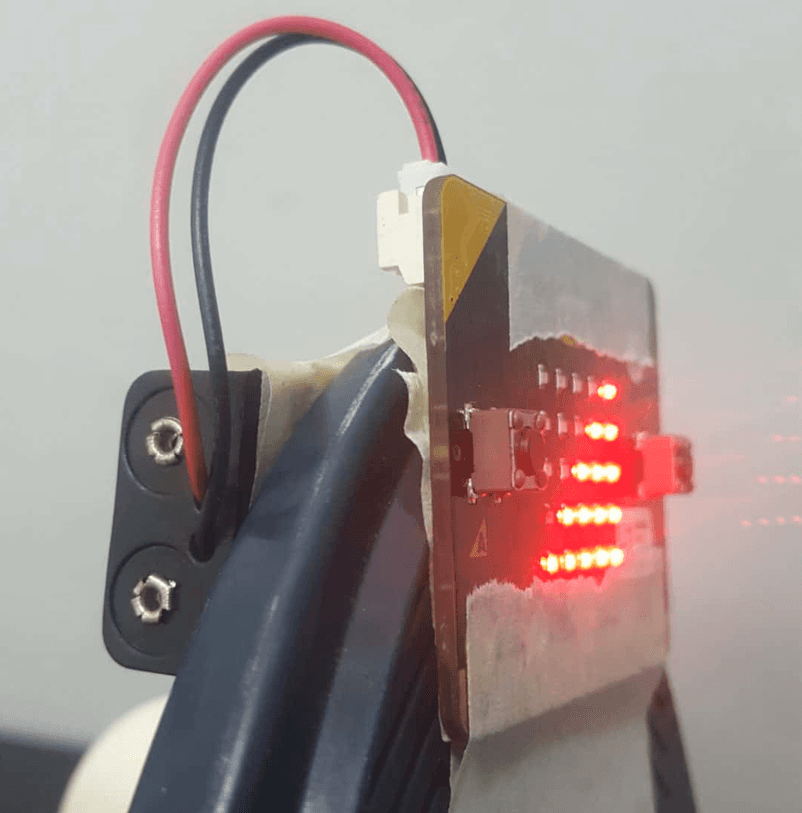
Ang Bao Collector
Build an Ang Bao collector that keeps count of the number of Ang Baos you have!
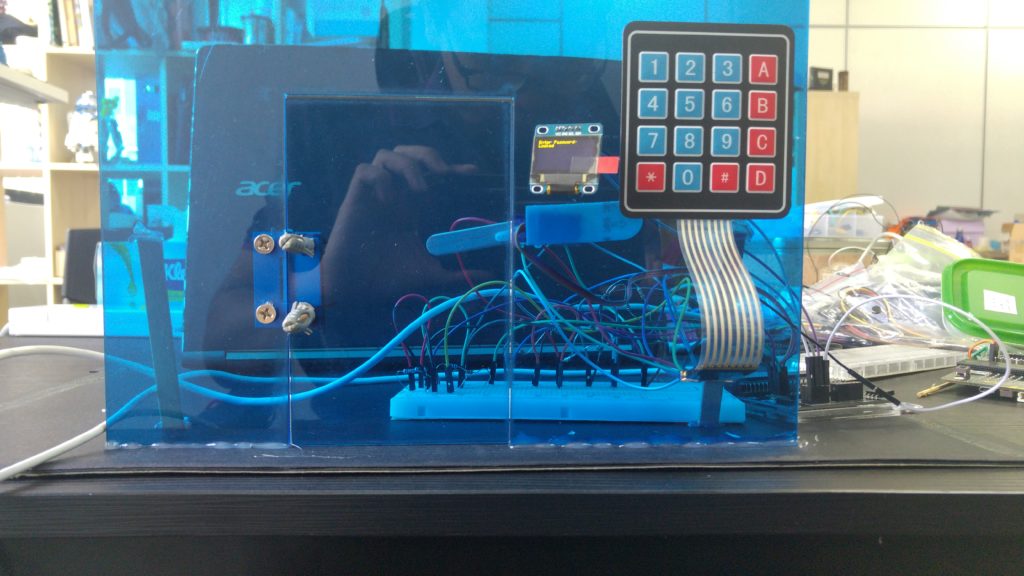
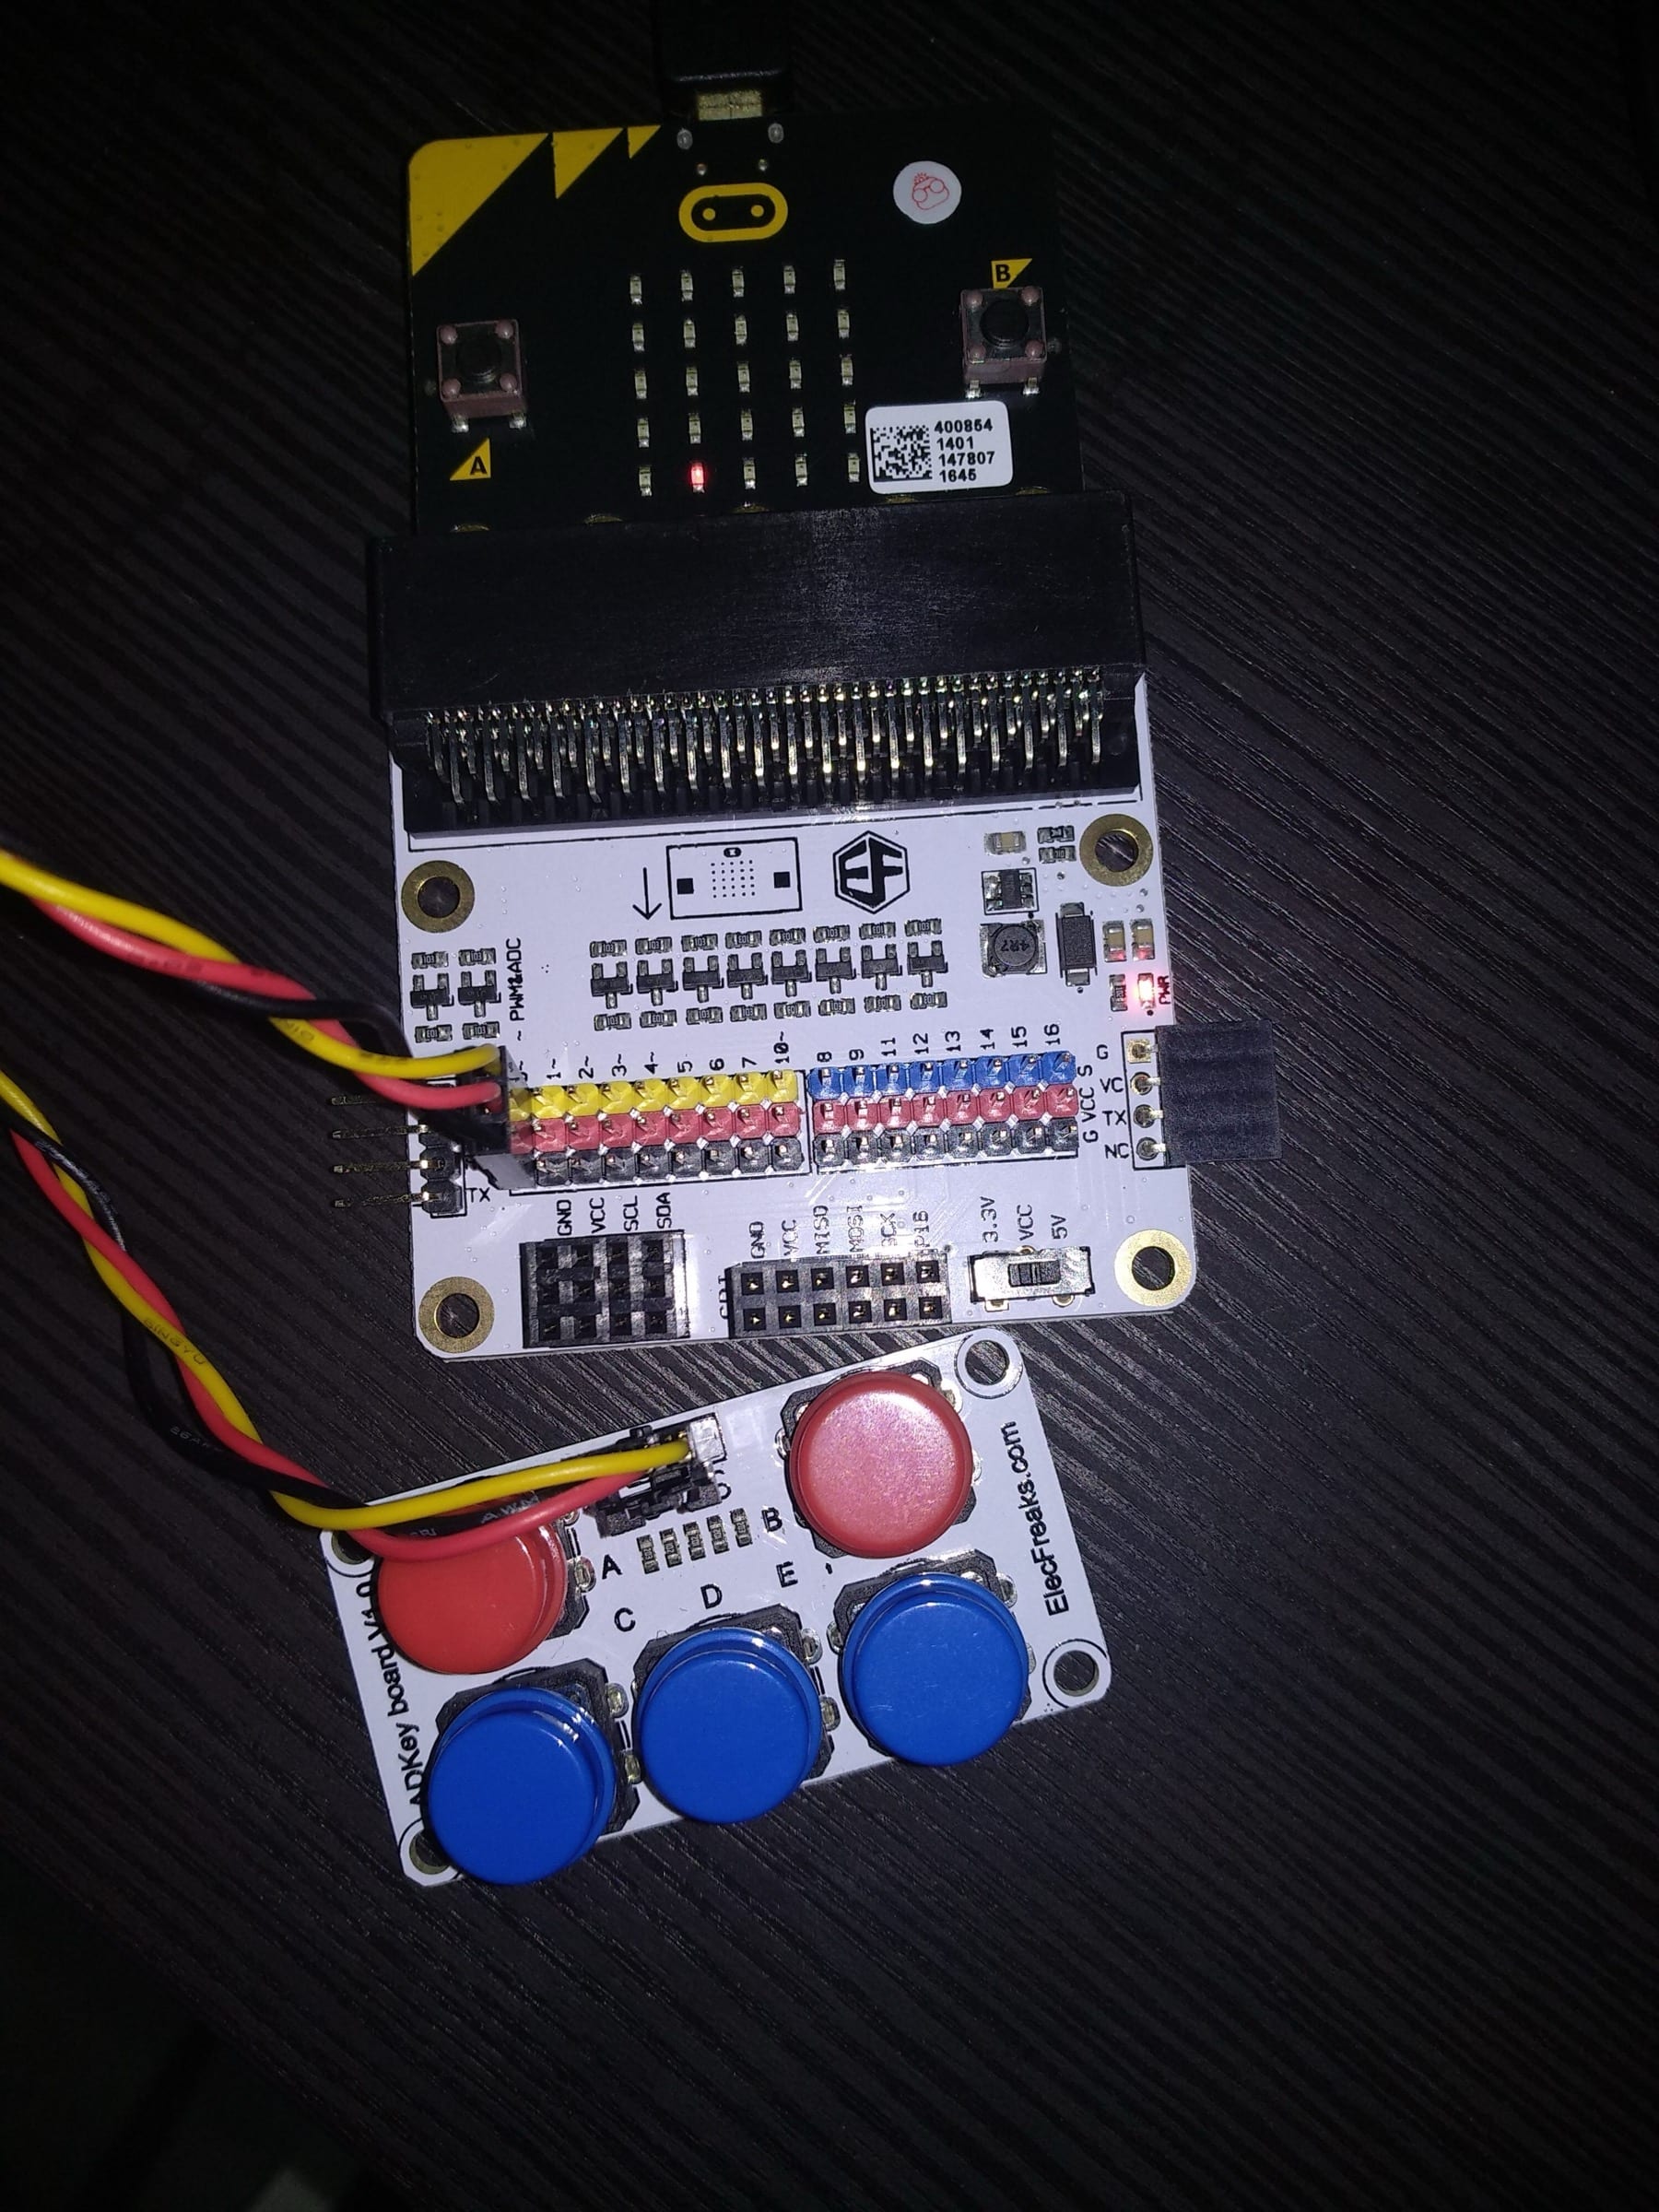
Build your own Micro:bit Security Door!
Step 1 – Interfacing the Keypad
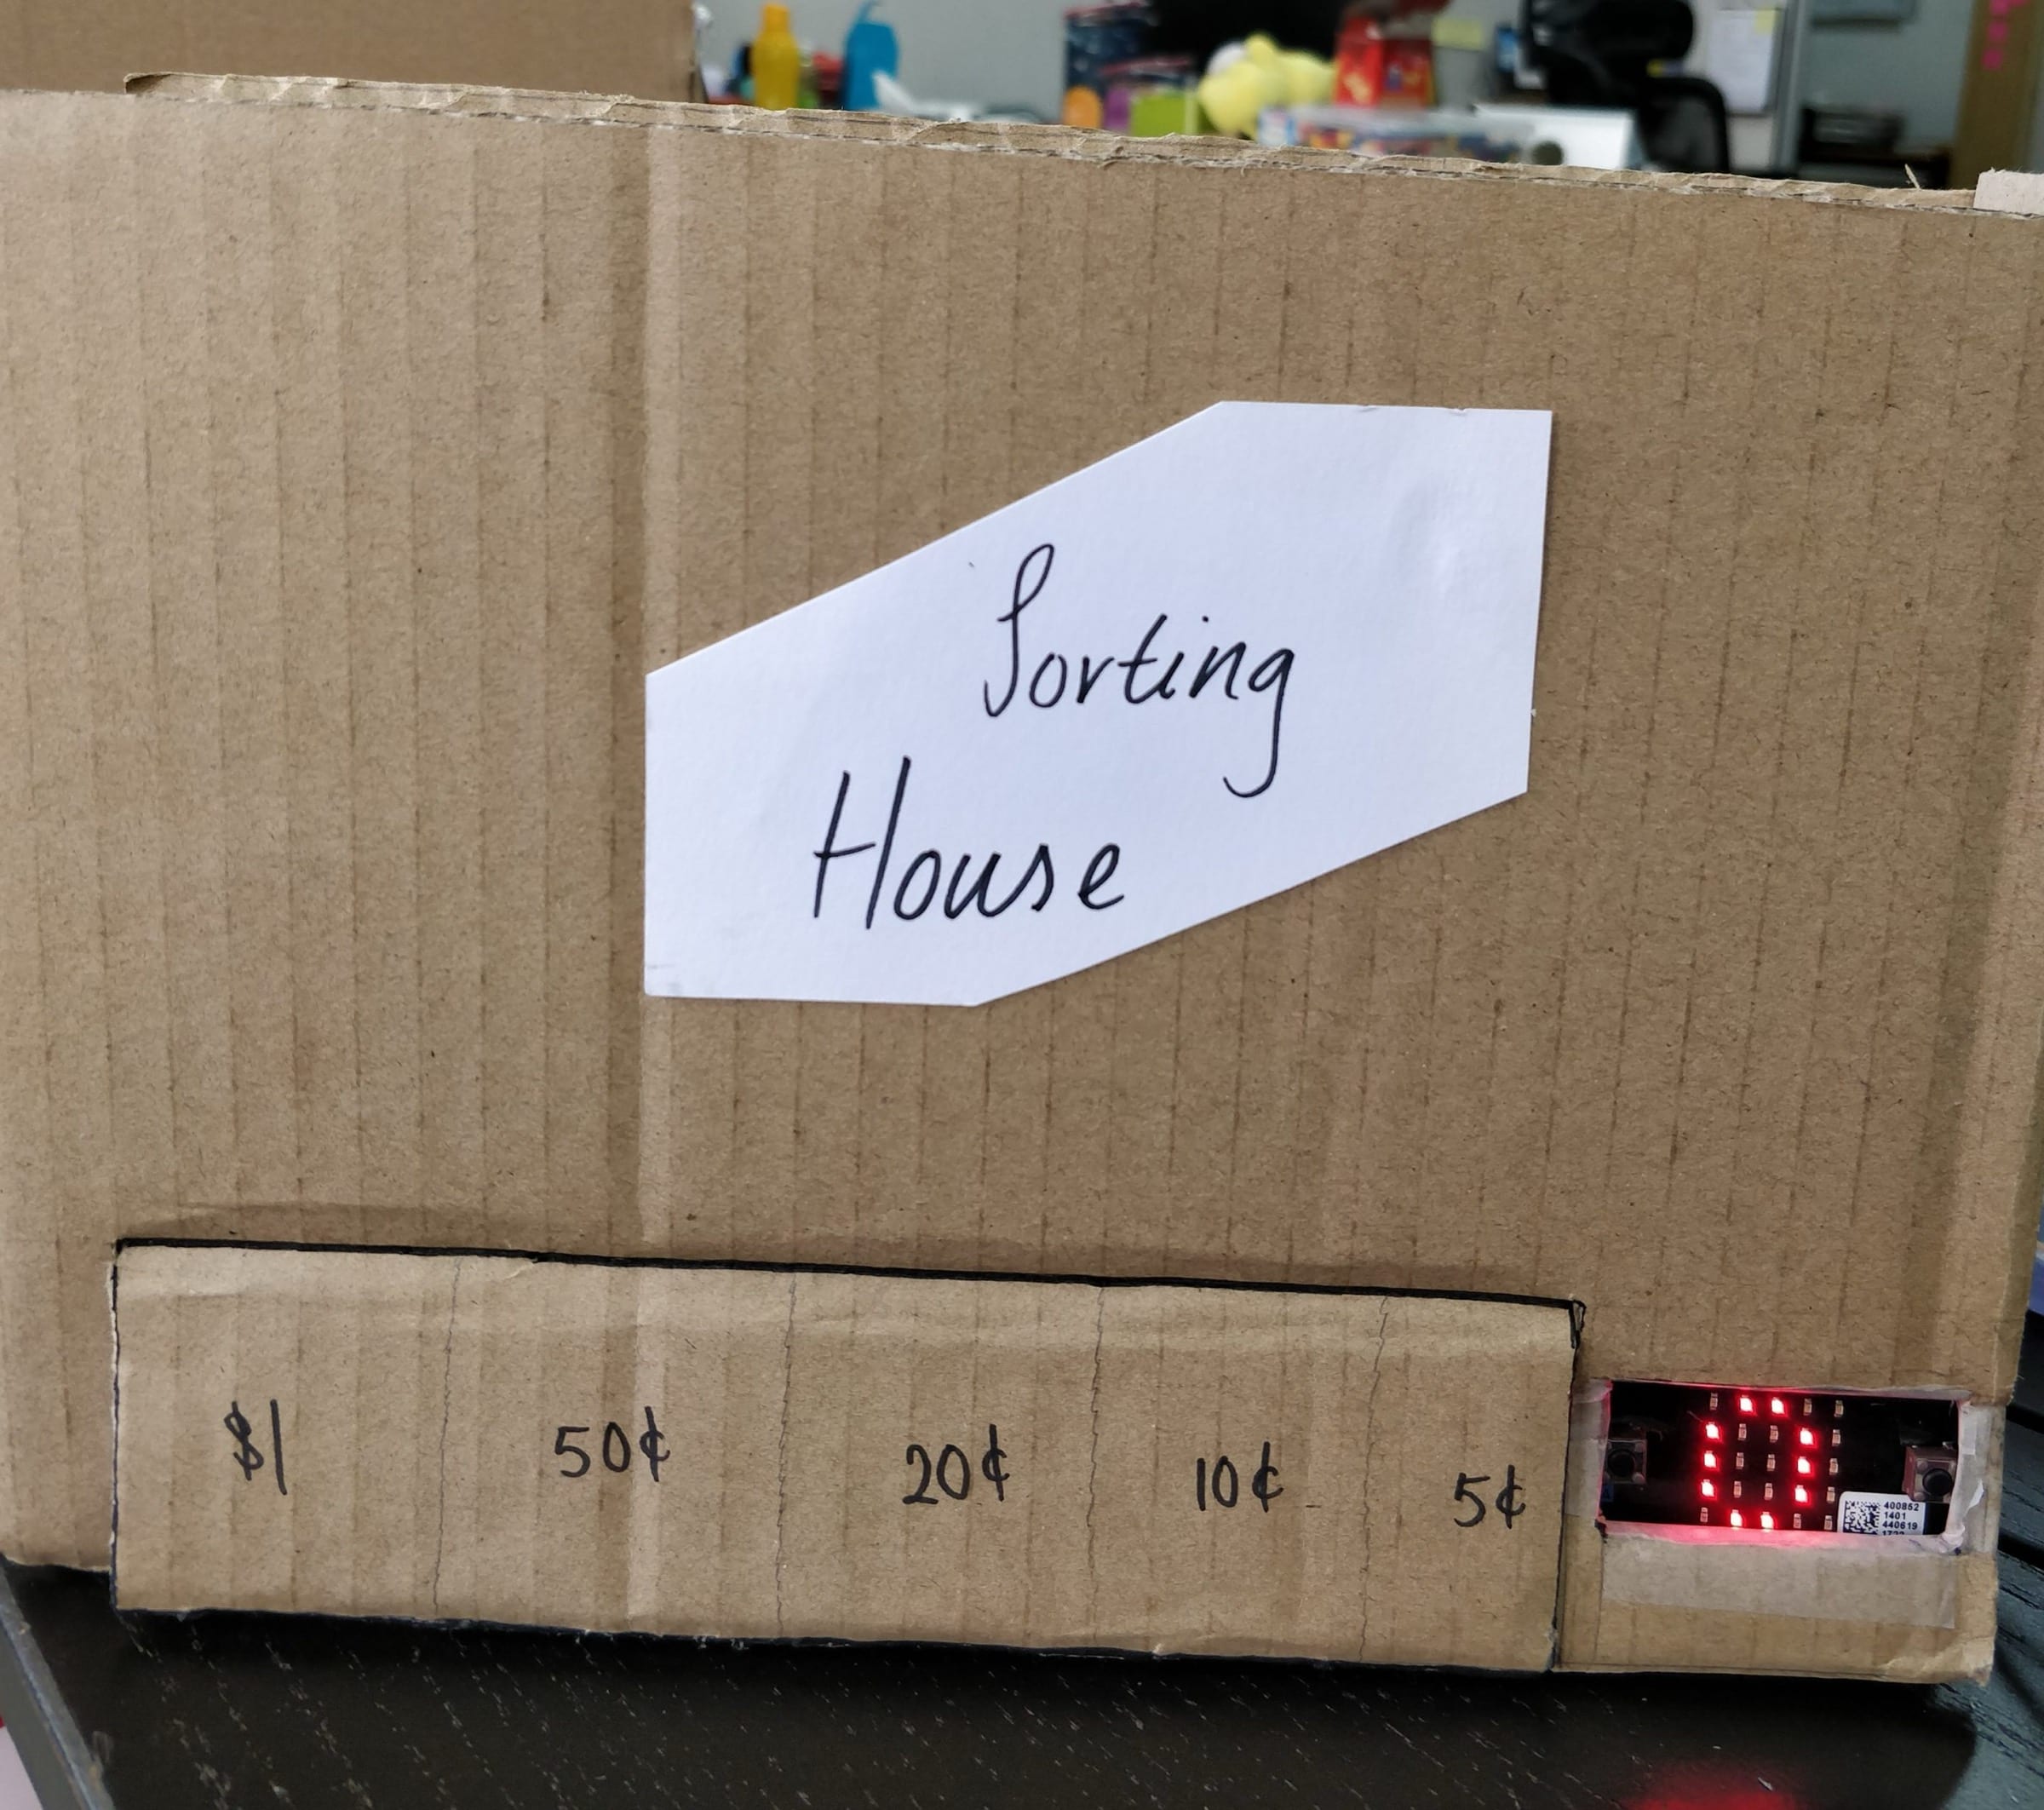
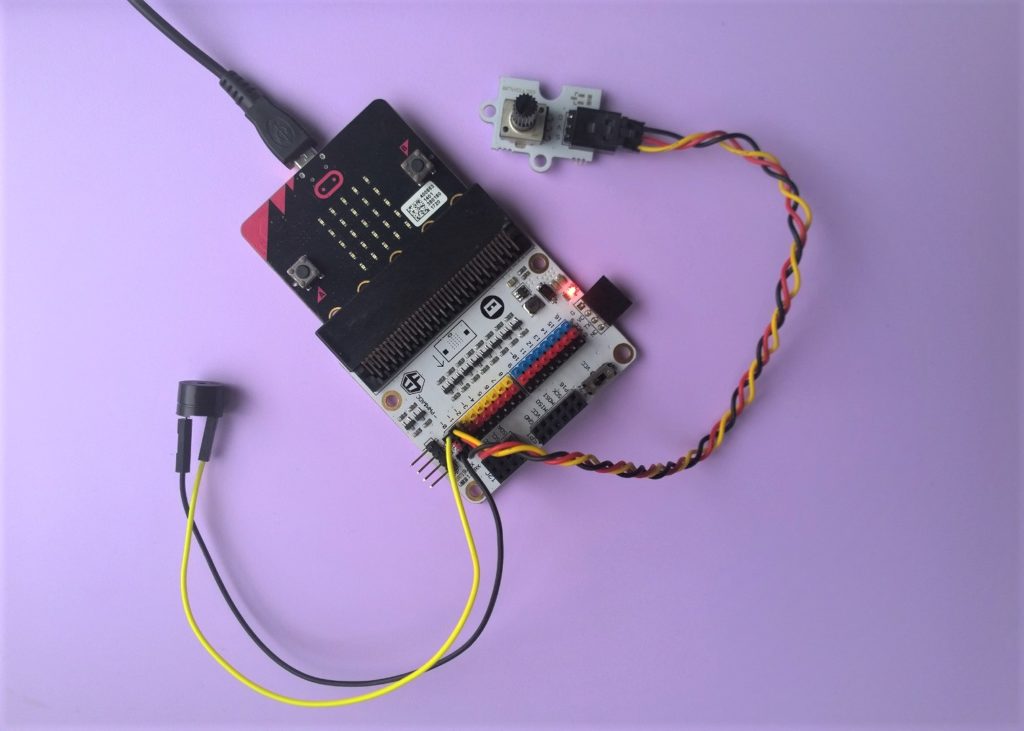
Coin Sorter with Micro:bit
Hardware
More tutorials
Create an Electric Spirit Level
Create an Electro-Theremin
Finger Dexerity Micro:bit Game
Flippy Pancakes Micro:bit Game
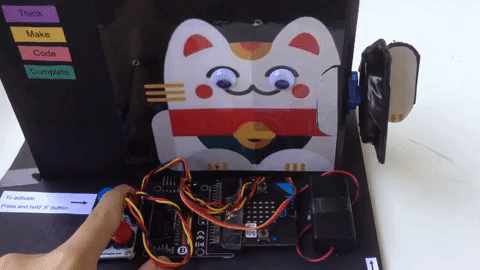
Making a Waving Fortune Cat
Maze Runner Micro:bit Game

micro:bit Flappy Bird Game
micro:bit Snake Game
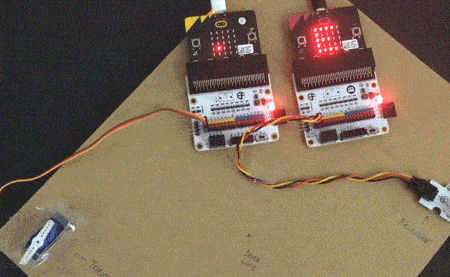
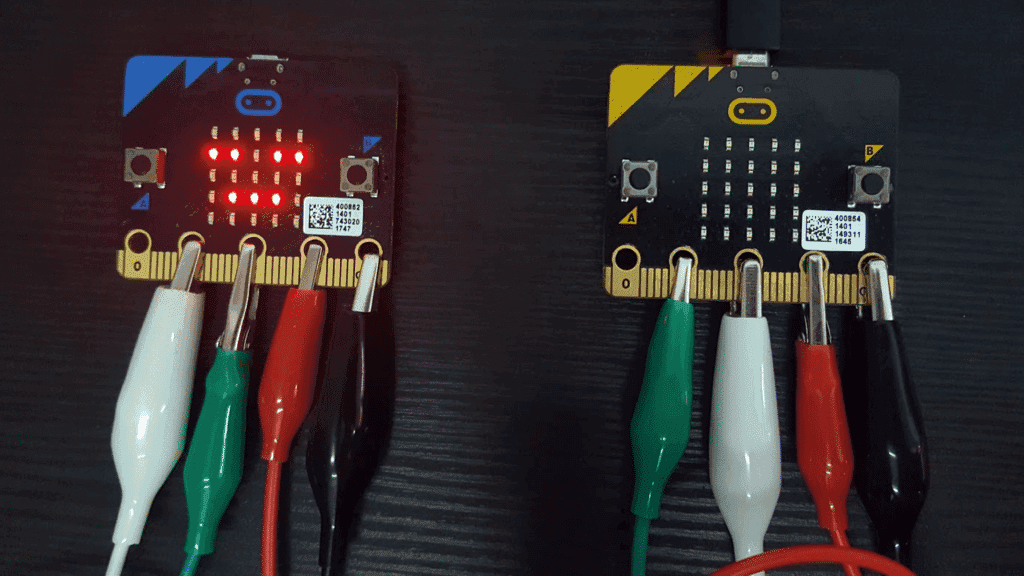
micro:bit Wire Transmission
MicroPython
MicroPython
Morse Code Transmitter
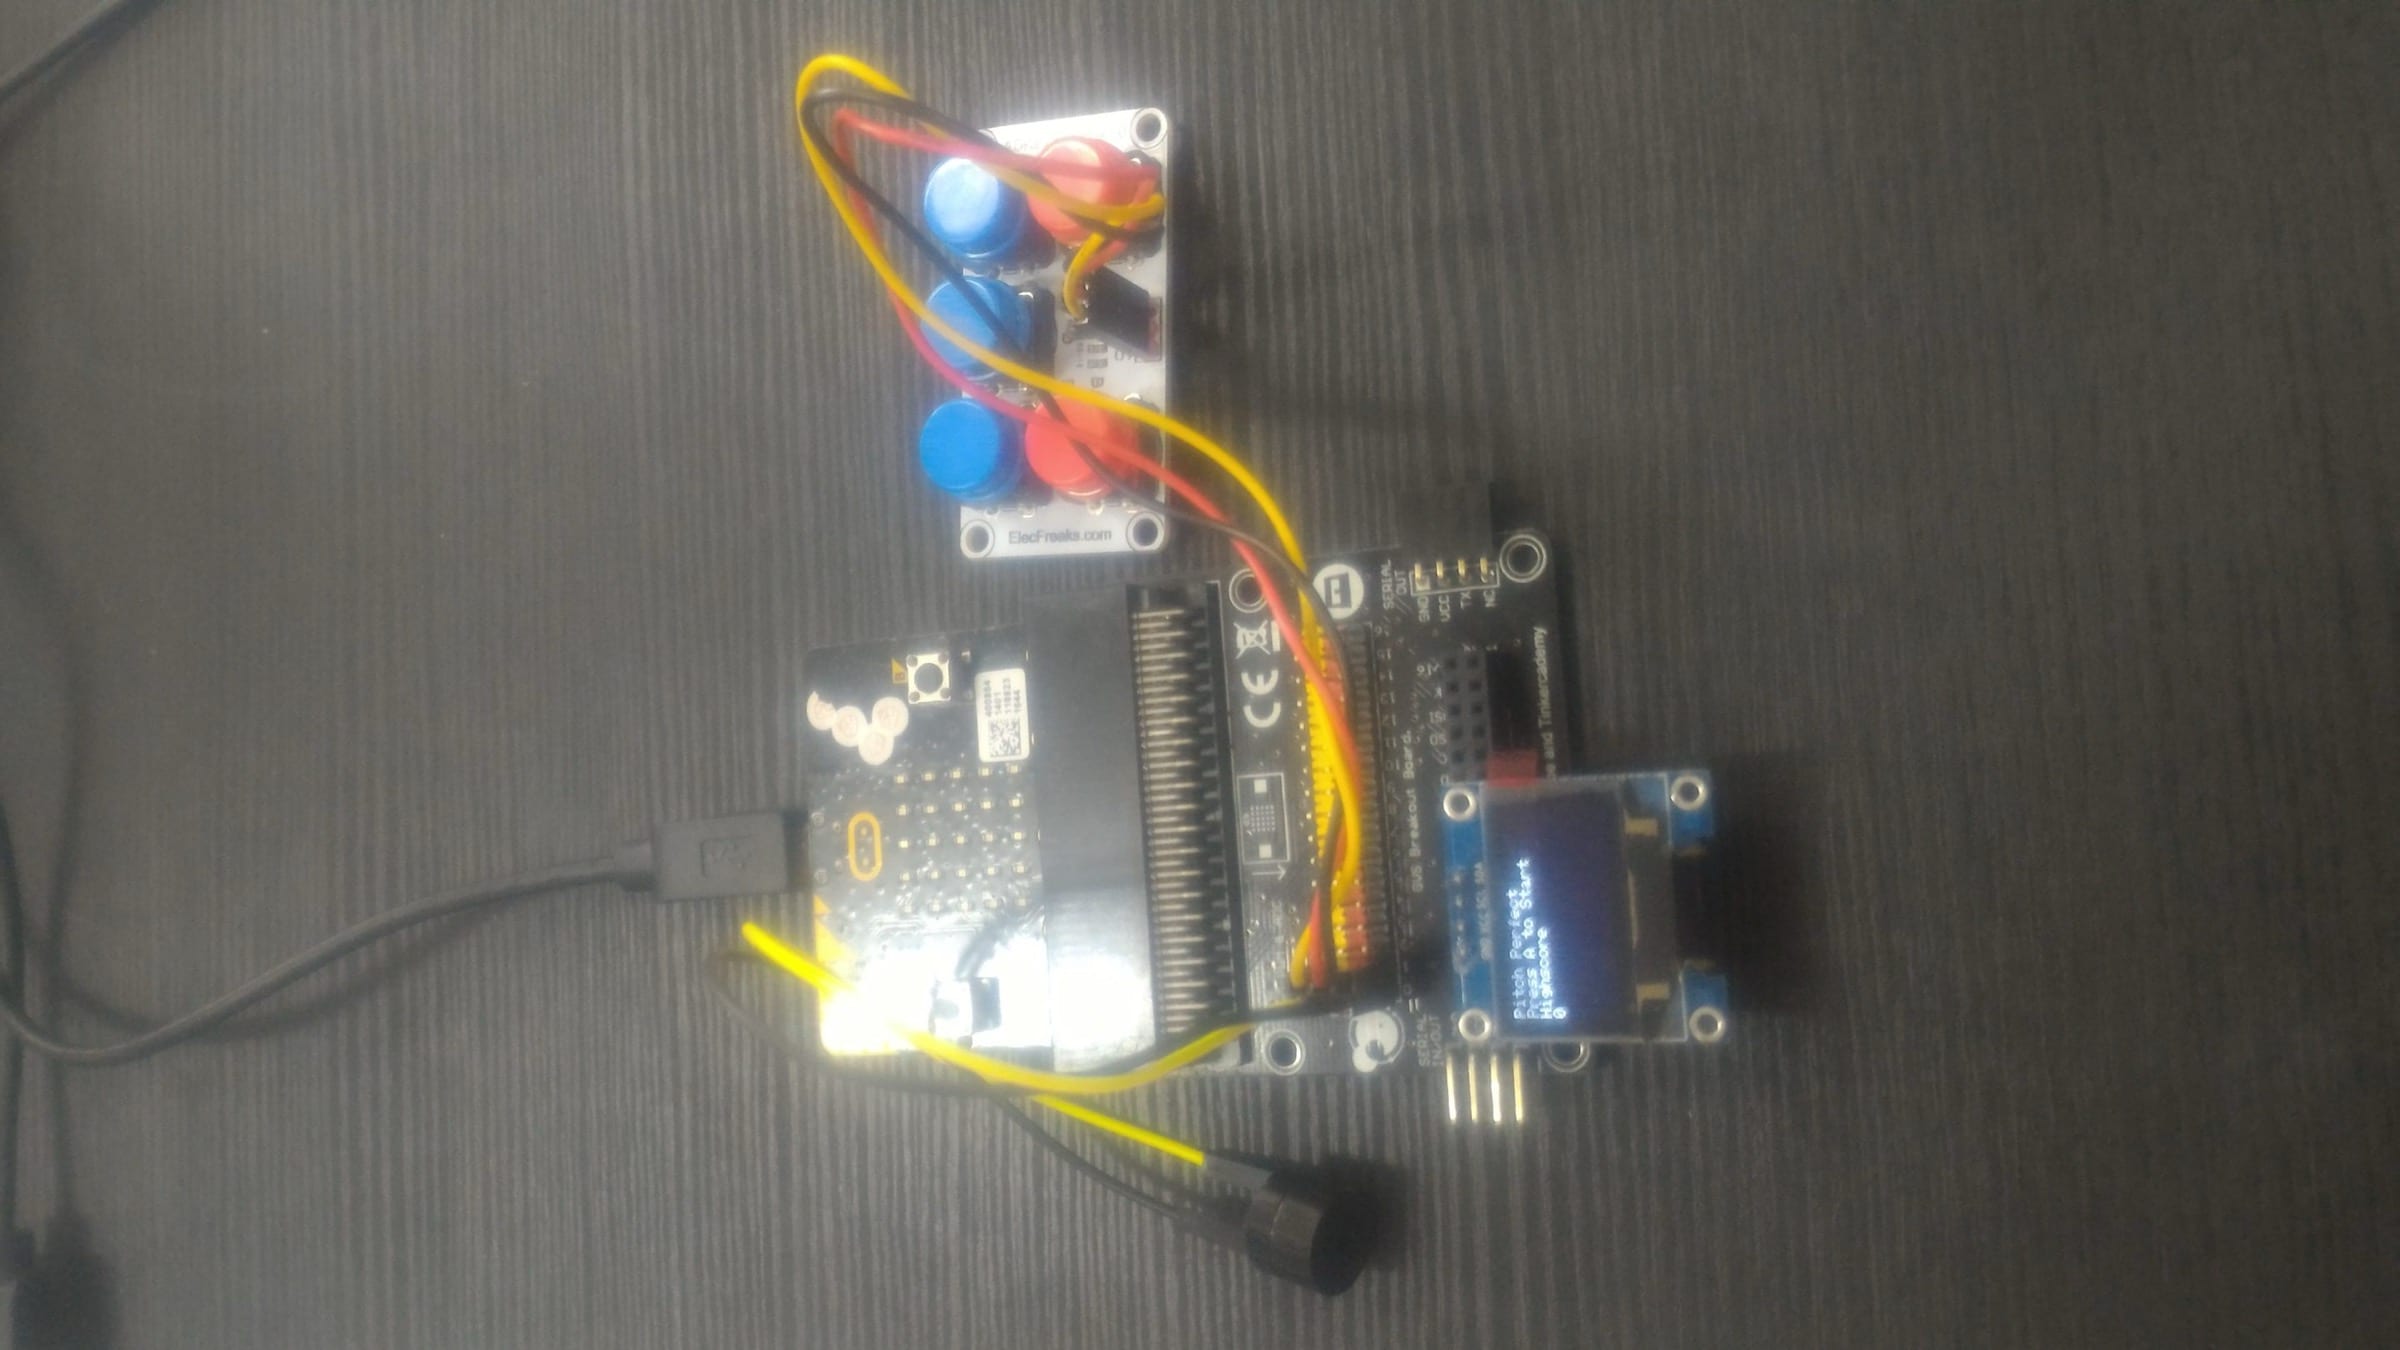
Pitch Perfect
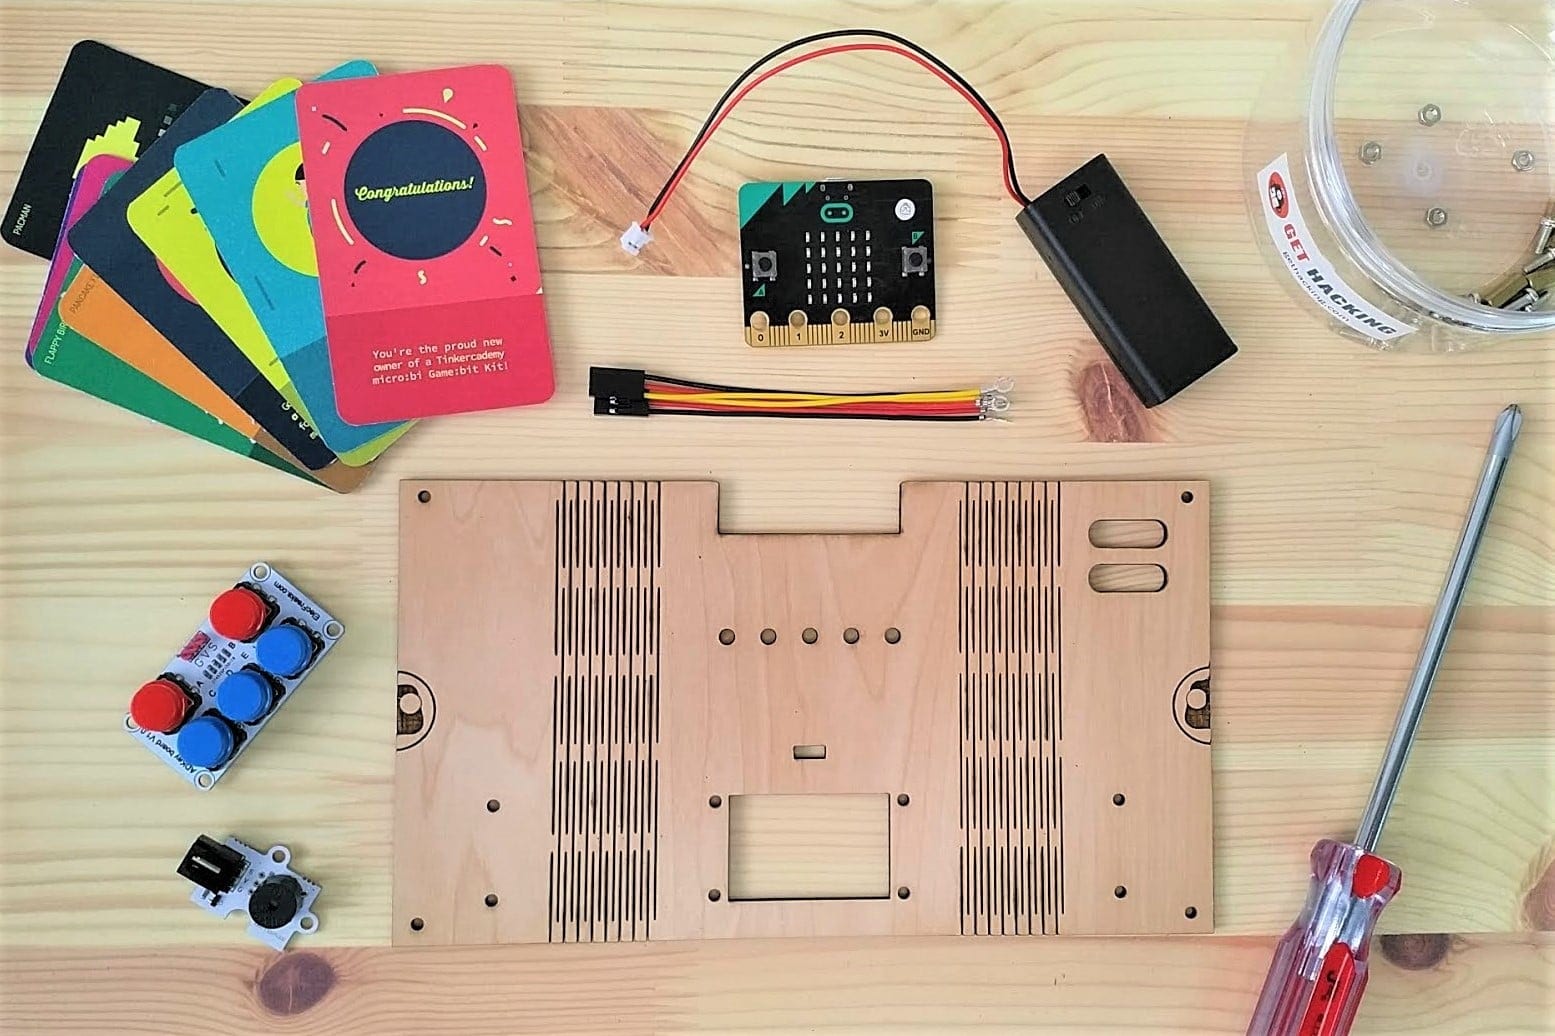
Put together the Game:bit!

Put together the Krazy Kar v2

QUICK MATHS
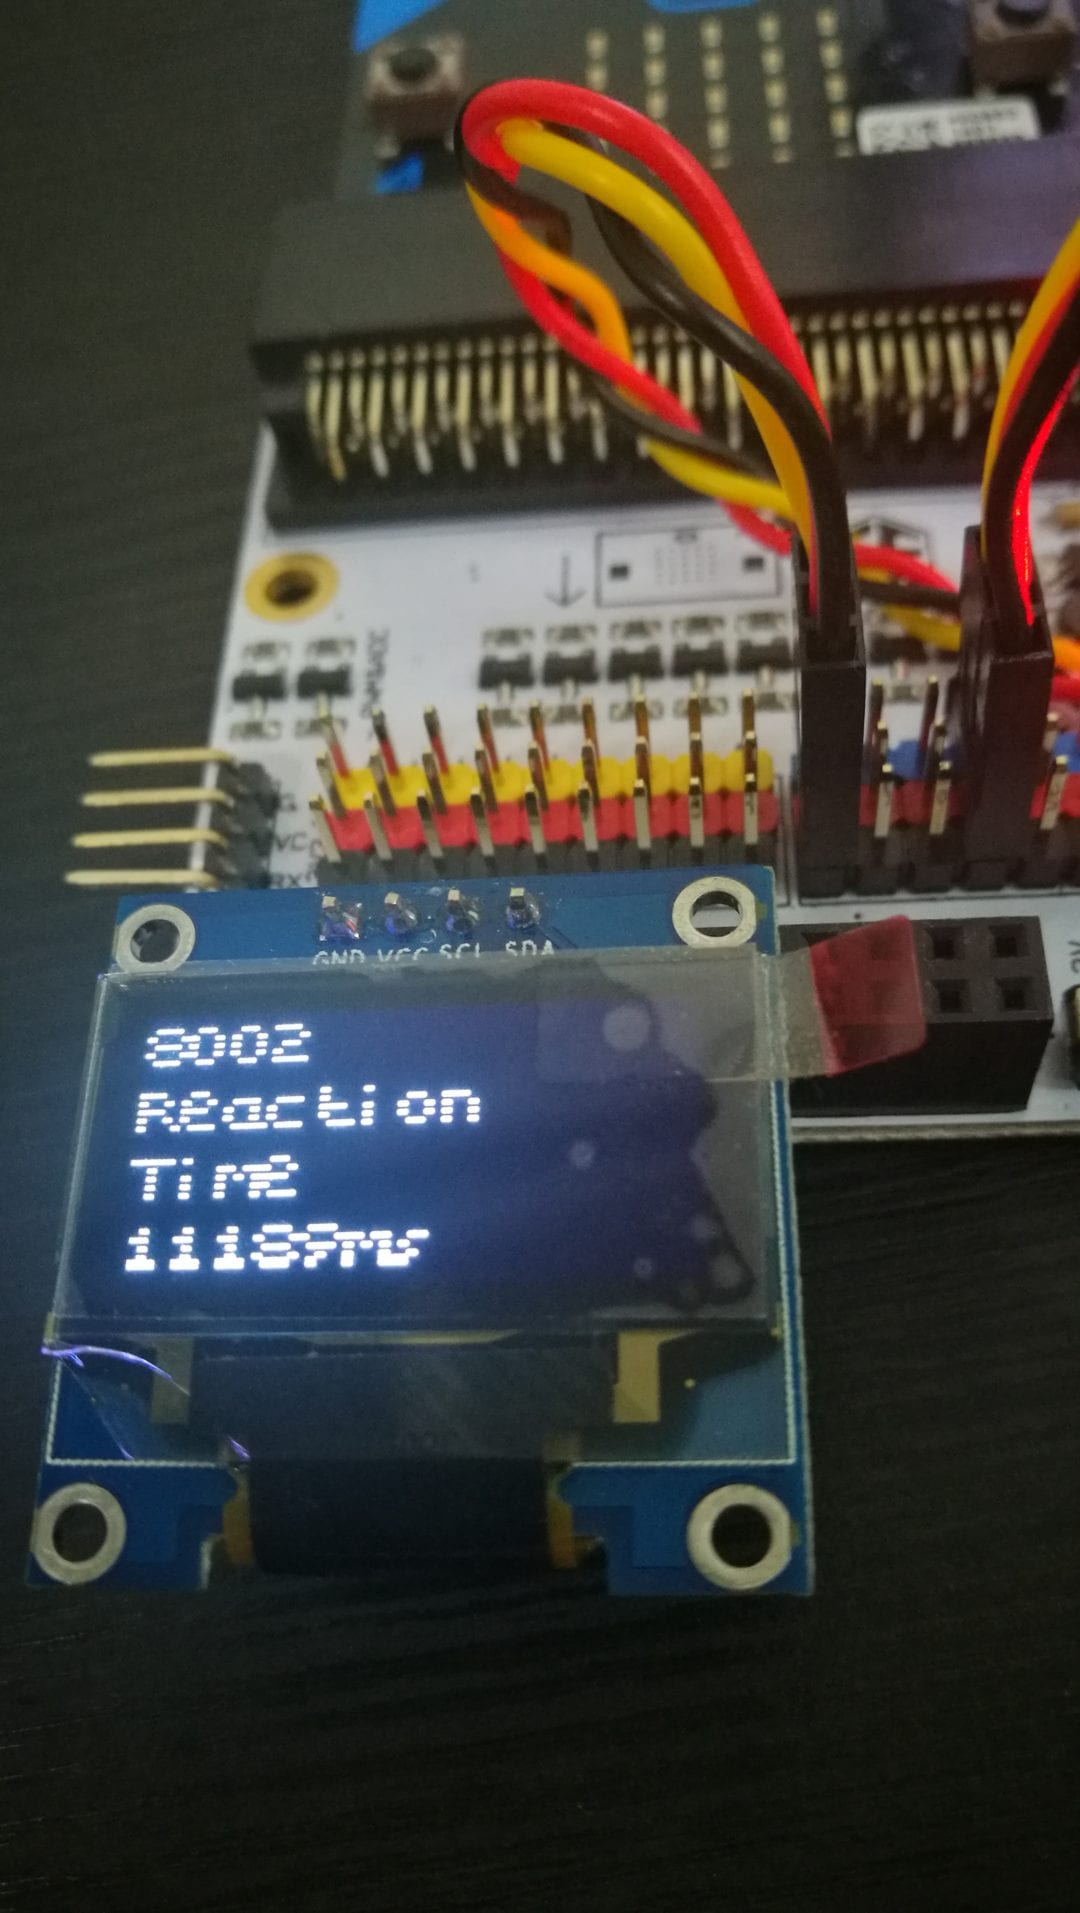
Reaction Time Tester
Reclusebot
Shoot Em Up Kit