3D Tronics
Digital Making National Infocomm Challenge
Senior (Secondary) Category
Tinkercademy is proud to present, in collaboration with 3D Tronics and the IMDA Digital Maker Programme, the Senior Category for the official Digital Making National Infocomm Challenge 2019!


We are extremely grateful to Methodist Girls’ School for being our official school partner for this category.
Competition Overview
Participants will be using the BBC micro:bit and various electronic components to create game controllers to compete in a video game. Teams of 3-4 will have their creativity, design skills and teamwork put to the test in order to win the competition.
Ready to register? Find out more at 3d-tronics.com or click the button below to register now!
If you have any questions on the Senior Category competition, please email us at [email protected]; please direct all questions on registration to our partners at [email protected].
Summary
Registration: 11 Feb 2019 – 15 May 2019
Cost: Registration fee $50 for a team of 3-4, including a 2-hour training session and free micro:bit kits for each participant. Optional starter kits cost $99 each (details below).
Preliminaries: 17 May 2019, 2pm @ ITE College East
Finals: 18 May 2019, 11am @ Suntec City (SG: Digital Wonderland 2019)
Prizes: Top 3 most creative game controllers, game tournament winner, and more!
Contents:
The Game: How it works, different features, how to play
Download the game!
Making Controllers: How to make controllers, and examples
Competition Starter Kit: What’s in it, and how to use
Competition Details: What prizes are up for grabs
Training Details: Where, when, and how to arrange
Frequently Asked Questions: Common issues and how to solve them
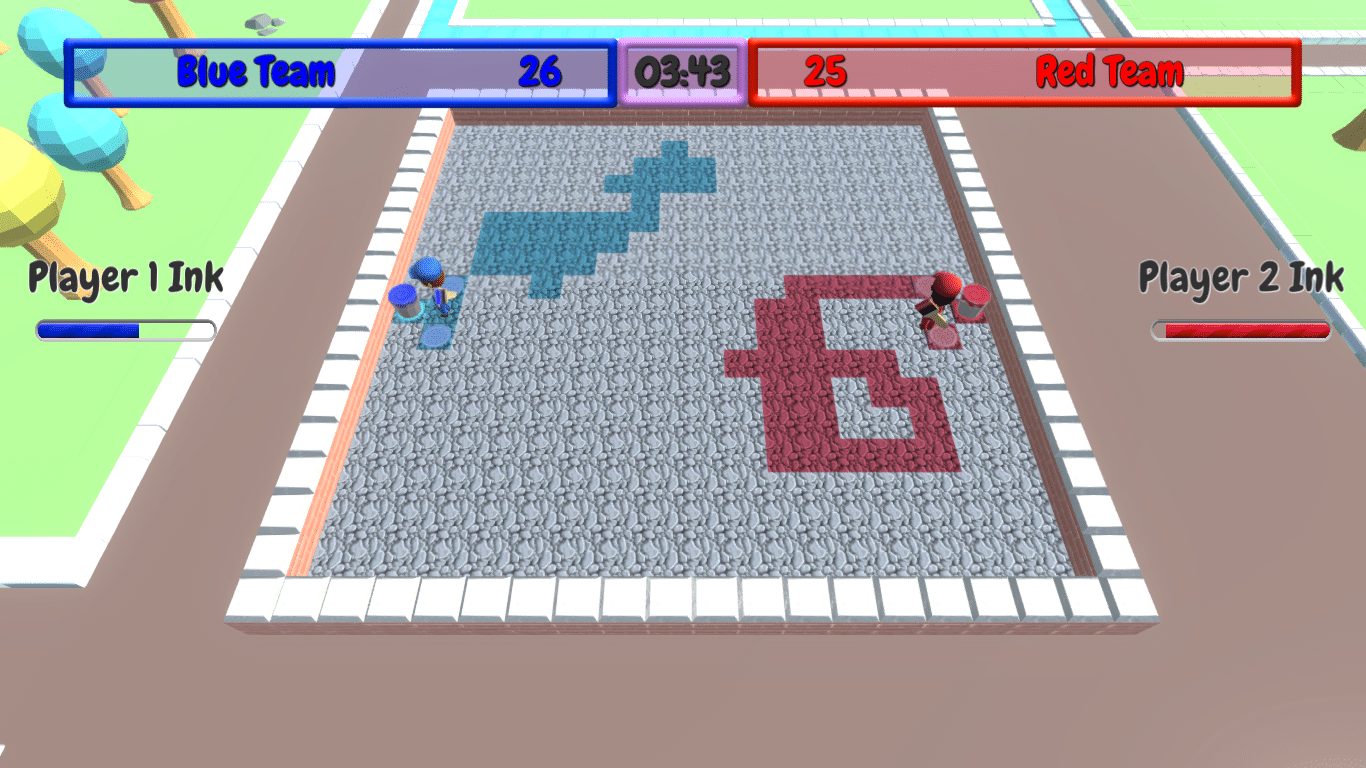
Game: Paint Tinkerer
Game Overview
Participants will be using the BBC micro:bit and various electronic components to create game controllers to control digital characters competing in a paint splattering competition! Teams of 3-4 will have their creativity, design skills and teamwork put to the test in order to win the competition.
- Each team has control over two characters.
- Your goal is to paint as many tiles as possible into the colour which corresponds to your team.
- After four minutes, the team that has painted the most tiles will win.
- You must use your micro:bits, over radio, to control the characters.
Game video coming soon!
Download and Installation
Note: These probably won’t install on school computers, due to permissions issues and drive requirements! Please use personal computers.
This game is open-source. You can download the source code from our GitHub repository—if you fork and update the game in Unity, let us know! We’d love to see your version.
Please refer to the installation guide for more information on setting up, and email us if you have any questions. Happy tinkering!
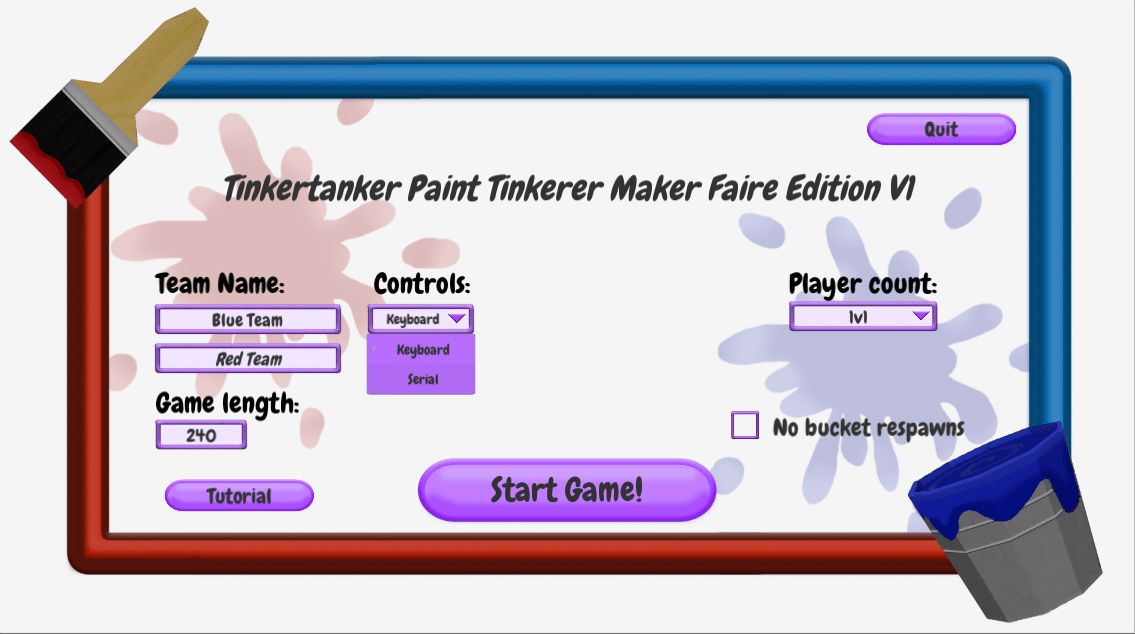
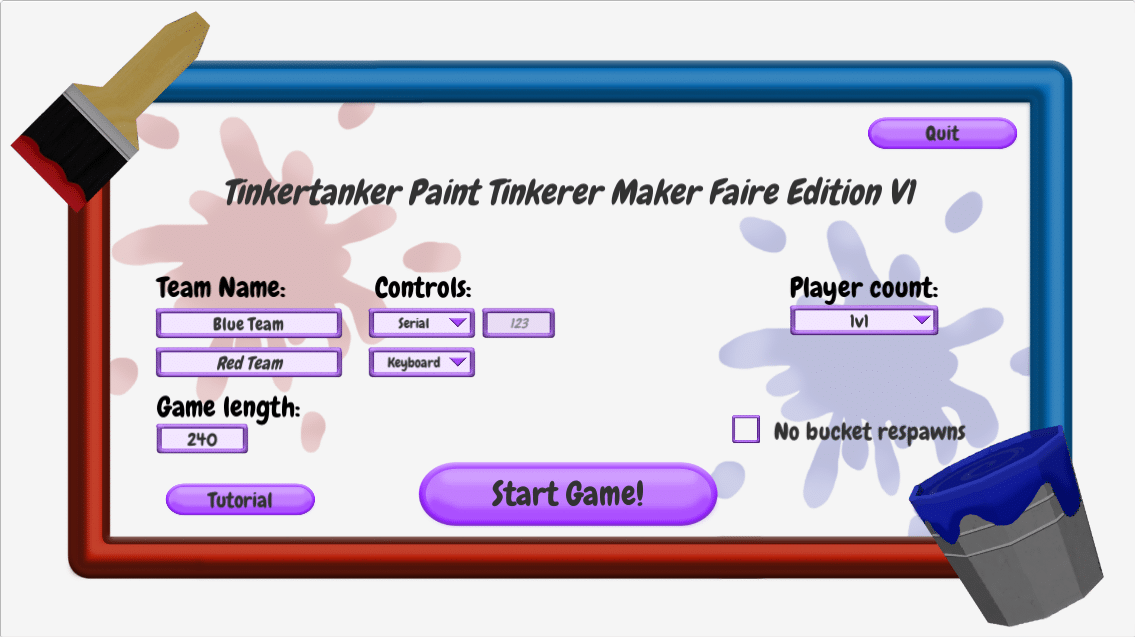
Setup: Game Mode
In the main menu, players can switch between the 1v1 and 2v2 game mode. The game has keyboard controls that can be adjusted in the launcher, and also accepts serial input from COM Ports.

How To Play: Game Features
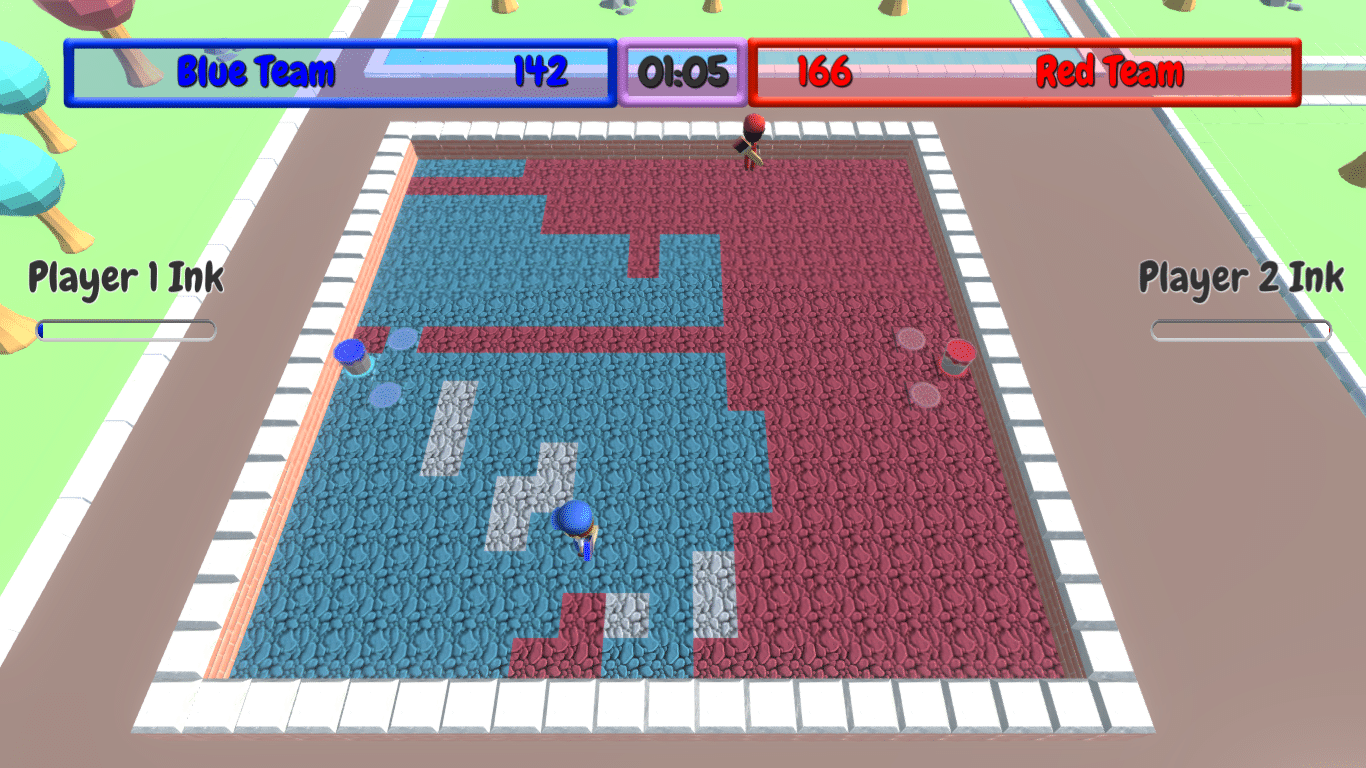
Scoring Points
For either team to score a point, one of that team’s players must pass over a tile that is either unpainted or painted in the opposing team’s colour while having sufficient ink, which will cause the tile to be painted into the team’s colour.
Refilling
When a player runs out of ink, they may refill their ink by staying in the immediate area around their team’s bucket.
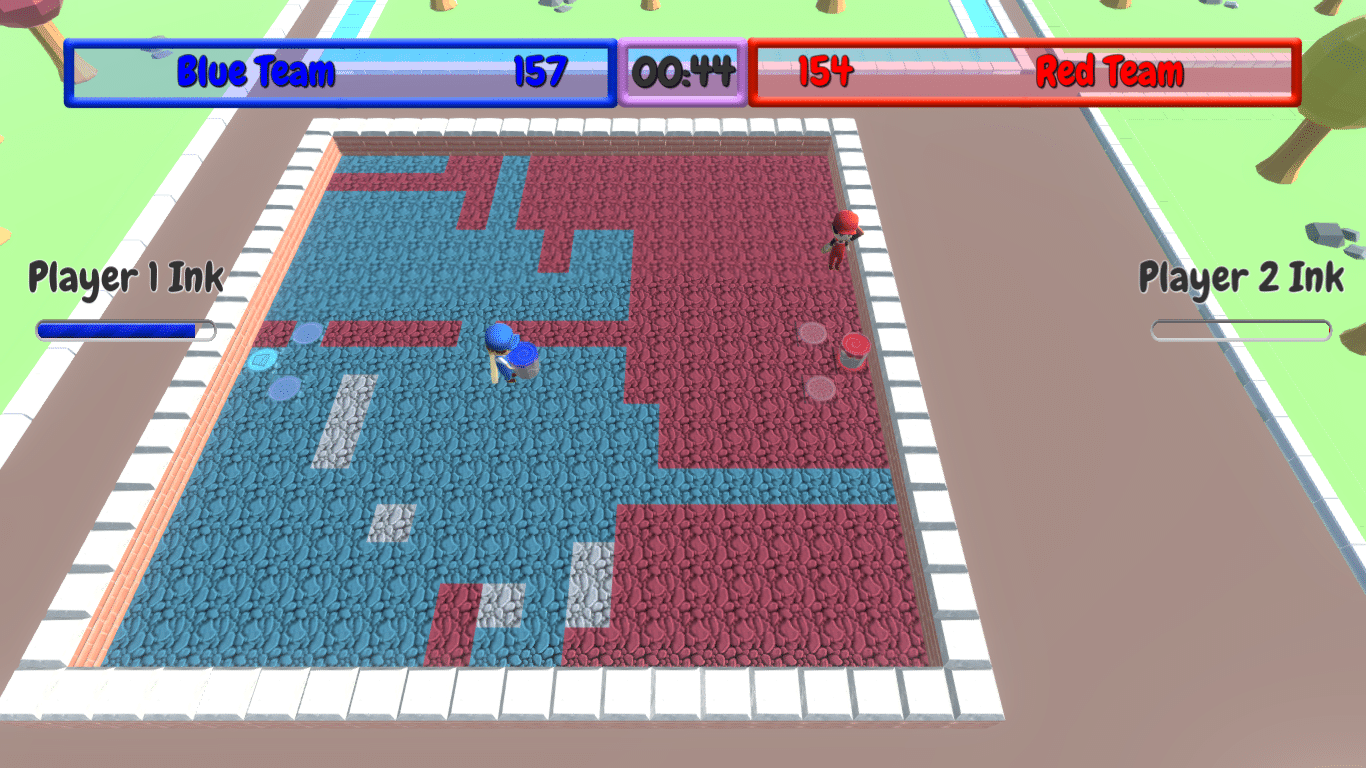
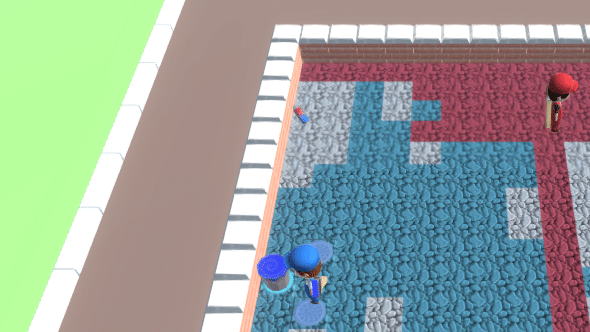
Buckets
Players may move their respective bucket to an area away from its spawn tile. However, players of the opposing team will be able to destroy the bucket once it is moved, causing the bucket to be reset back to its spawn tile.
Line Bomb Power-Up
The line bomb power-up paints all tiles along the same row and column as the power-up to the team colour of the player that captures it.
Splash Bomb Power-Up
The splash bomb power-up paints all tiles within a certain radius of it into the team colour of the player that captures it.
Victory!
The team that scores the most points when the timer runs out will win the match!
Making Controllers
Sending/Receiving Signals
Each team has control of two characters. The commands to be sent to the receiving Micro:bit follow the default keyboard control scheme. Each member can be responsible for a different part of the controls; for example, two players can control one character, with one player controlling the movement and the other controlling bucket interactions.

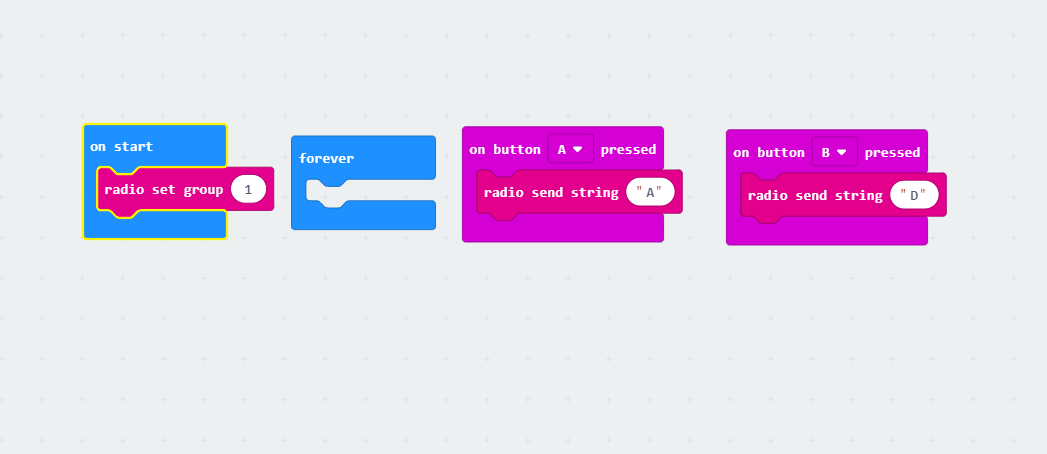
Controller Syntax
The Micro:bits can be programmed at makecode.microbit.org. When certain conditions are met, the Micro:bit should send a radio string of a single capital letter based on the control scheme above. In this example, the controller can only move the character leftwards and rightwards. Use various electronic modules and the Micro:bit’s built-in sensors to detect when to send the various commands!
Example 1: Basic Controller
This controller uses the accelerometer on the Micro:bit to detect how much it is tilted. An arrow is displayed on the LEDs of the micro:bit to show the current direction of motion of the player, and messages related to in-game events are shown on the OLED display. The controller can be incorporated into a glove-like object, such that players may control the character through their hand movements.


Competition Kit

Micro:bit Components
A variety of components to extend the micro:bit, based on our easy-to-use Breakout Board: just plug in the micro:bit, connect the components, and read the input or send an output. (Retail price at gethacking.com: $91.40)
- 2 x ElecFreaks Sensor:bit GVS Breakout Board
- 1 x ElecFreaks Power:bit
- 2 x Octopus Limit Switch Crash Sensor
- 1 x Octopus Potentiometer Analog Rotation Brick
- 1 x Octopus Linear Slider Potentiometer Brick
- 1 x HC-SR04P Ultrasonic Ranging Distance/Proximity Sensor
- 1 x Octopus PIR Motion Sensor
- 1 x Octopus Analog Photocell
- 1 x Octopus Push Lock Switch
- 1 x I2C 128×64 OLED Display Module
- 1 x TowerPro SG-90 Mini Servo(1.6kg)
- 1 x GVS Chainable WS2812B 10-LED Strip Segment
- 1 x Octopus Alphanumeric LED Module
- 1 x Makedo Toolkit
Other parts you can consider using (not provided):
- Cardboard
- Ice cream sticks
- Rubber band
- Plastic bottles
- PVC pipes
Some of the components will require adding an extension to your MakeCode project to get them to work. Some sensors are simply digital/analog input/outputs which you can read and write to using the Pins drawer. You can see which sensors can be used with the ins blocks and which require extensions below.
Simply search for your desired extension with the names and click on their logos to add it to your MakeCode project.
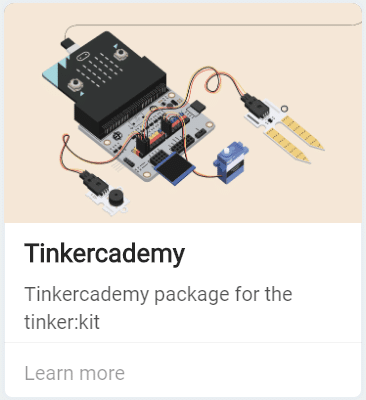
Tinker:kit Extension
- Crash Sensor
- PIR Motion Sensor
- I2C OLED Module
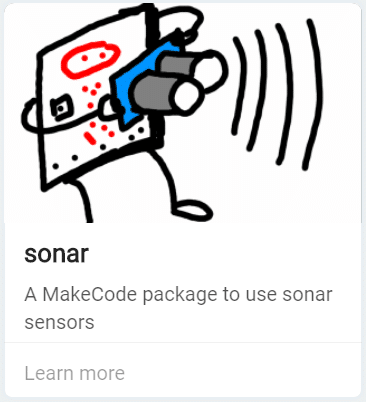
Sonar Extension
- HC-SR04P Ultrasonic Sensor
Neopixel Extension
- GVS Chainable LED Strip

Servo Extension
- Towerpro Micro Servo
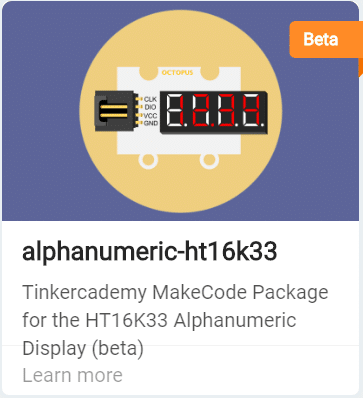
Alphanumeric Extension
- Alphanumeric LED Module
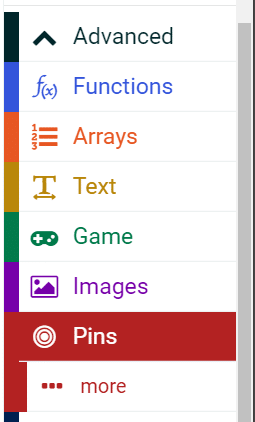
Pins Code Drawer
- Potentiometer Analog Rotation Brick
- Linear Slider Potentiometer
- Analog Photocell
- Puch Lock Switch
Competition Details
Prizes
Controller Creation: Winner, 1st Runner-Up, 2nd Runner-Up
Awarded to the teams based on judging during the preliminary round. See rubrics to the right for details.
Paint Tinkerer Face-off Winner:
Awarded to the team who wins the Paint Tinkerer competition.
Best Theme: Winner, 1st Runner-Up, 2nd Runner-Up
Awarded to the teams with the most ridiculous/aesthetically appealing controllers, and/or themed costumes.
Best Controller to Enable Elderly Play:
Awarded to the team with the best controller to enable the elderly to easily play.
Controller Rubrics
|
Criteria |
1 point | 2 points | 3 points |
4 points |
|
Design (70%) |
||||
| Innovation & Creativity | Little to no evidence of attempts to include a variety of materials. Controller does not stand out. | Some attempts to include a variety of materials, making the controller noticeable in a small number of aspects, but still largely conventional. | A clear effort was made to include a large variety of materials. Controller is highly noticeable. | A highly innovative solution making use of a wide variety of materials and utilising the full capabilities of the micro:bit. Controller is unorthodox and stands out. |
| Ambition | Few to no attempts to include input or output sources outside of the basic micro:bit functions. | A small but noticeable number of input and output sources outside of the basic micro:bit functions were included, but the controller still appears basic overall. | Clear, deliberate attempts were made to implement features in addition to the basic micro:bit functions. Where the basic micro:bit functions were used, effort was made to customise them to achieve the desired outcome. | A wide range of input and output sources were used, well extending the basic capabilities of the micro:bit. Implementation of these features demonstrated the technical expertise of the participants involved. |
| Feedback | Little meaningful feedback is given to the user. | Some feedback is given to the user, but does not meaningfully assist the user. Feedback given may sometimes be disorientating. | Substantial meaningful feedback is given to the user to assist and enhance their experience in the game. A large degree of consideration has been given to ensure that said feedback does not disorientate the user. | A wide range of feedback is given to the user based on their input and the conditions in the game, greatly assisting the user and allowing them to be fully immersed in the game. Careful consideration was also given to ensuring that said feedback does not disorientate the user. |
| Link to target group | Little consideration was given to making the controller suitable for use by the target group. Few attempts were made in catering the controller to the target group. | Some consideration was given to making the controller suitable for use by the target group. A noticeable number of attempts were made in catering the controller to the target group. | Careful consideration was given to making the controller suitable for use by the target group. Significant attempts were made to include features that would enhance and assist the target group’s experience in the game. | Careful consideration was given to making the controller suitable for use by the target group. The implemented features and their effects were well researched, and the participants involved are knowledgeable on why these features assist the target group’s experience in the game. |
|
Total Score for Design (70%): ____ /16 |
||||
|
Documentation (5%) |
||||
| Instructions | Few and/or unclear instructions were given to the user for using the controller. | Instructions given are mostly clear and sufficient to use the controller, but a small number of features are missed out. | Instructions given are clear and sufficient to use the controller. | Instructions given are clear and sufficient to use the controller, allowing the user to have an accurate understanding of the experience before playing the game. In addition, clear details of conditions triggering the various types of feedback modes are provided. |
|
Total Score for Documentation (5%): ____ /4 |
||||
| Performance (25%) | ||||
| Functionality | Controller is unable to meaningfully control the in-game characters. | Controller is largely able to control the in-game characters, albeit not very accurately. | Controller is able to control the in-game characters well, though a larger degree of user input than is ideal may be occasionally required. | Controller is able to control the in-game characters well, and efficiently directs user input to movements made by the character. |
| Engagement | Feedback given, if any, does not engage the user. | Feedback given occasionally engages the user, but is also sometimes distracting. | Feedback given largely engages the user. | Feedback given fully engages the user and immerses them in the game. |
| Total Score for Performance (25%): ____ /8 | ||||
| Final Score (rebased): ____/100 | ||||
Micro:bit Training
Micro:bit Training
This 2-hour training session will cover how to program the BBC Micro:bit with Microsoft MakeCode, as well as how to interface with each of the components in the Competition Kit. Participants can also ask instructors questions on crafting controllers.
Each competition participant will receive a free micro:bit kit (a $35 value) to take home, sponsored by the IMDA Digital Maker Programme.
How to sign up: Please click on the sign-up link to the right, and email us with at least 3 potential workshop dates, 1 week in advance, on weekday afternoons, 3pm-5pm. Workshops will commence with at least 3 teams signed up.
Venue: Tinkercademy X makerspace at 201 Henderson Rd, #06-19, Singapore 159545; training can be at your school if your school is entering at least 3 teams.
Frequently Asked Questions
Q: Help, my controller isn't working!
A: First check if your micro:bit setup (micro:bit, battery pack, cable) are functional. Follow the code on slide 17 of the training slides to make a simple test code, then unplug the micro:bit from the wire and connect it to the battery. It should still light up. Next, make sure that the breakout board is working and properly connected. Follow the steps on slide 46 of the training slides to test the breakout board. If all of the above are working, then start checking the controller code and individual components.
Q: How do I connect the Micro:bit to the game?
Please check the installation guide for detailed instructions, and keep in mind that the process is different between Windows and Mac. Also keep in mind that each team will need their own radio controller set to a different radio group.
Q: How do I use this component with the Micro:bit?
Please view the component guide on our training slides for details.
Q: How do I control the characters? Are keyboard controls different from Micro:bit controls?
Please view the installation guide for complete control schemes. Keep in mind that for Micro:bit Controls, both teams are sending signals to different Micro:bits, so both teams will be using the same characters (QWEASDX and UIOJKL,), but for keyboard controls, all players will be using the same keyboard so each of the four tanks are controlled with a separate section of the keyboard, resulting in four seperate sets of commands (QWEASDX and RTYFGHB and UIOJKL, and UpDownLeftRight./Enter).
Q: My group has decided to modify the game in Unity. How should we submit my entry?
Please make the code available on GitHub, and demonstrate your changes to the judges during the preliminary round.