

Editor’s note: We… forgot to publish this article from Nadya last year (sorry!). Nadya joined us to help with marketing, and ended up learning and doing a lot of digital making with our laser cutter—here’s her story.
As a non-coder in a heavily tech environment, I found myself gravitating towards the hardware and cool machines in the office. (Read about my experience doing an interactive game using the microbit, which also involved the use of the laser cutter for cardboard.) I was intrigued by the paper cutting machine, the shrink-wrap machine, the 3D printer… and even the sticker label machine, but what I ended up going back to most was the laser cutter.
The office uses a Full Spectrum laser cutter, which requires the RetinaEngrave driver installed. It accepts svg (scaled vector graphic) files, which I used Adobe Illustrator to convert my files to. You can also use Inkscape, a free software, if you don’t have Adobe. (Check out Hongyi’s and Ruochen’s posts for more laser-cutting related projects.)
The laser cutter offers 2 settings: raster engraving and vector cutting. What’s the difference?
Raster engraving is a line-by-line etching, where the laser moves left to right, from the top of your design to the bottom. It creates a groove similar to wood-carving, and can be a cheaper alternative to producing wood-carved designs. Wood carving is labour-intensive and requires more skill and expertise since it involves individual pieces being carved by hand using a chisel or knife. However, raster engraving can produce a similar effect simply using a digital design, with no woodworking skills involved.
Vector cutting involves the laser tracing an outline of the design instead, which is ideal for cutting out shapes from a material. Vector cutting also tends to move more slowly than raster engraving, making it possible to cut materials with just one pass. (You can also set the specific power and speed settings based on the type and thickness of your material.)
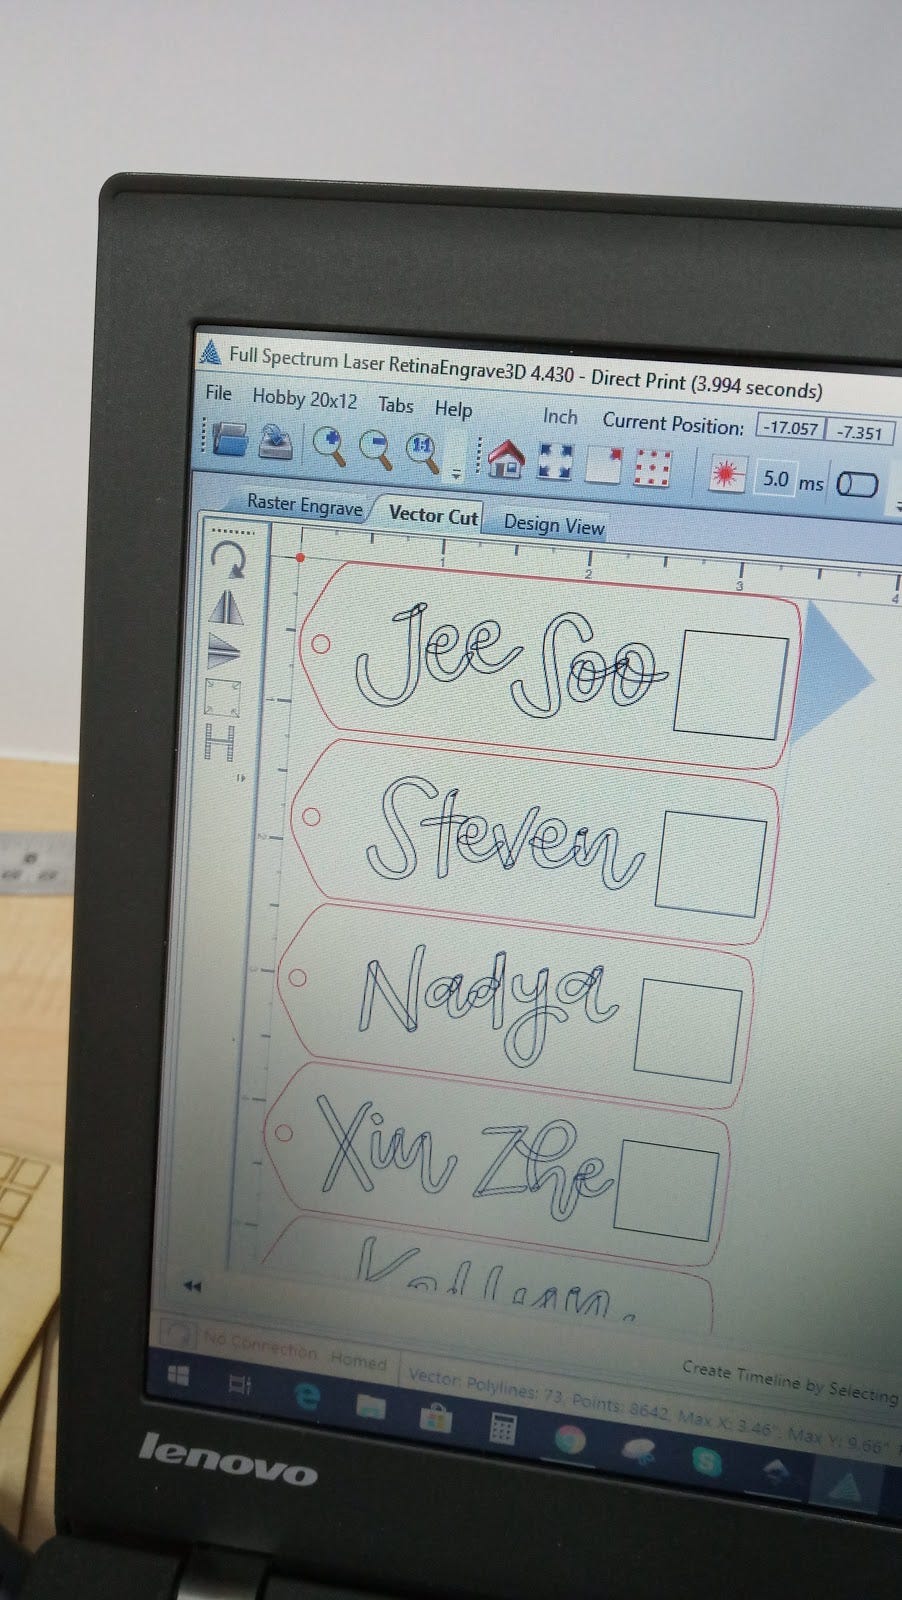
Design file of keychains being ‘printed’ onto RetinaEngrave
In this project, I was trying to cut customised company keychains for some of my colleagues. I hand-lettered the names using my Wacom tablet and stylus on Adobe Illustrator, before exporting my ai file from Illustrator as an svg file, then printing it onto my RetinaEngrave software. The picture above showing the ‘vector cut’ tab was not ideal, since I wanted the names engraved (rather than cut), and since the company logo was being shown as a square rather than its individual shapes. (I can’t find a picture of the ideal mockup oops.)
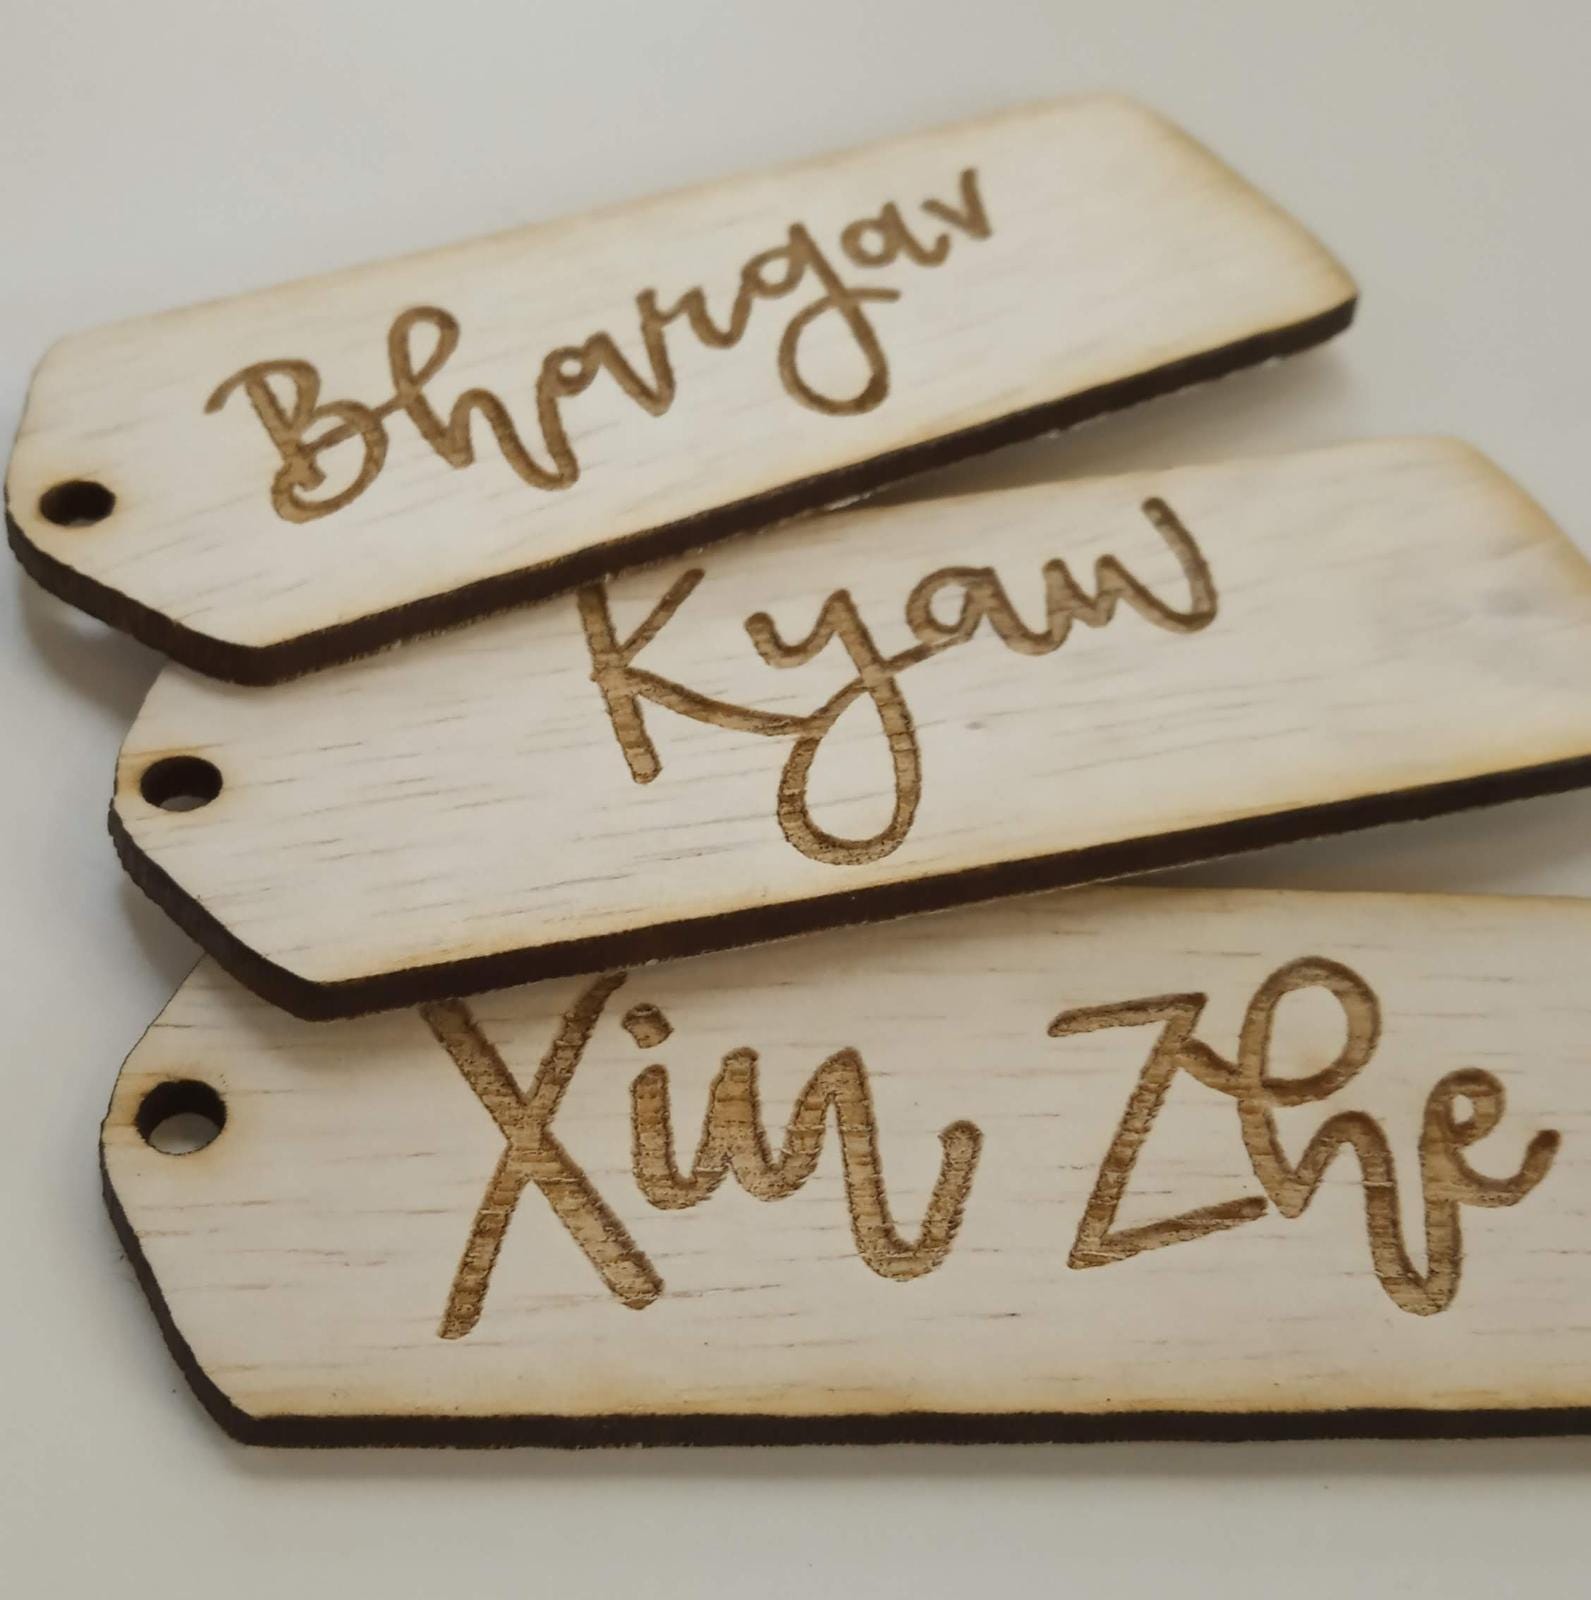
Some keychains without the logo.
However, after I did successfully separate my raster images (the names) from my vectors (keychain outline), I managed to cut these keychains from scrap 3mm plywood as my final products. My settings used were Power 90 and Speed 40, both out of a highest of 100.
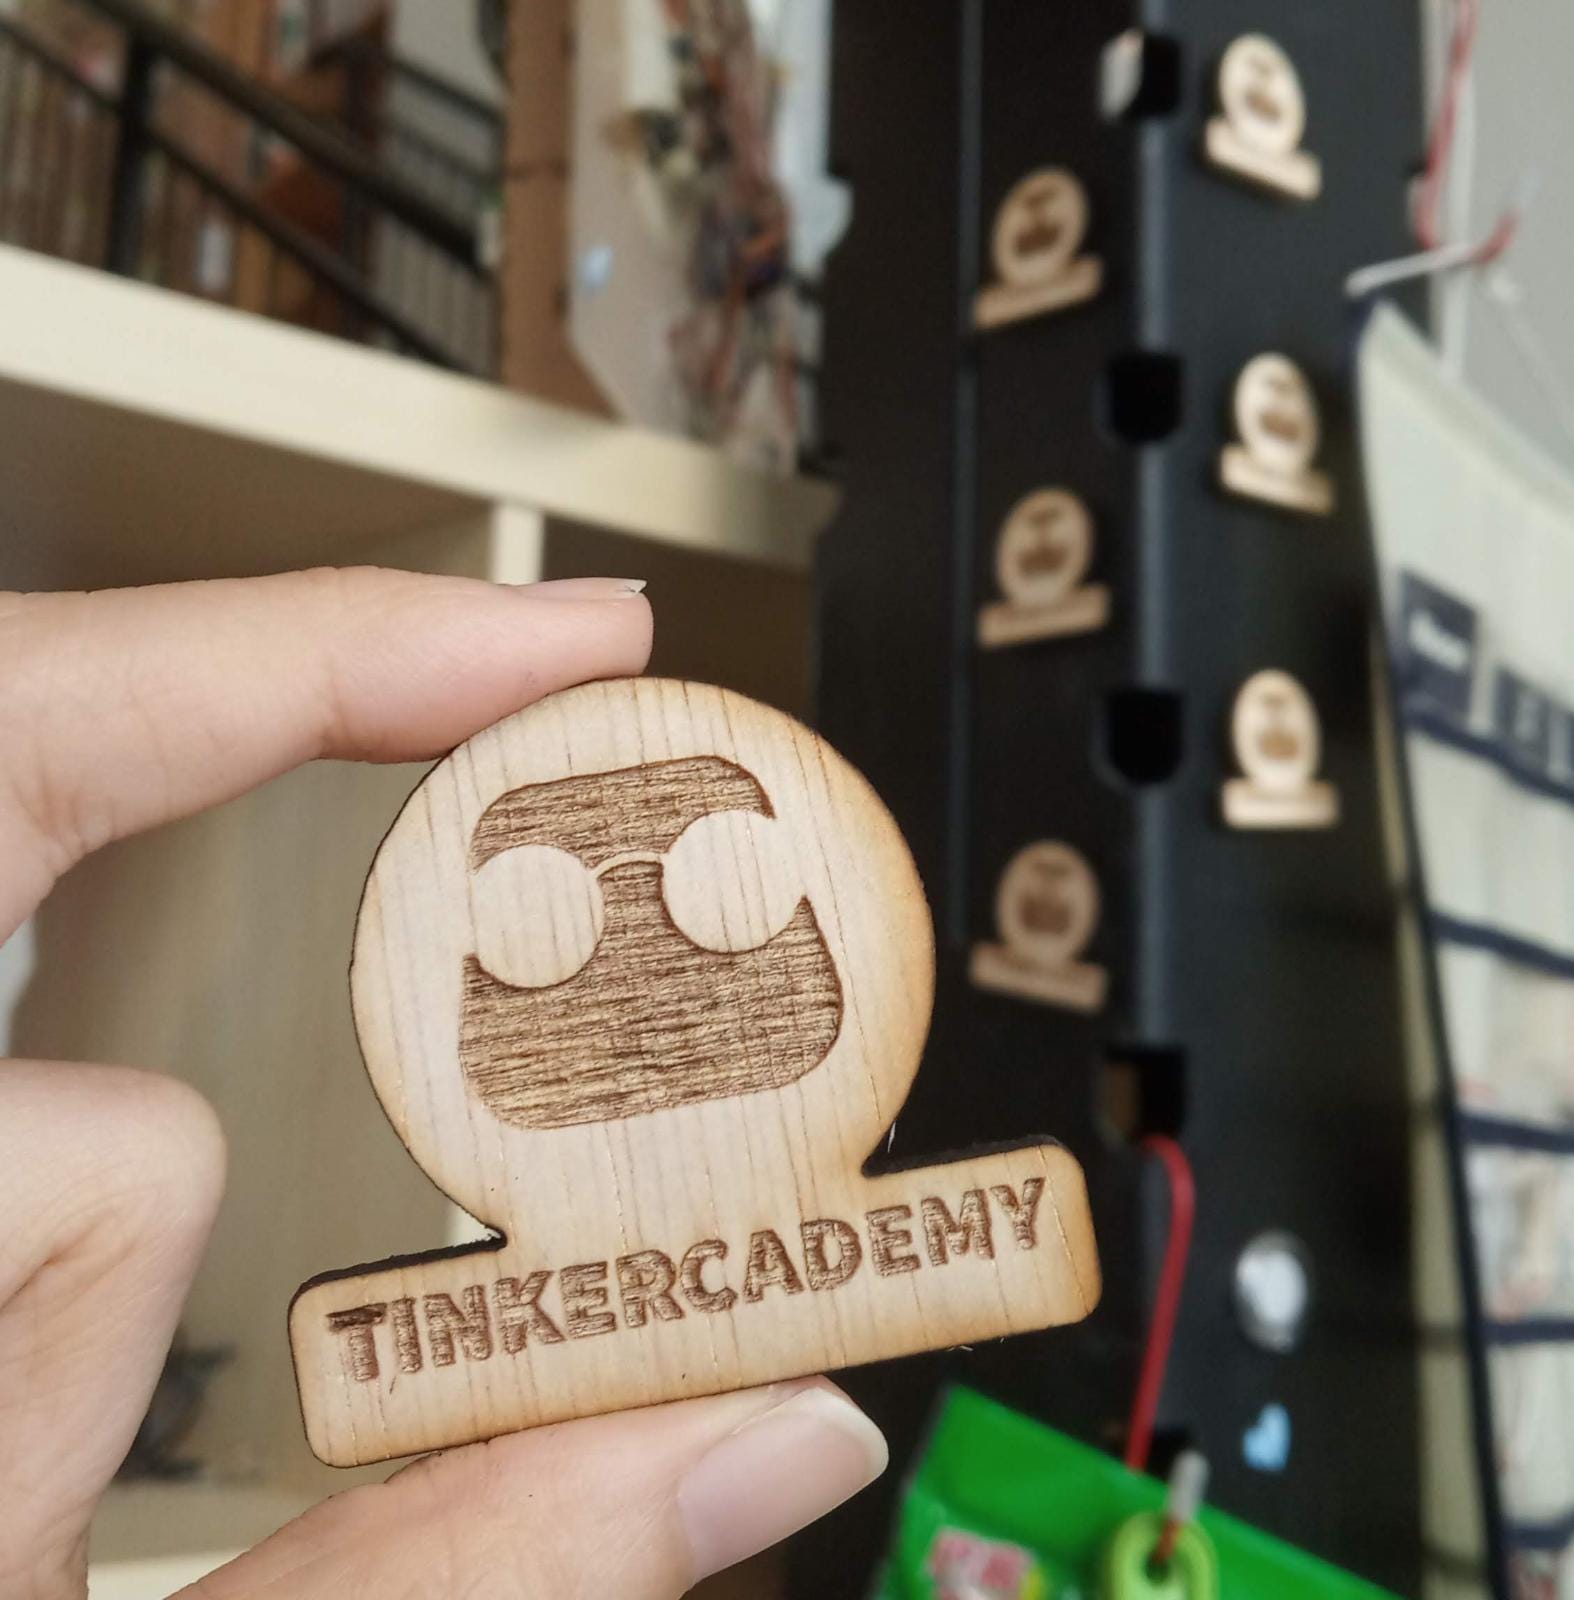
A little magnet, with other little magnets in the background stuck on the metal frame beside the stairs.
Using this similar method of separating raster from vectors, I also cut some company magnets. They were basically more scrap plywood that was engraved and had Daiso magnets stuck onto them.
Besides these tiny trinkets, I had also cut a much larger company sign. Our free-style hot-desking system for interns meant that on days I chose to sit on the first level of our two-level office (the air-con isn’t so cold there), I often found myself opening the door for people looking for Tinkertanker, and… people not looking for Tinkertanker. To save myself some trouble, I decided that a visible signage would clearly demarcate this territory as ours, and not our neighbours’. (Also, because I liked the look of our logo, lol.)
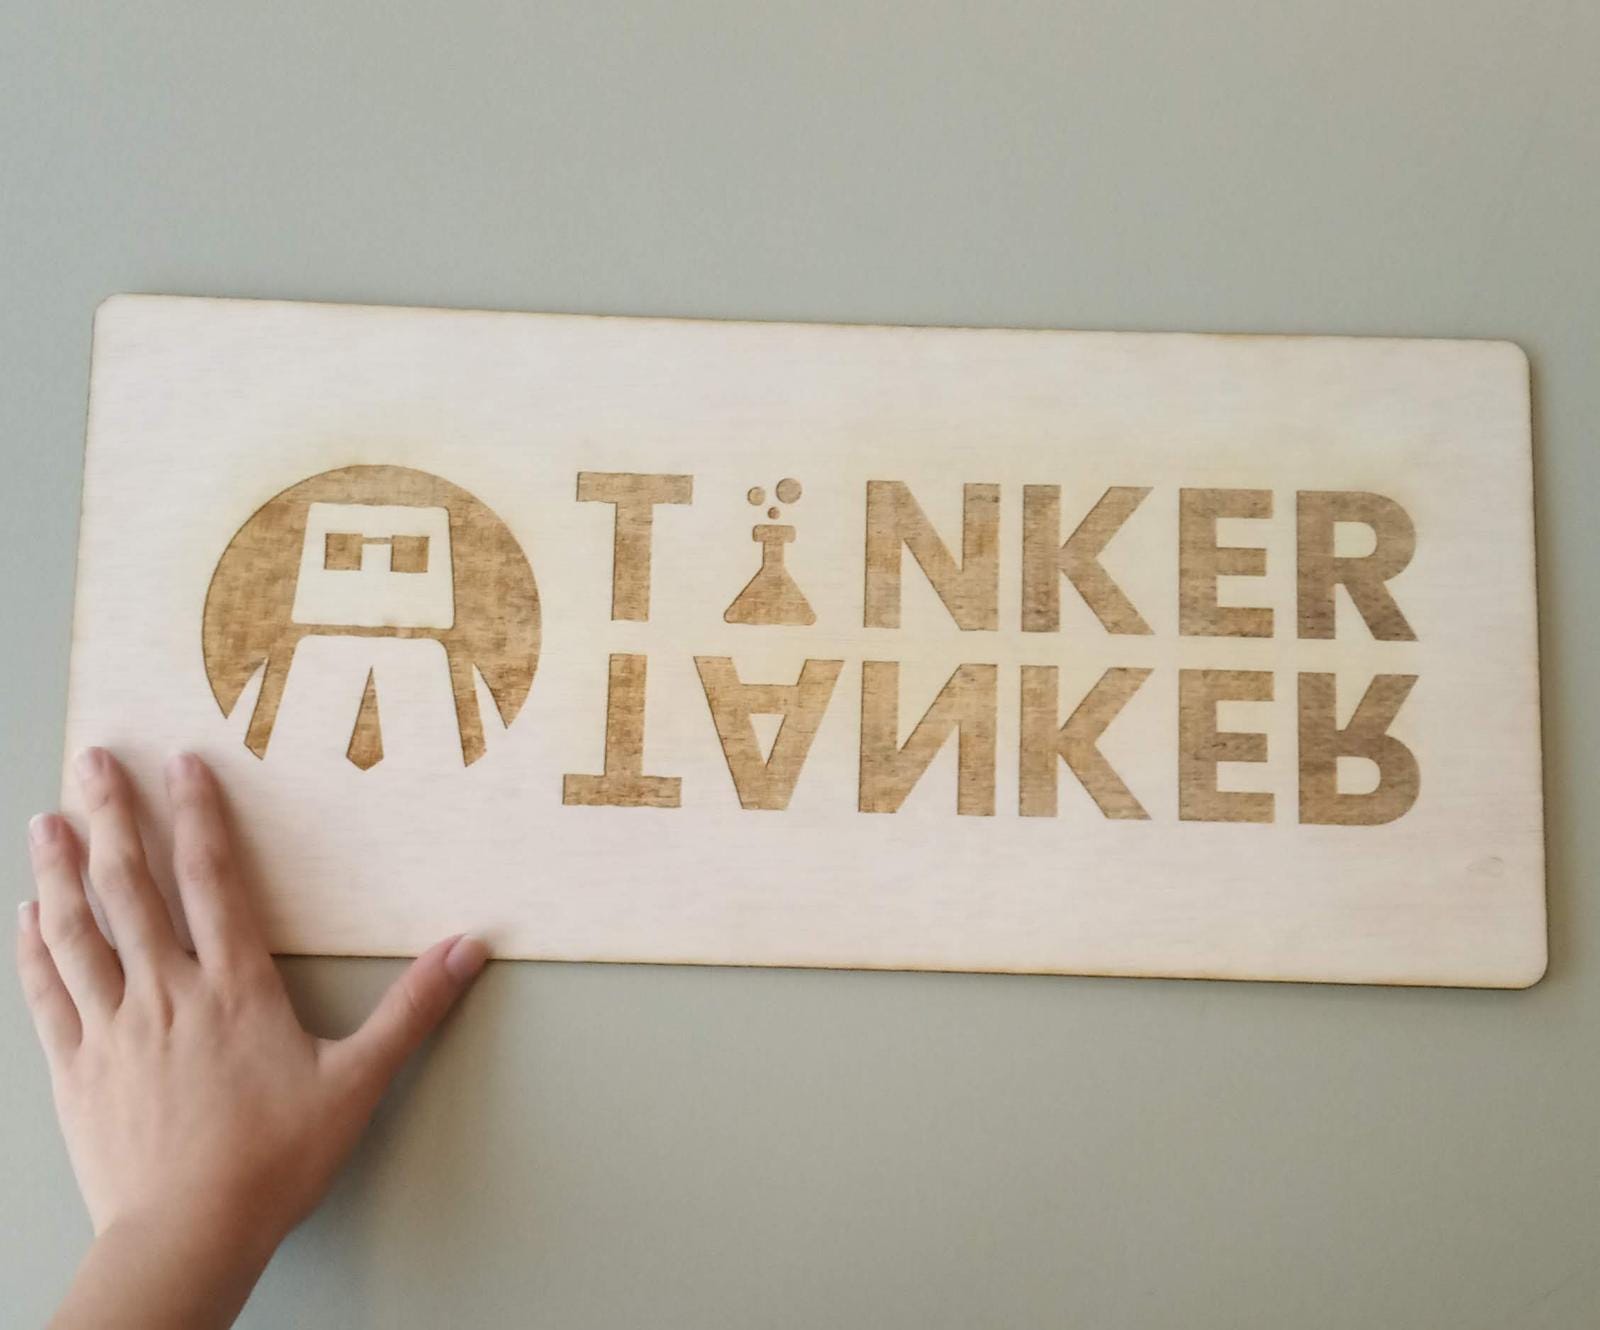
Not super big, but clear enough. I stuck it on our glass door using Daiso’s transparent adhesive tack.
In addition to plywood, I also cut acrylic. In general, the material is thicker and harder to cut through, which means a higher power and lower speed is needed. This ‘launch spaceship’ sign is from our Istana Open House project. The cutting was not ideal either, since the laser did not cut through the material (and we had already moved the acrylic away from its original position). Salvaging the sign took a lot of brute strength and a penknife, as well as a metal file and sandpaper. The transparent/ translucent acrylic sign was to be lit up using an LED strip. You can see it in action here on Instagram, in the video taken during our setup.
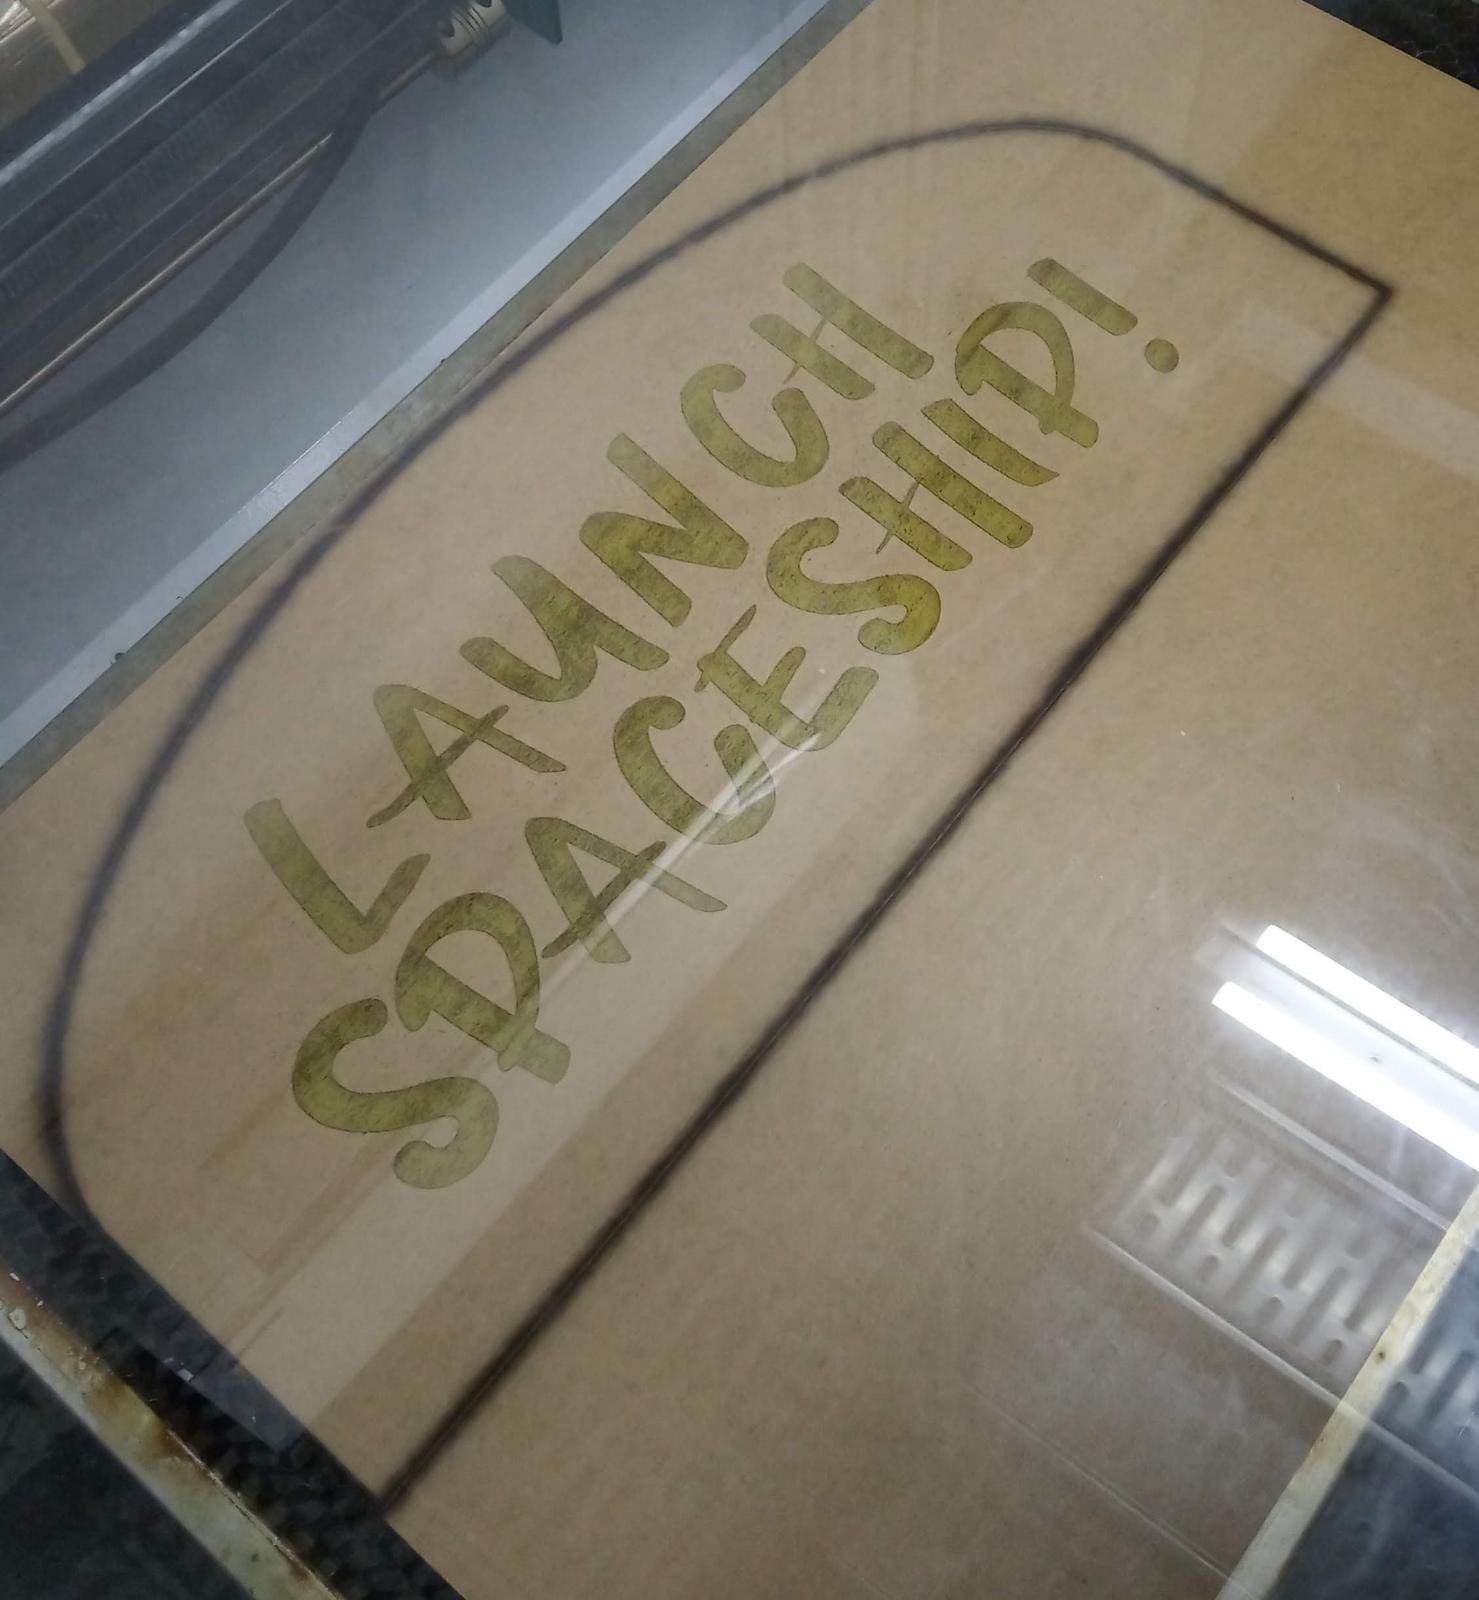
Acrylic, with protective layer of paper still on.
Clearly, I enjoyed my time playing around with the laser cutter, and cutting out all the different versions of the company logos. For more art and craft I did at this edu-tech company (oh the irony), read about my experience with the paper cutter or doing up a kids’ activity booklet.