

Editor’s note: Nadya joined us as a marketing intern earlier this year. Despite coming in with little tech or coding experience, she quickly immersed herself in all our maker tools, and did a great job of highlighting our kits and products on our social media channels! Here’s one of her projects, using the Brother Scan-N-Cut machine.
Inspired by a gift I got from my friend of a Totoro diorama scene, I decided to attempt to make my own paper cut diorama scene. The concept seemed simple enough — layering multiple sheets of paper to add depth to a 2D scene, slightly reminiscent of a topographical map.
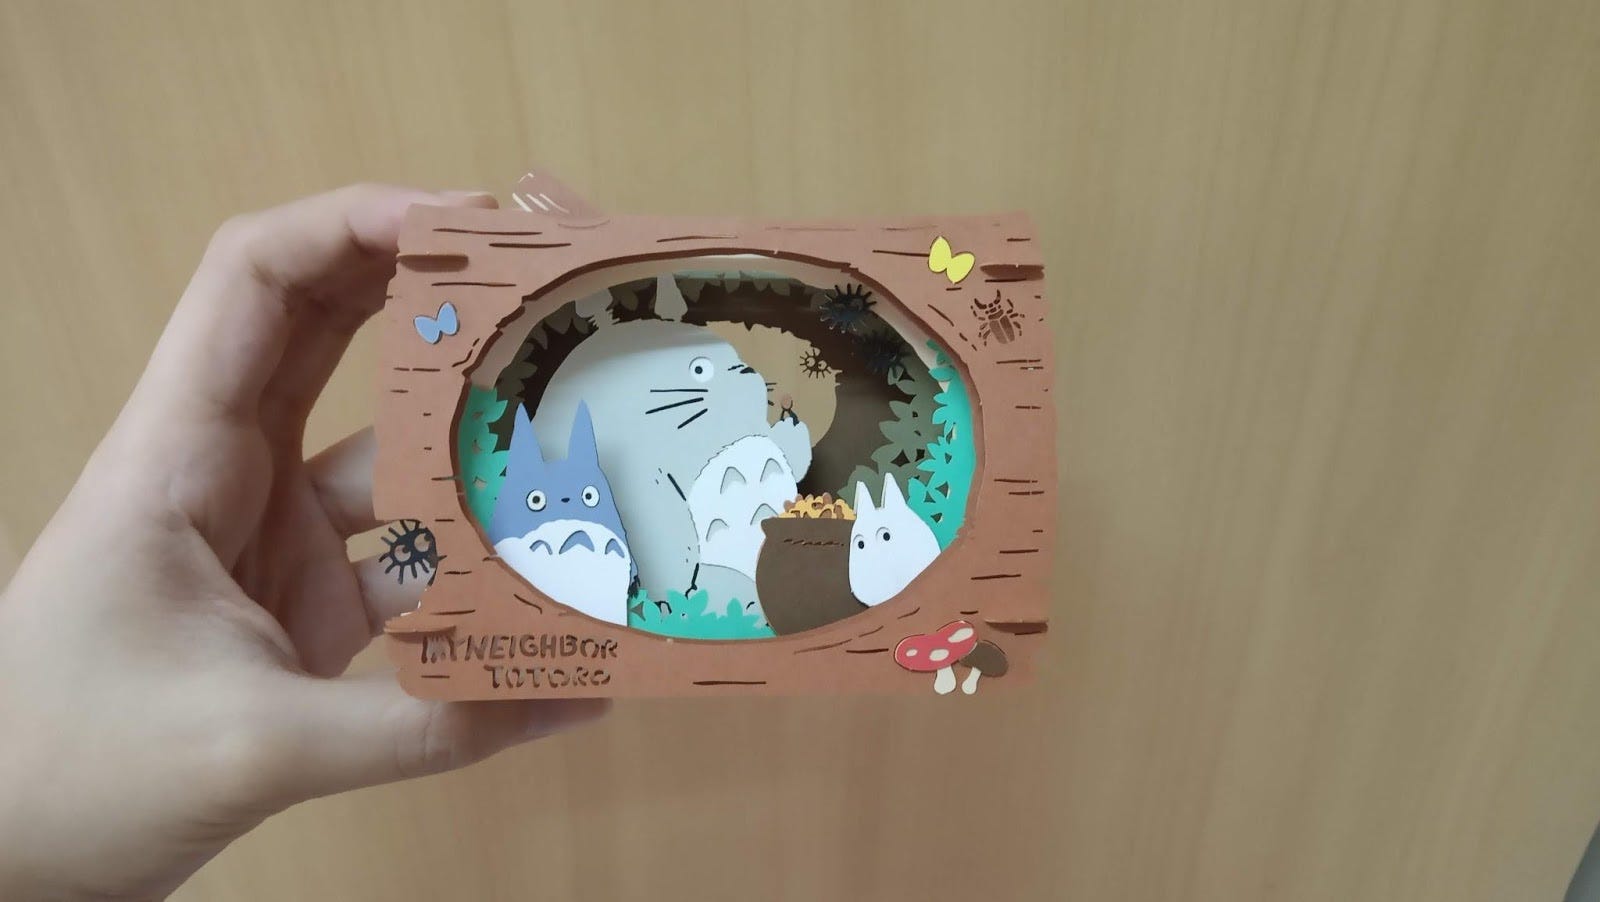
the store-bought diorama
I started off sketching my scene on Adobe Illustrator (after lugging my second hand Wacom — the ancient but hardy Intuos 3 from more than a decade ago — to the office). Not any professional at this, but what I did was sketch using brush strokes before using the blob brush to create shapes according to how I wanted my layers to be.
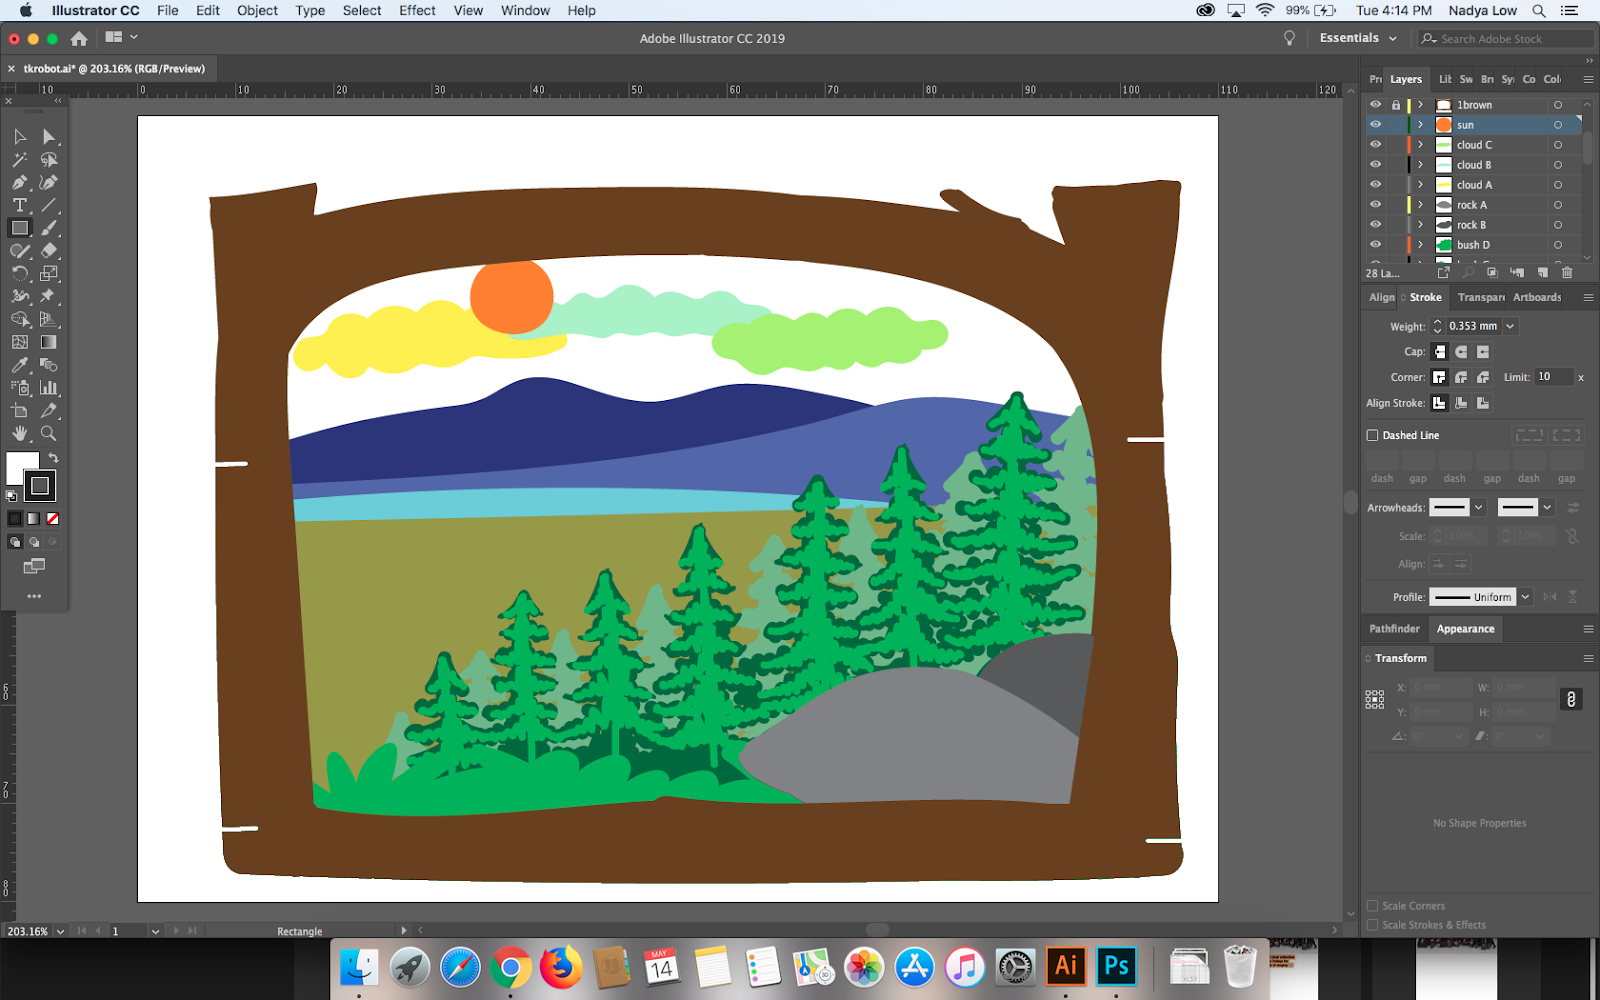
a weirdly-coloured mess
After which, I converted the shapes to unfilled outlines, and exported my outlines to be cut as a .svg file. I went according to the Scan N Cut manual’s recommendations to calibrate the machine to cut printer paper (blade scale setting: 3 and cut pressure setting: -1), before proceeding to cut coloured paper.
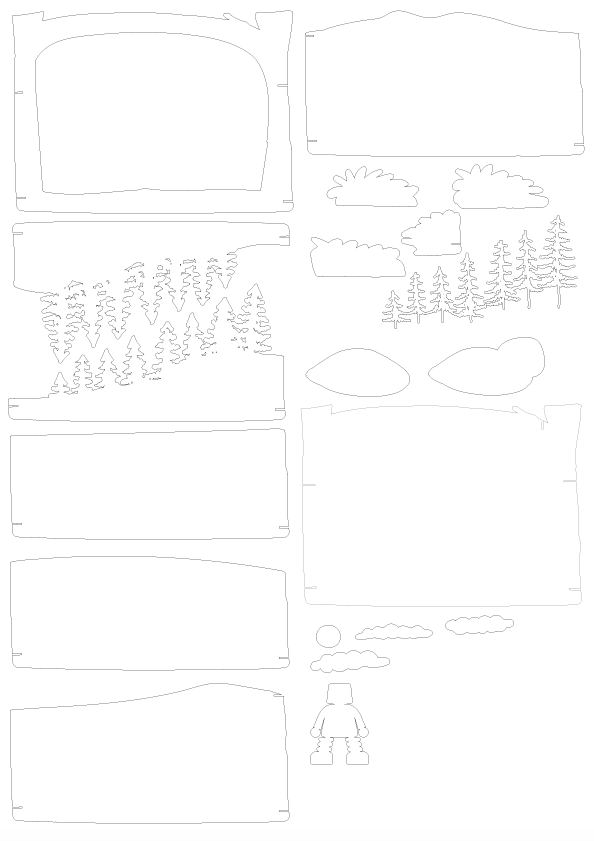
outlines
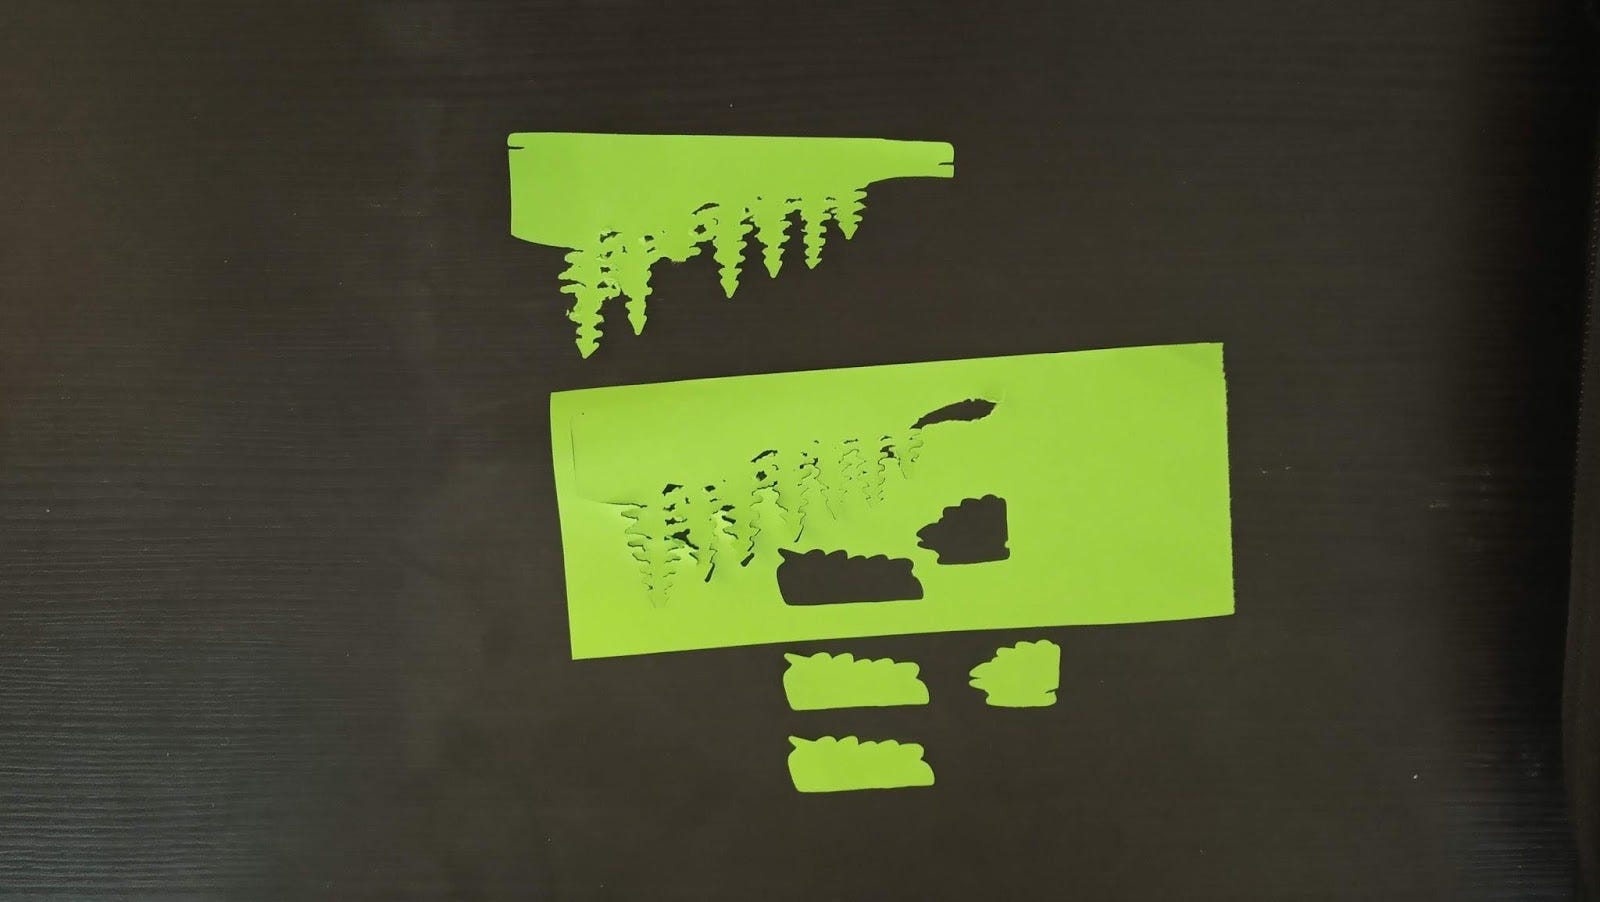
torn coloured paper
However, upon cutting, I realised that the small details of the trees were too intricate for the Scan N Cut to achieve. This was probably due to:
- small angles and line segments involved
- the thin paper that was easily torn
With the Scan N Cut, the sheet of paper needs to be adhered onto a mat, before being loaded into the machine to be cut. The challenge with this was that it was difficult to find the perfect balance of stickiness suitable for the mat. If the mat was too sticky, the sheet of paper would have a higher chance of tearing when I peeled it off the mat after cutting. On the other hand, if the mat was not sticky enough, the paper would slip off the mat while being cut, since the cutting blade was pushing against it.
Since the coloured paper could not cut cleanly (as seen in the picture), I decided to try drawing block paper instead. I went according to the Scan N Cut manual’s recommendations to calibrate the machine to cut drawing block (blade scale setting: 4 and cut pressure setting: 0). Following the difficulty in cutting small shapes, I also scaled my scene up to 120% of the original. The final result was slightly better, where the pieces stayed mostly intact, save for some minor tears.
With extra issues dealing with the Scan N Cut, I decided against further attempts. The machine had refused to recognise the cutting mat numerous times, and at other times had incorrectly sensed that the mat was still inside (an error message telling me to unload a non-existent mat).
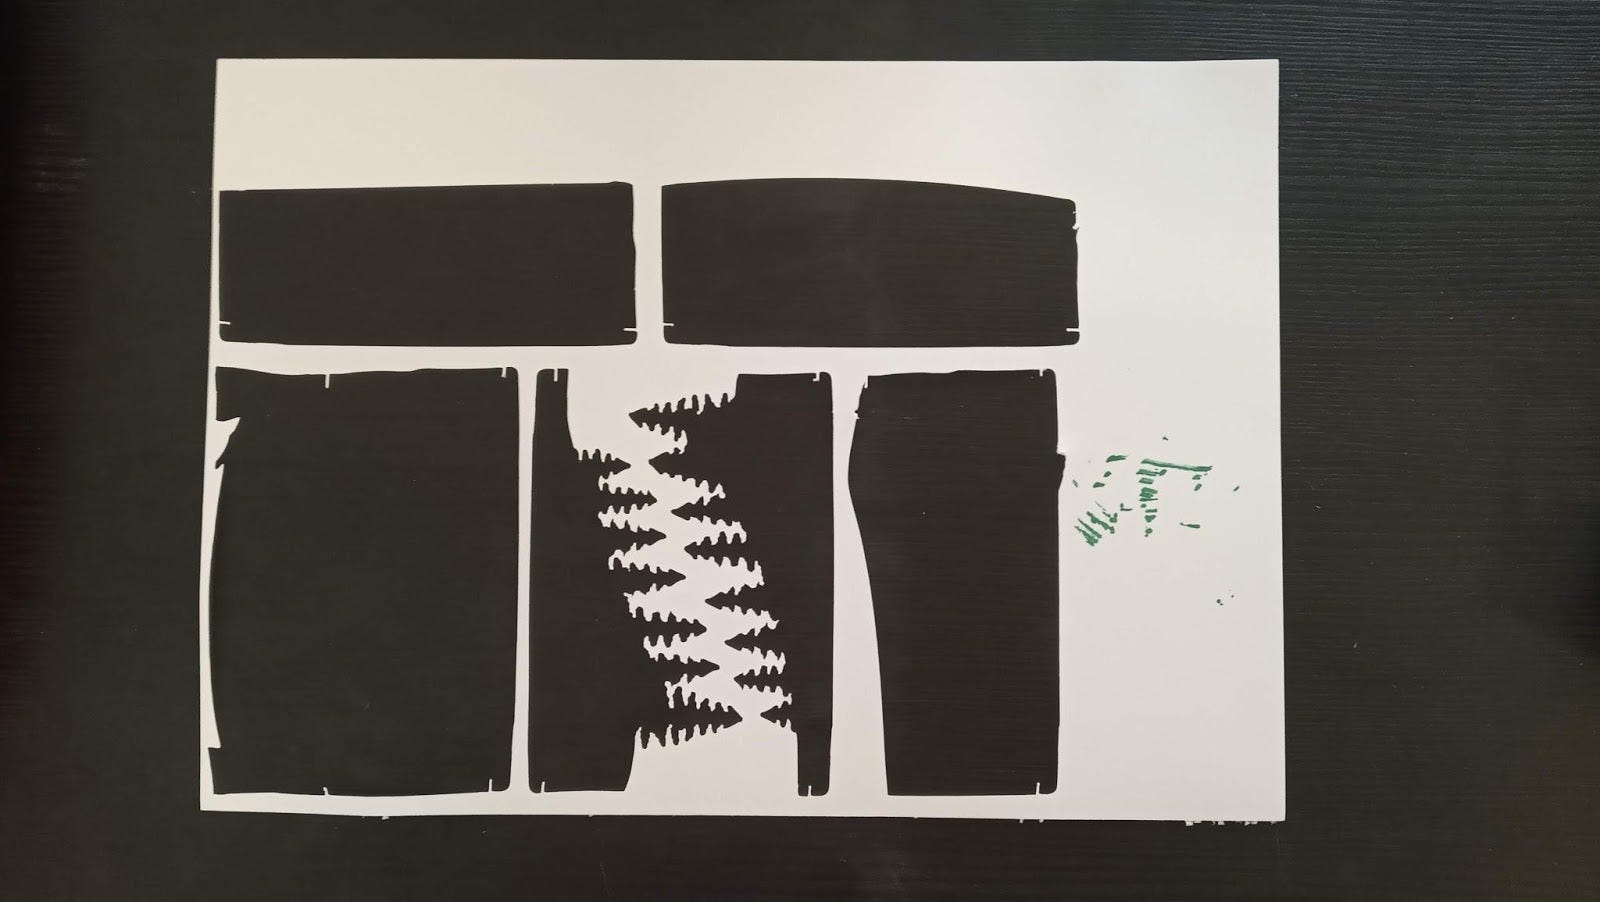
drawing block, and scaled up
The final product pictured is what I have after colouring the white drawing block paper with markers and sticking each layer together. (I didn’t bother making the side stands, considering that it would be too hard to put together with drawing block, which is flimsier than cardstock. That made the self-made diorama flatter than the store-bought one.)
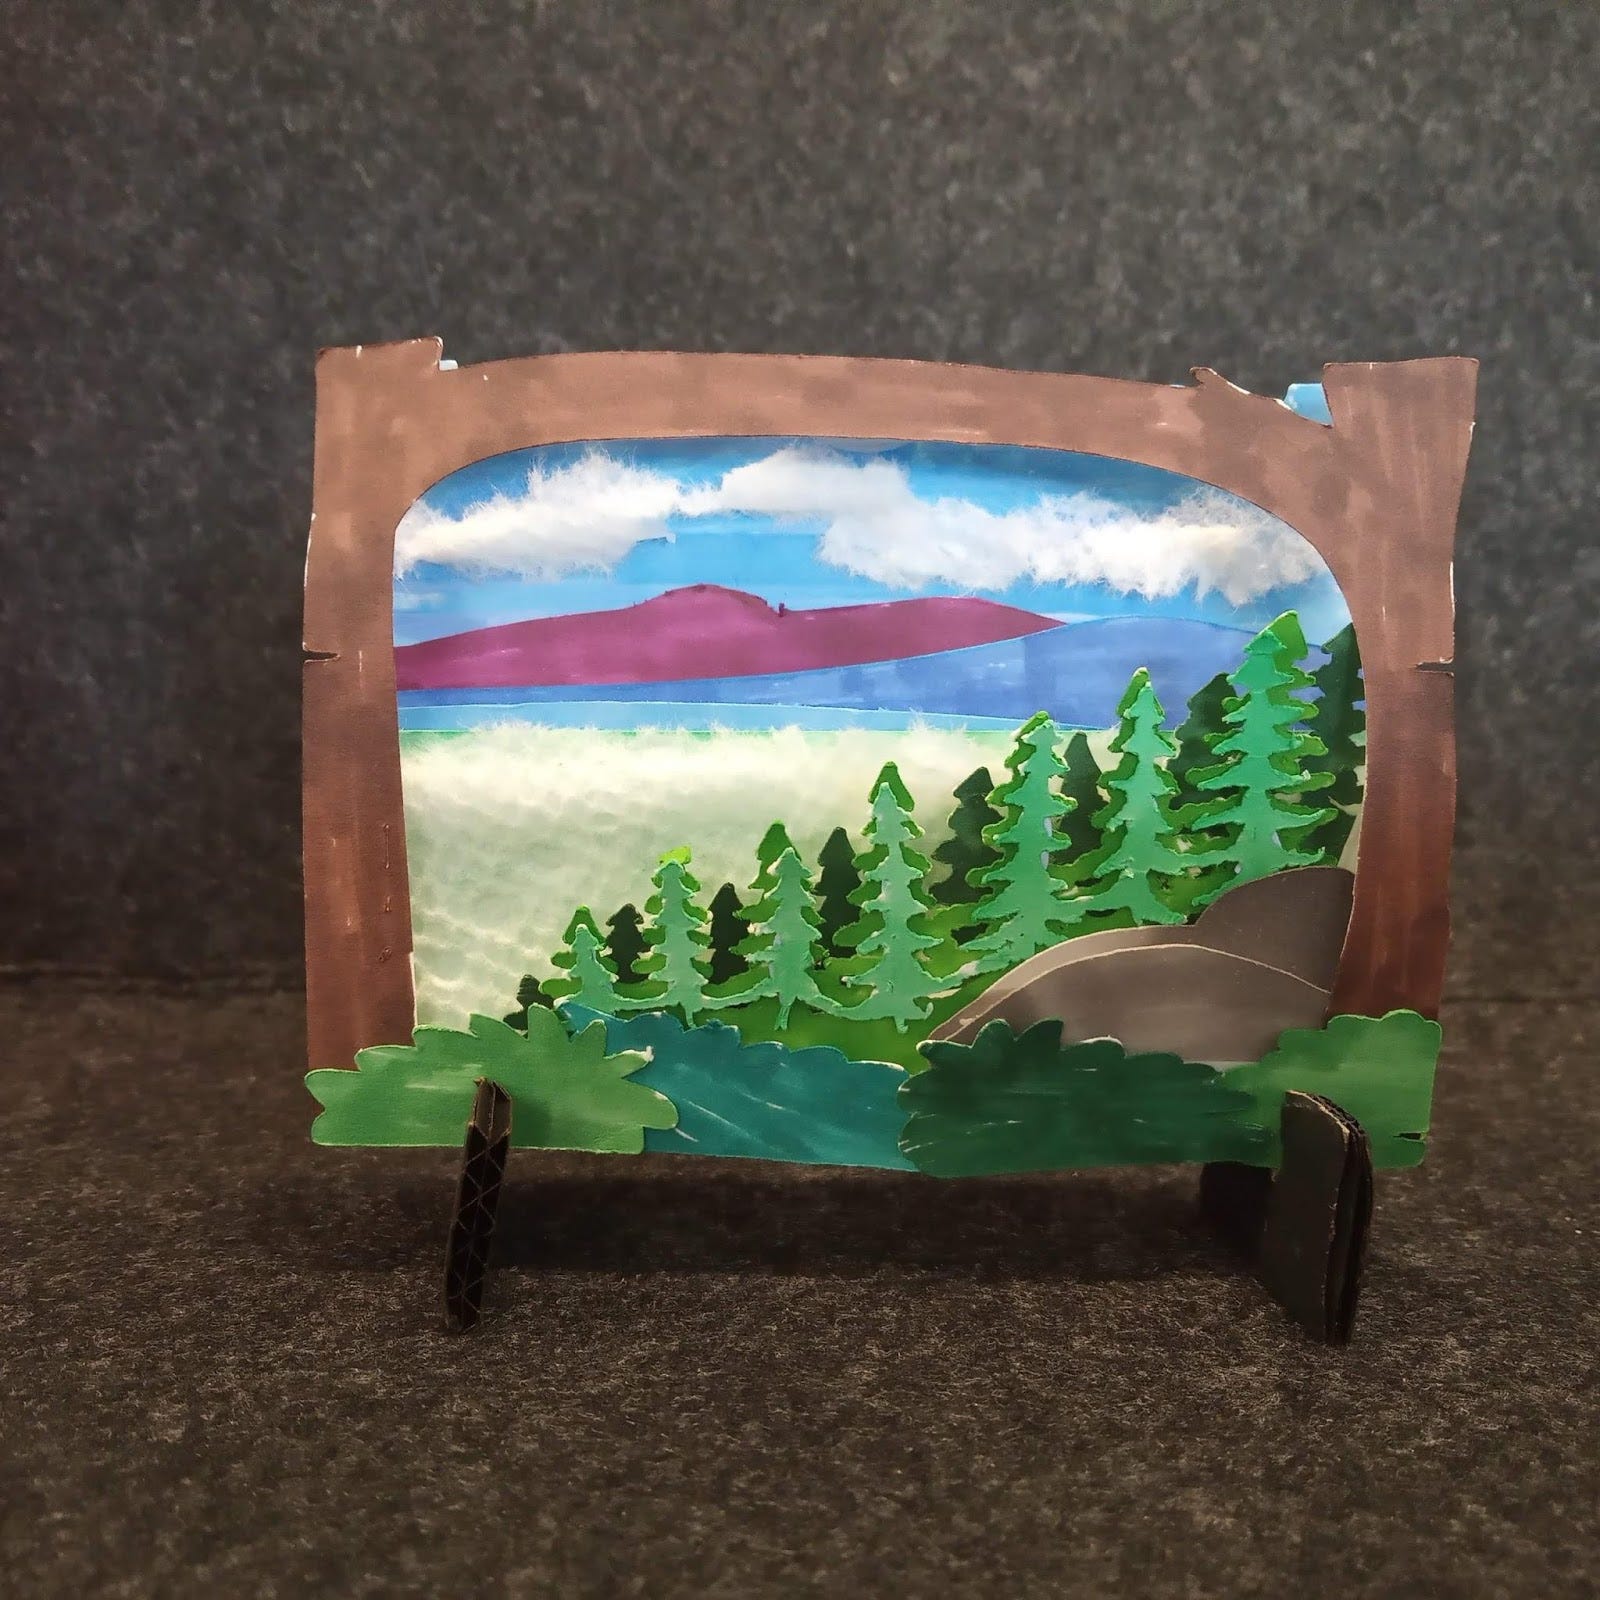
self-made diorama
Was the end product worth the trouble of dealing with the fickle Scan N Cut? Personally, I’d head back to the laser cutter any day!