

From making micro:bit holders to becoming my own IKEA
Editor’s note: Ruochen joined us as an intern for a couple of months, before heading off to the UK for university. She explored a variety of coding and making platforms, and was a great help and an effective independent learner. Read on for some of her adventures in making things with our in-house maker tools!
My journey interning at Tinkertanker was short but filled with many memorable learning experiences and lessons. From assisting in micro:bit lessons and maker bootcamps to updating Unity apps on the Google Play Store, streamlining photo selection for social media posts and writing tutorials on Let’s Get Hacking, it has certainly been a fulfilling and enjoyable two months. I was also able to reacquaint myself with the soldering iron, while gaining exposure to the laser cutter and acrylic bender.
For the last week of my internship, I decided to take on creating a micro:bit holder, inspired by this post from Thingiverse, as well as my involvement assisting in weekly micro:bit lessons held at Bendemeer Secondary. This could potentially help in the improving the organisation of the micro:bits and USB cables both in the office as well as for external lessons.
If you’re looking for detailed how-to on the laser cutter, I won’t be going into that since Hongyi has already posted an article on this during her time at Tinkertanker, aptly titled Laser Cutting for Dummies. Instead, I’ll be writing about my creative and learning process going from a complete newbie to designing and making my own room decor with acrylic! I’ll be using Inkscape to draw the designs, and RetinaEngrave to cut them out with the laser cutter.
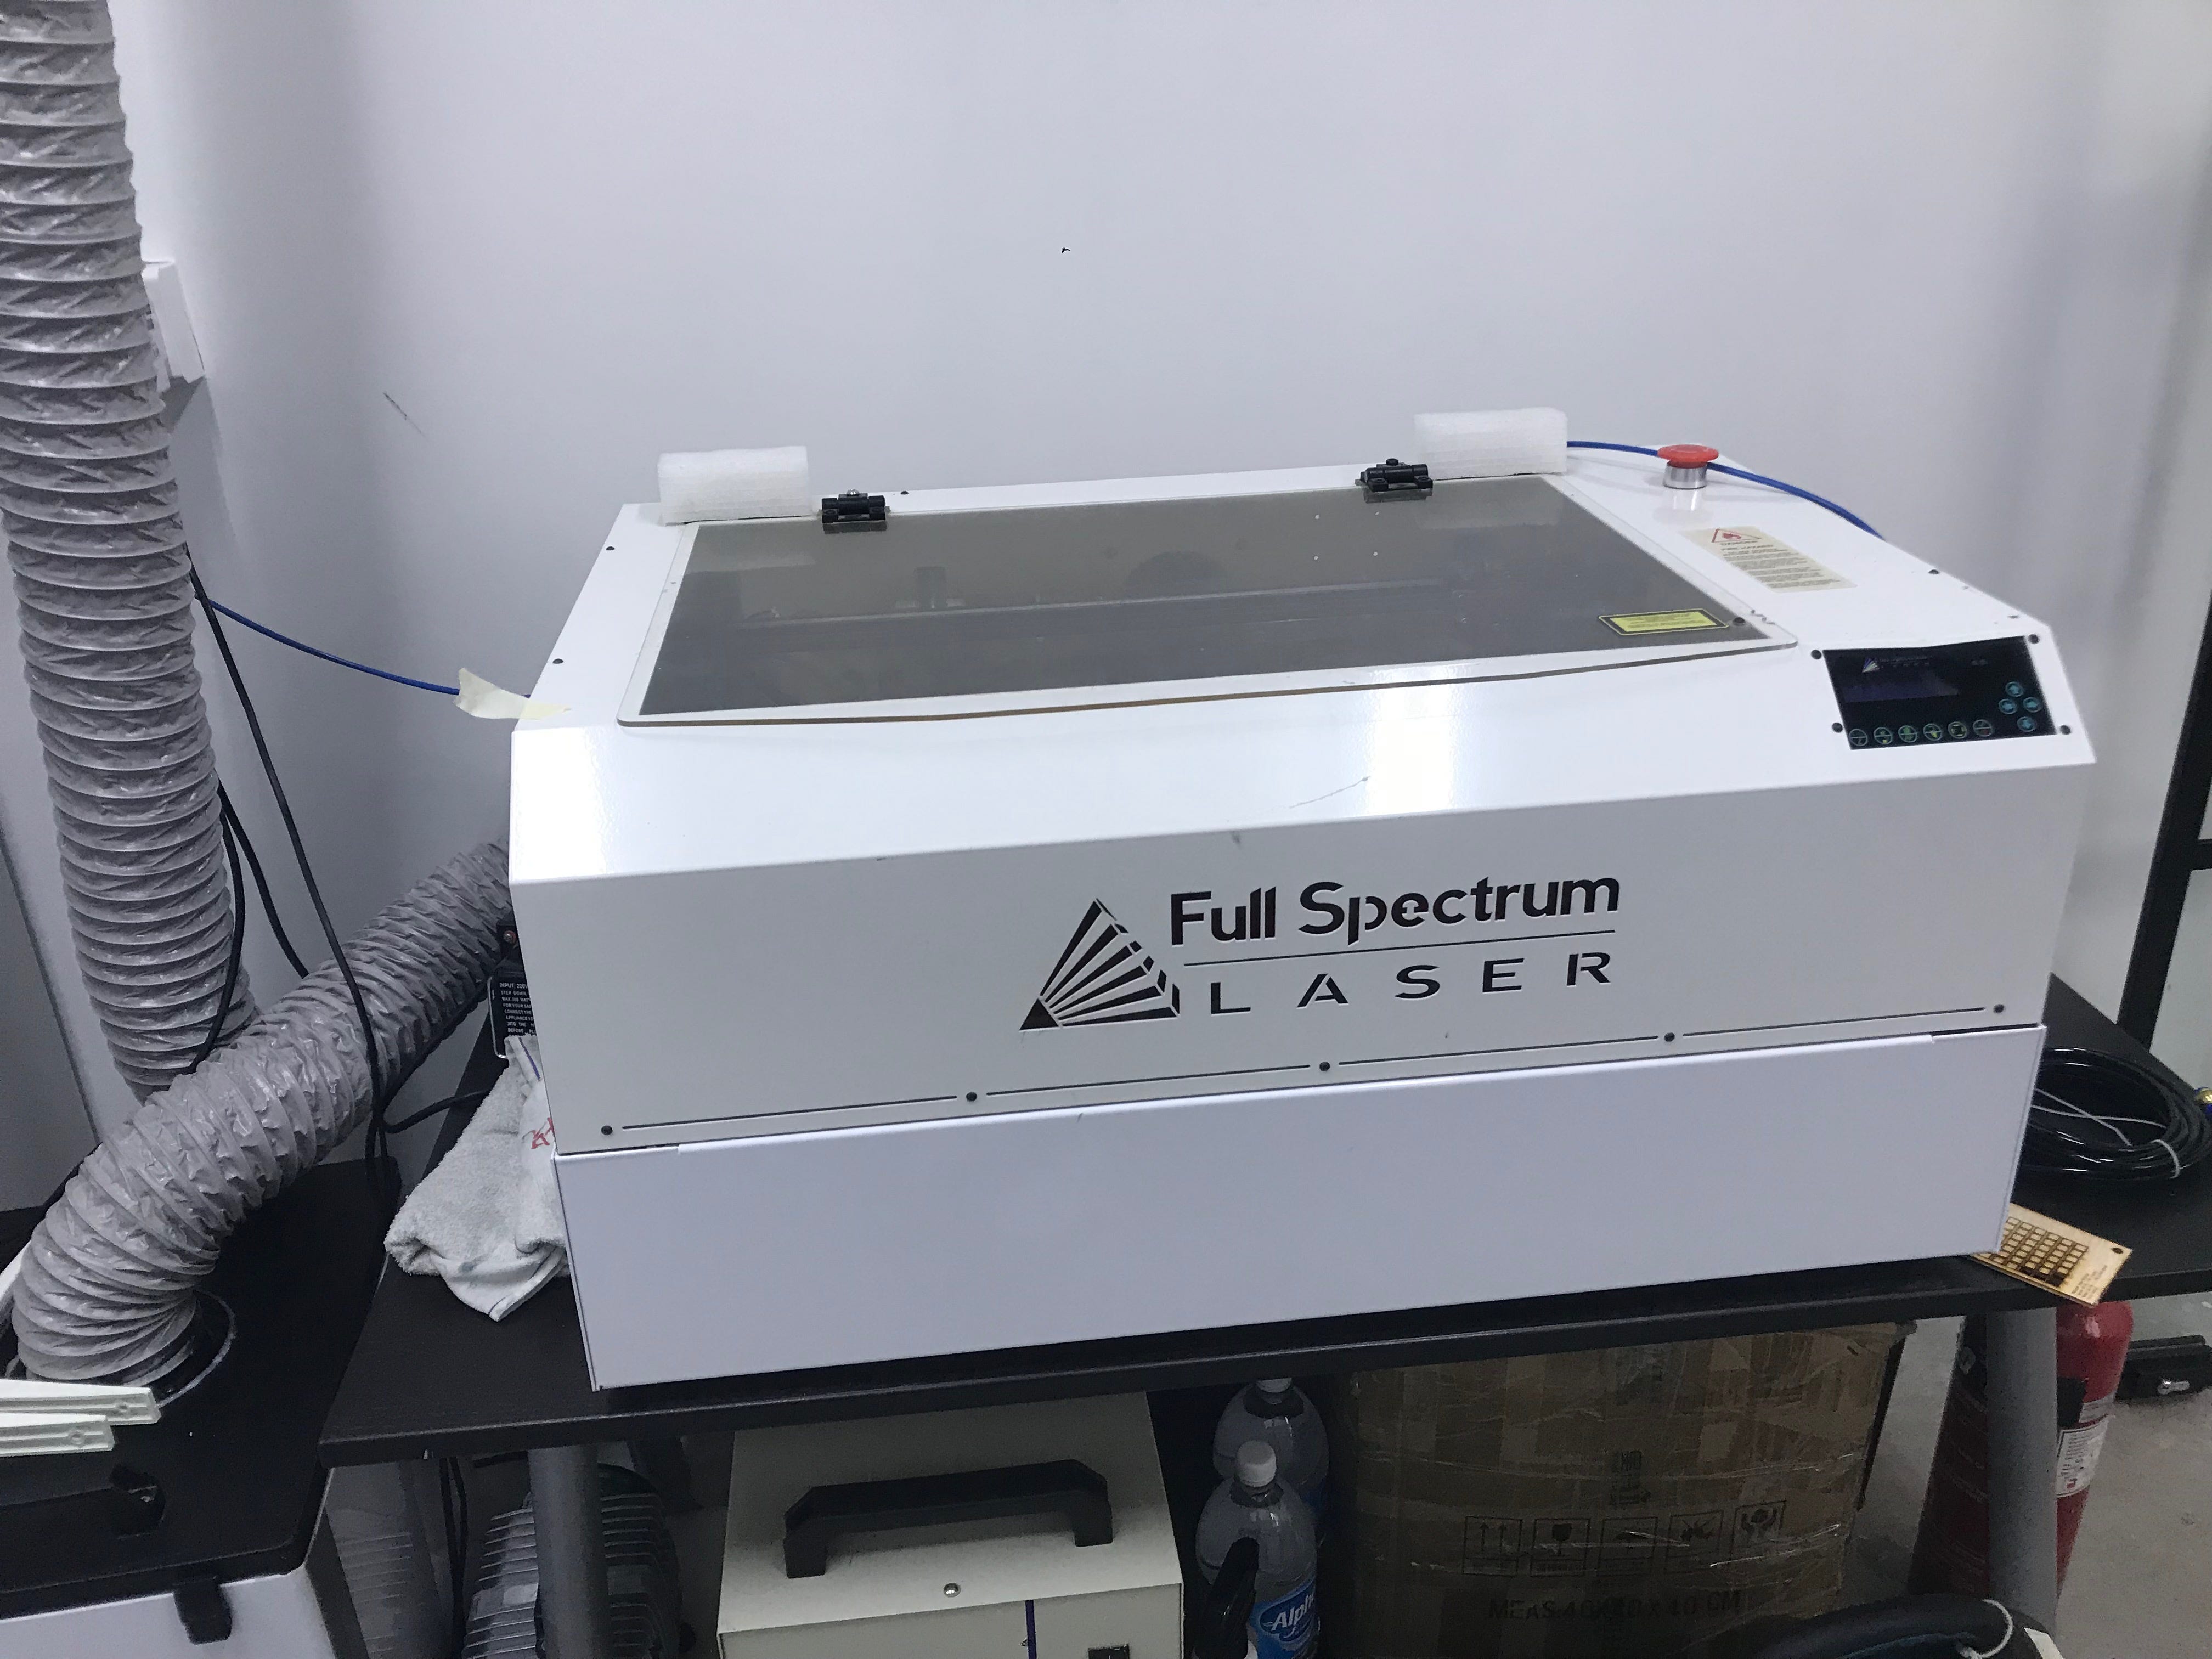
My first encounter with the fabled laser cutter!
I had two designs in mind for the micro:bit holder — one would be a display stand and the other would be a portable carrier, though it could also be used for display purposes.
Starting with the display stand, I created the base for 10 micro:bits, with rounded edges and 4mm-diameter circles on each corner so that the screws would fit firmly in place. Each micro:bit would rest snugly into the rectangles, which will be filled using cross-hatching using RetinaEngrave, thus creating a divot so the micro:bits would not fall out of place. The laser would have to run over the divots fewer times to ensure that the rectangles are not fully cut out unlike the edges, but instead engraved into the acrylic.
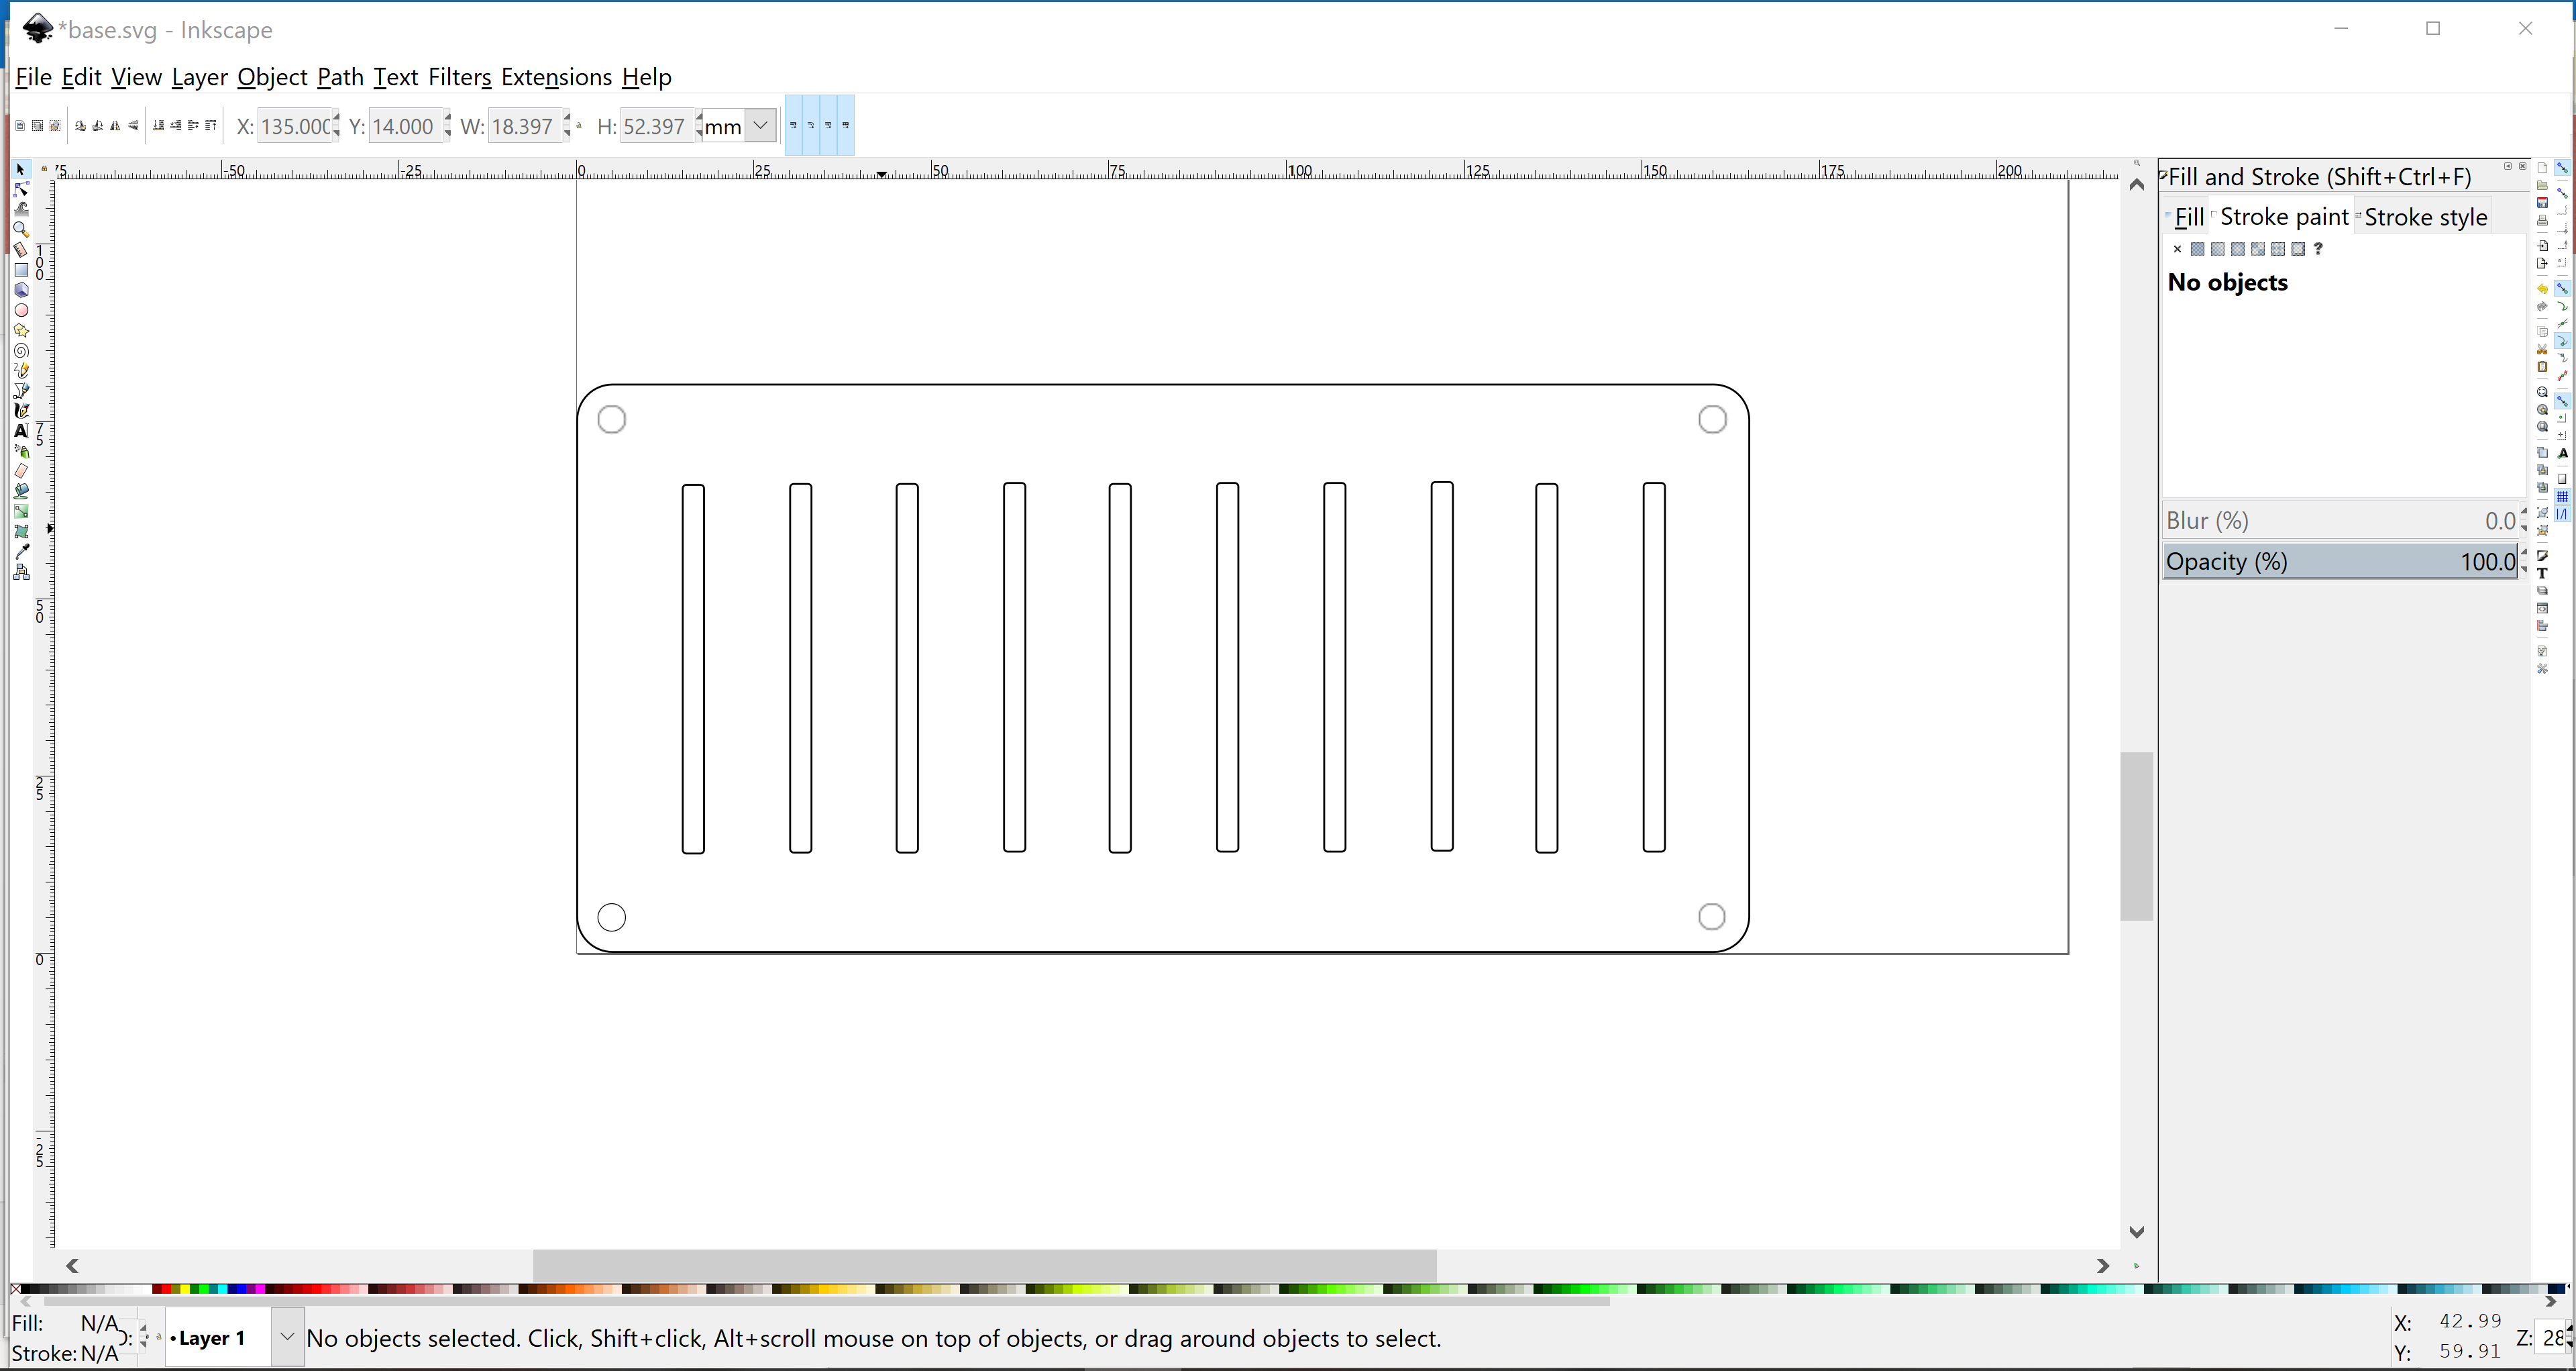
Base of micro:bit display stand
The second layer is largely similar to the base, except that the 10 rectangles would no longer be filled and cross-hatched, but cut out such that the micro:bits would be able to slide through. I shifted the rectangles to the side by around 5mm such that the micro:bits would be a little slanted instead of fully vertical when displayed, making the design just a little more tasteful.
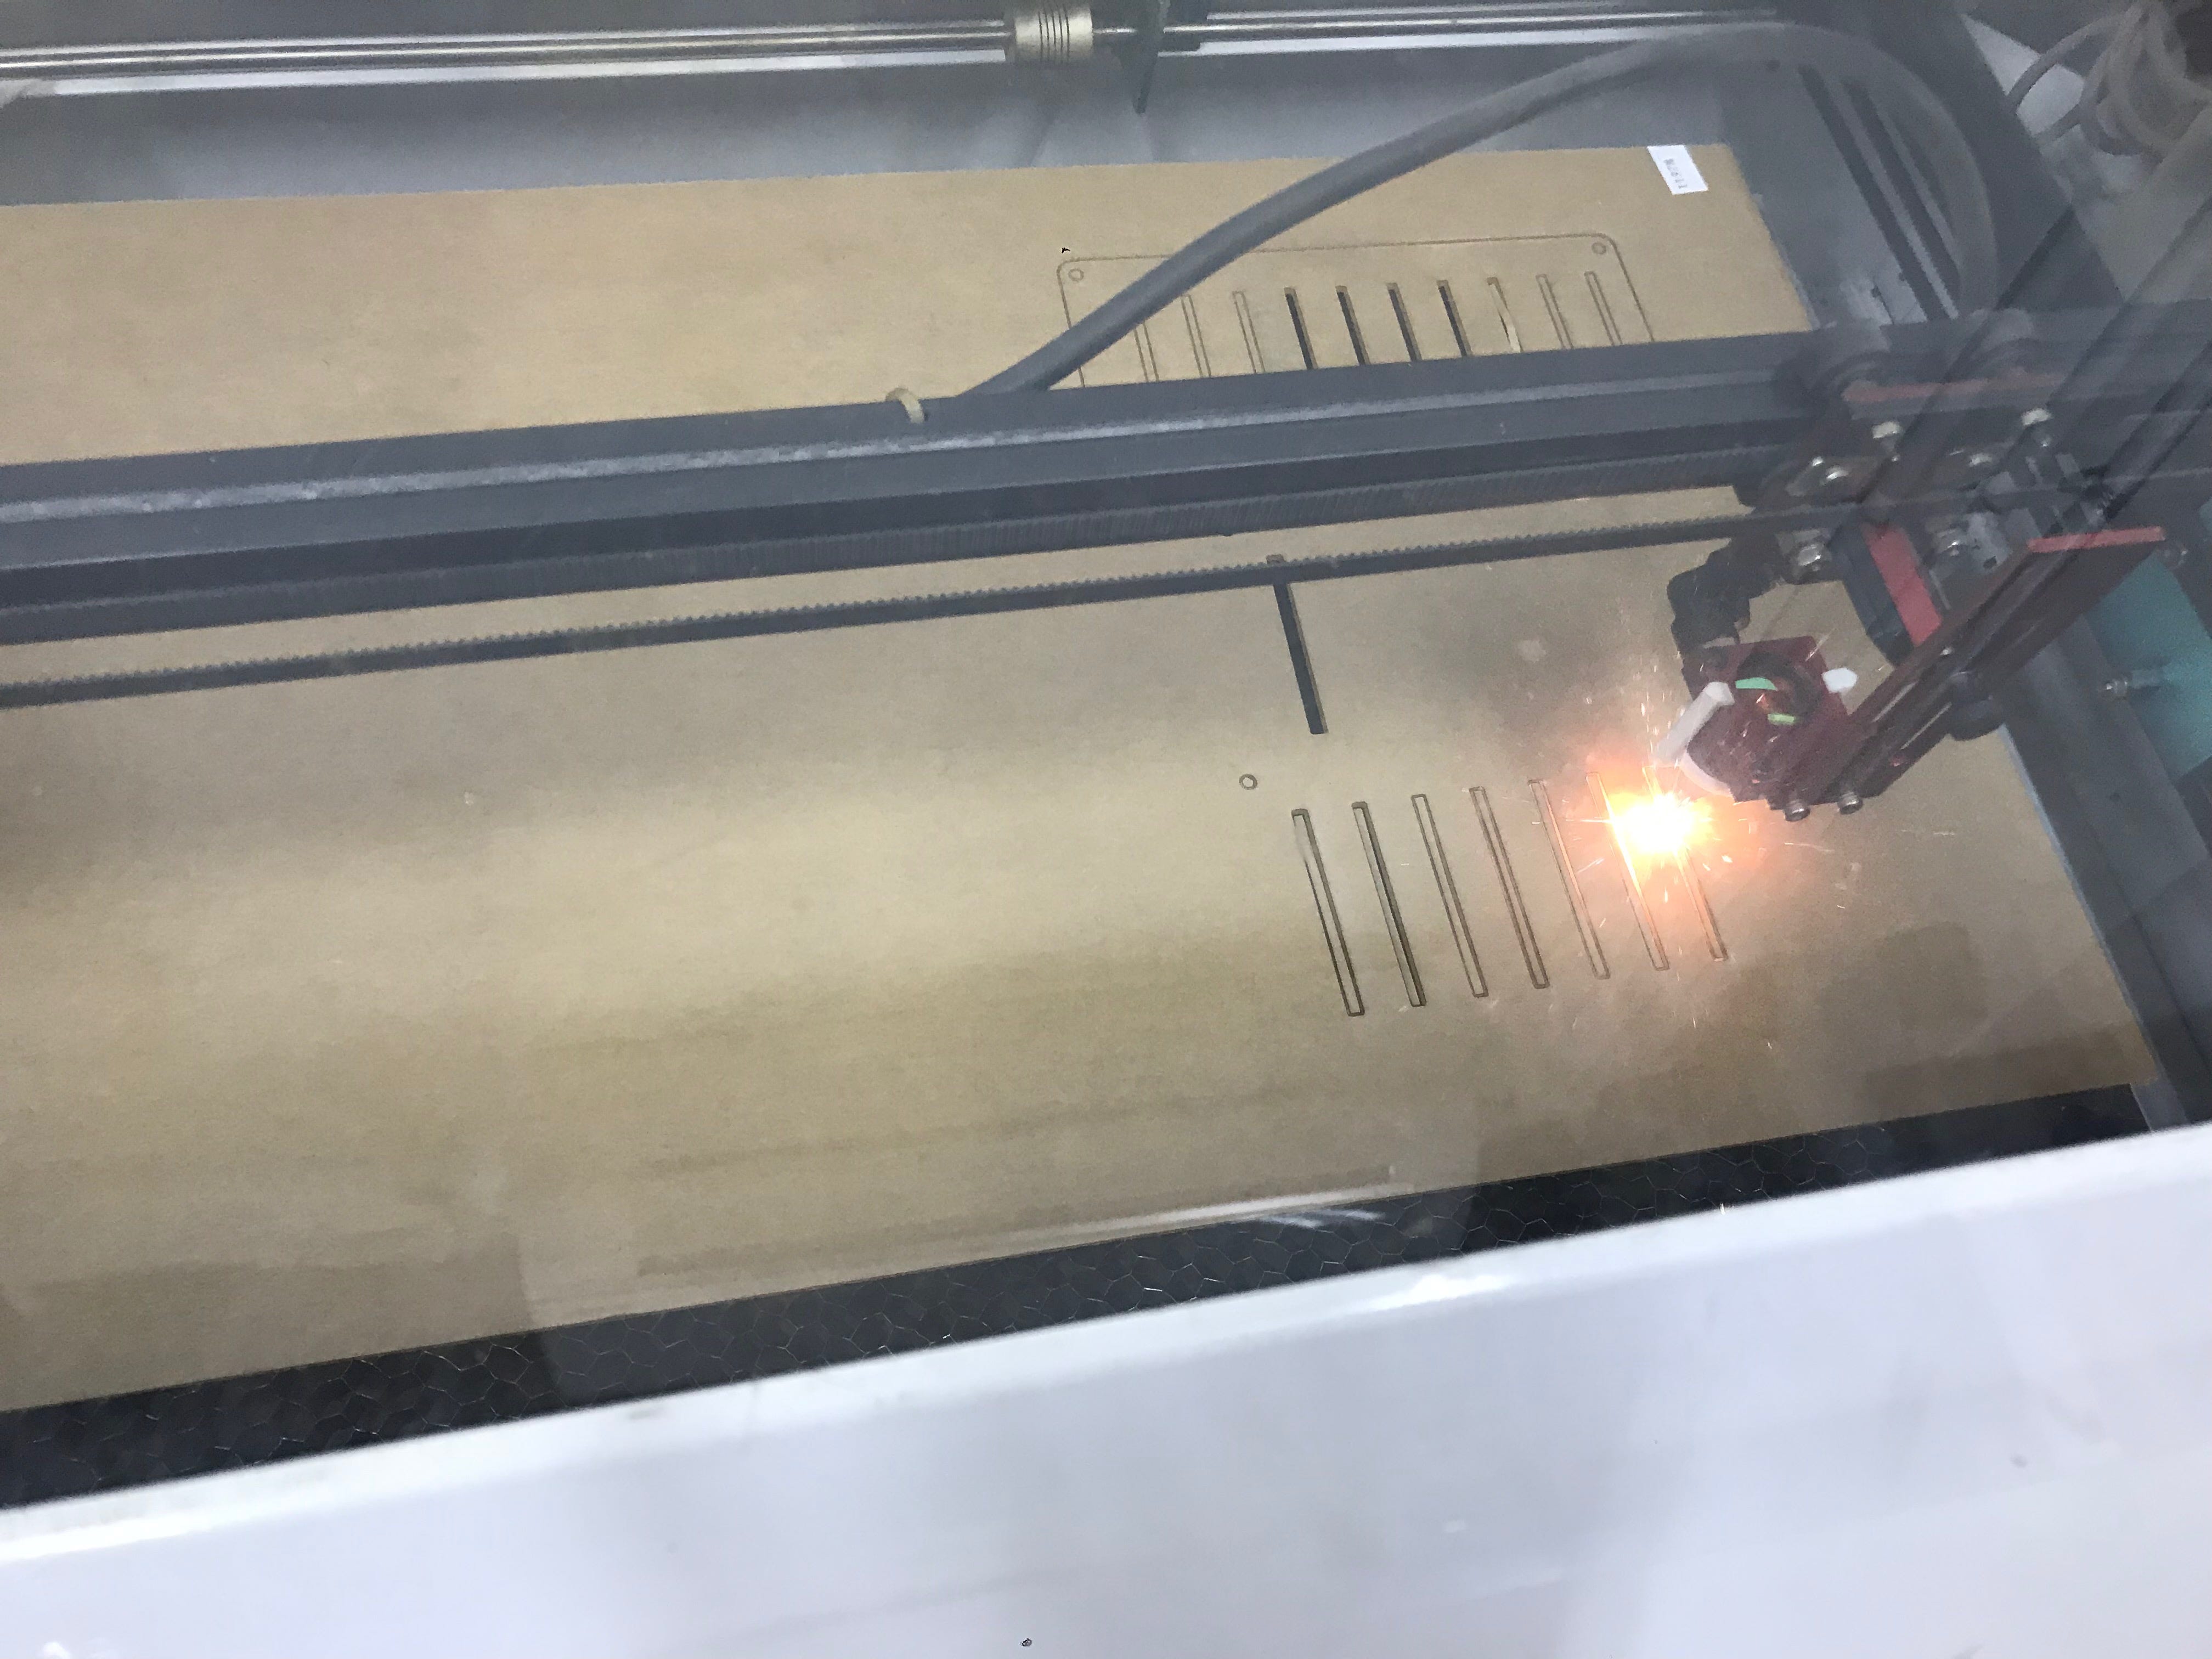
Laser cutter in action! My previous attempt didn’t cut the acrylic deep enough ;-;
After a little bit of assembly with the screws, the micro:bit display stand was ready!
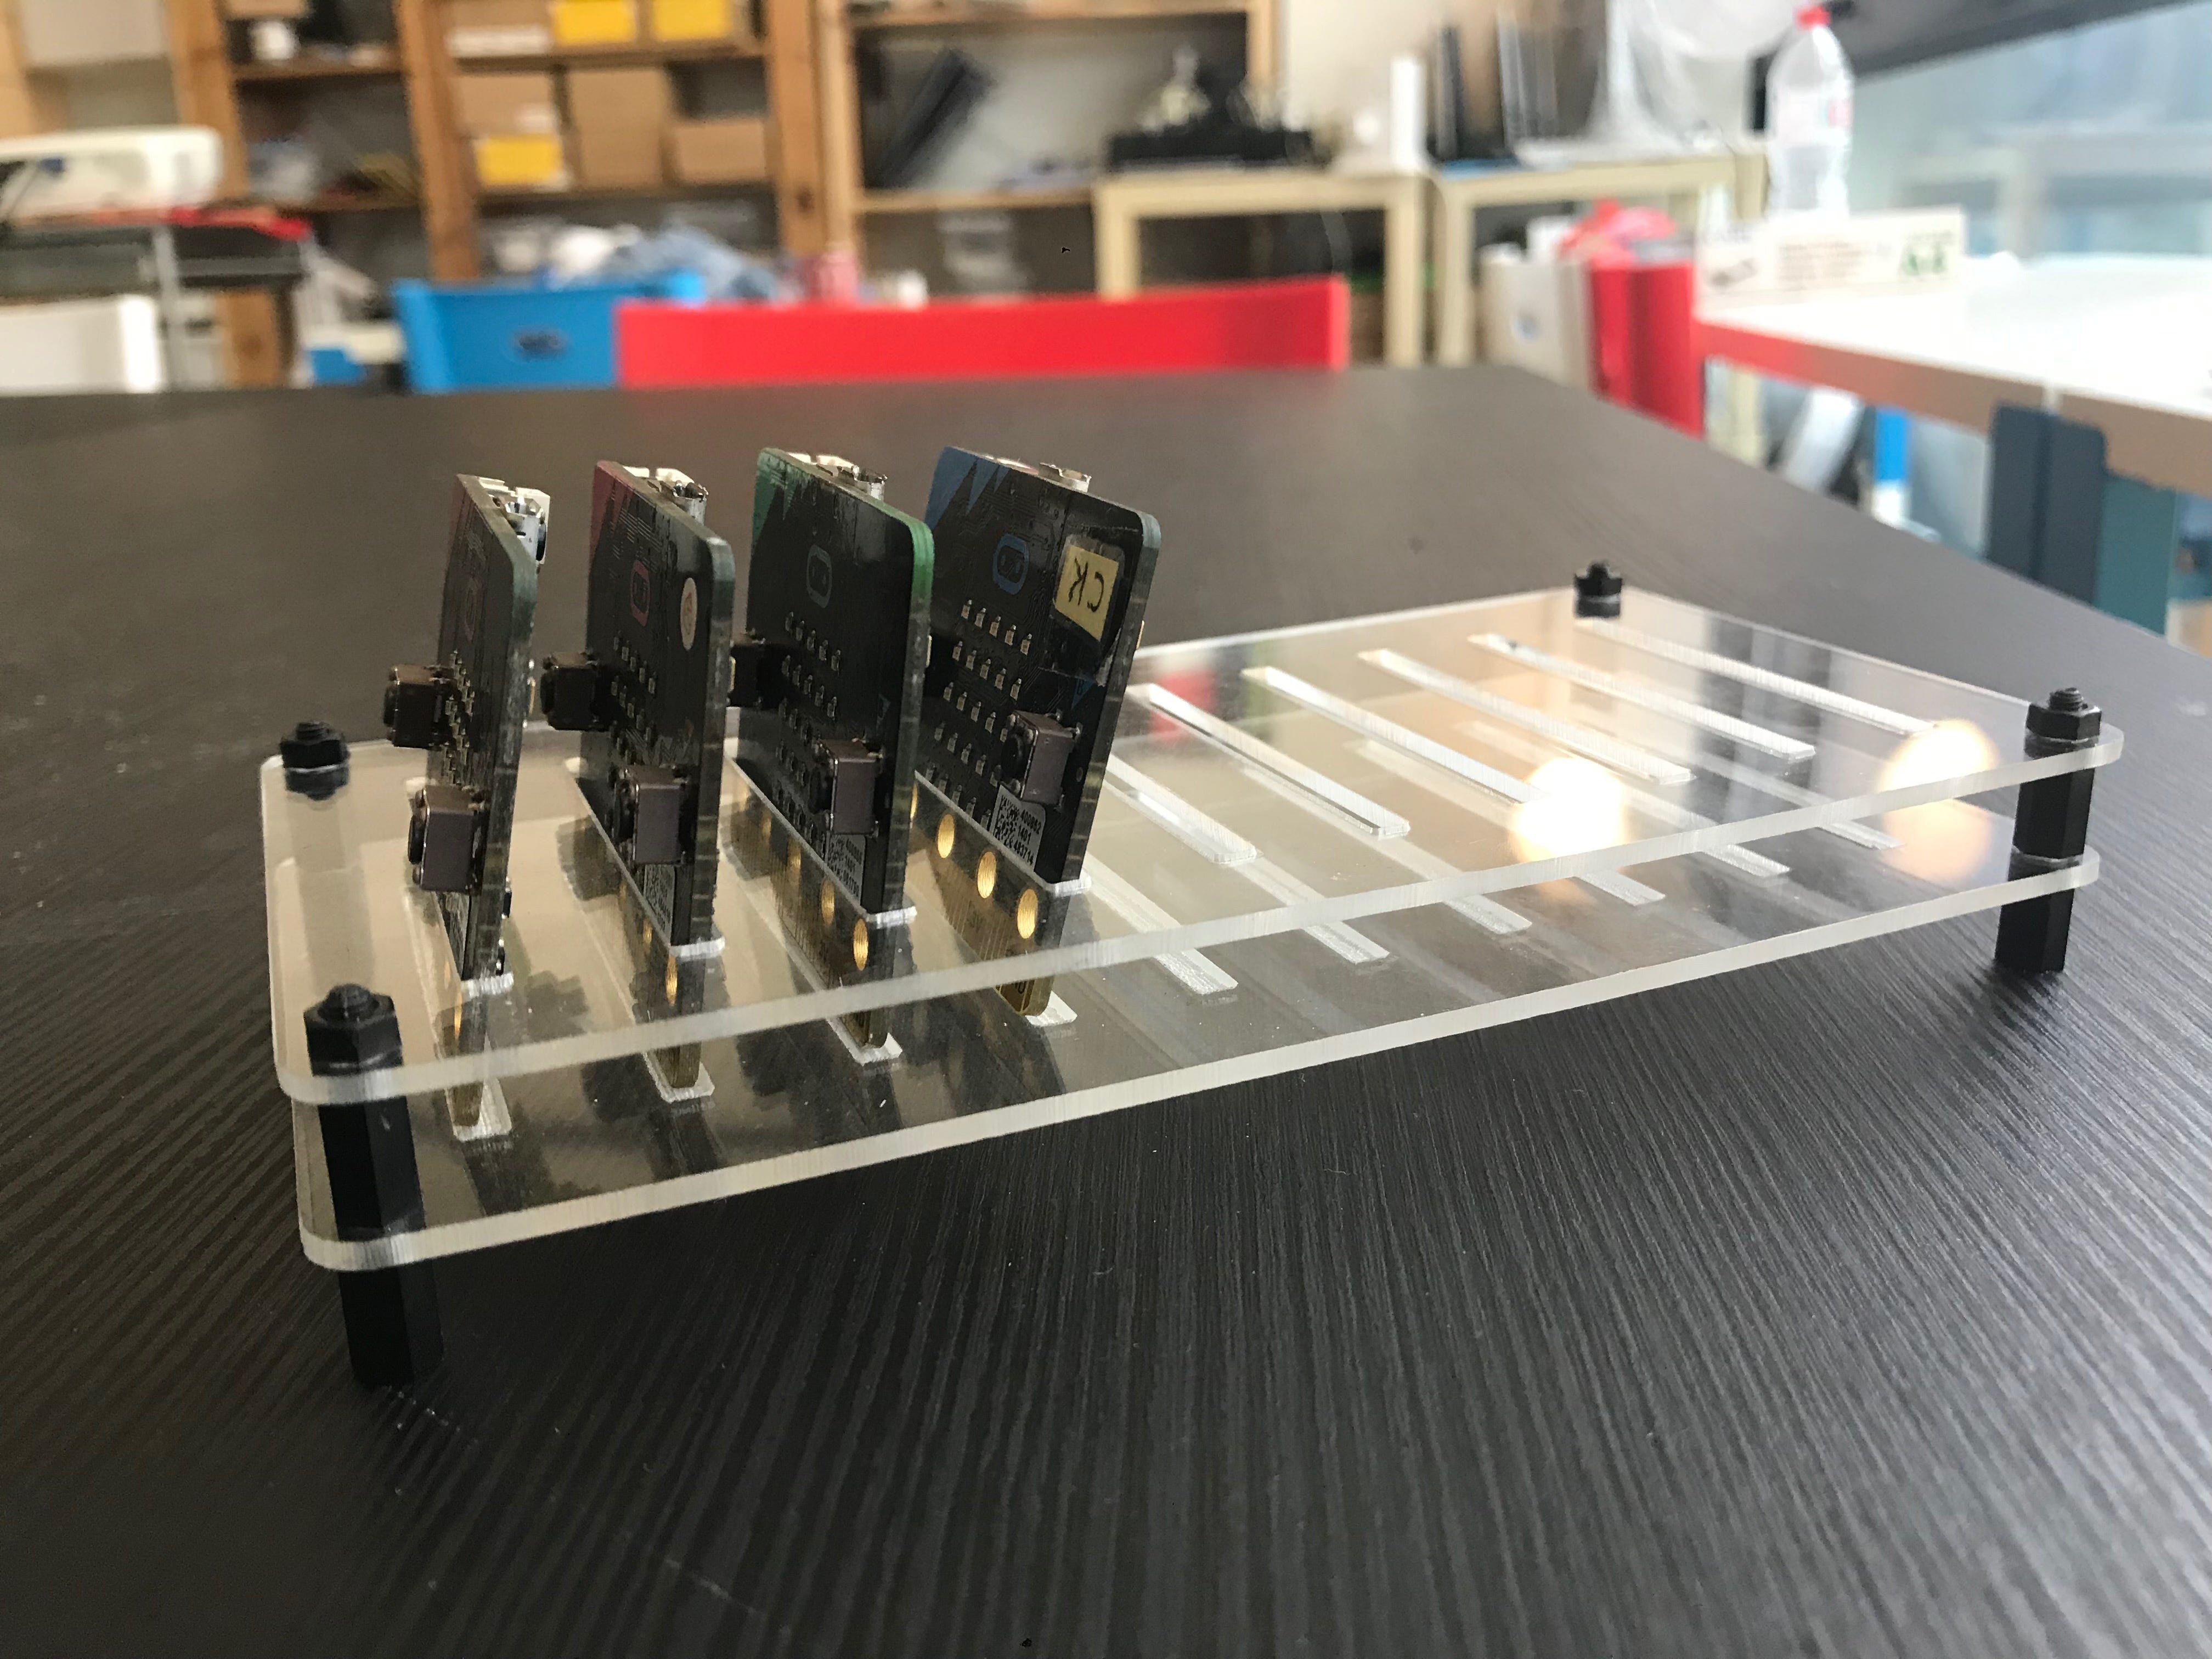
micro:bits on display :”)
The second micro:bit stand I had in mind would be portable, perhaps to assist with organisation for micro:bit classes. This design would require the use of the acrylic bender.
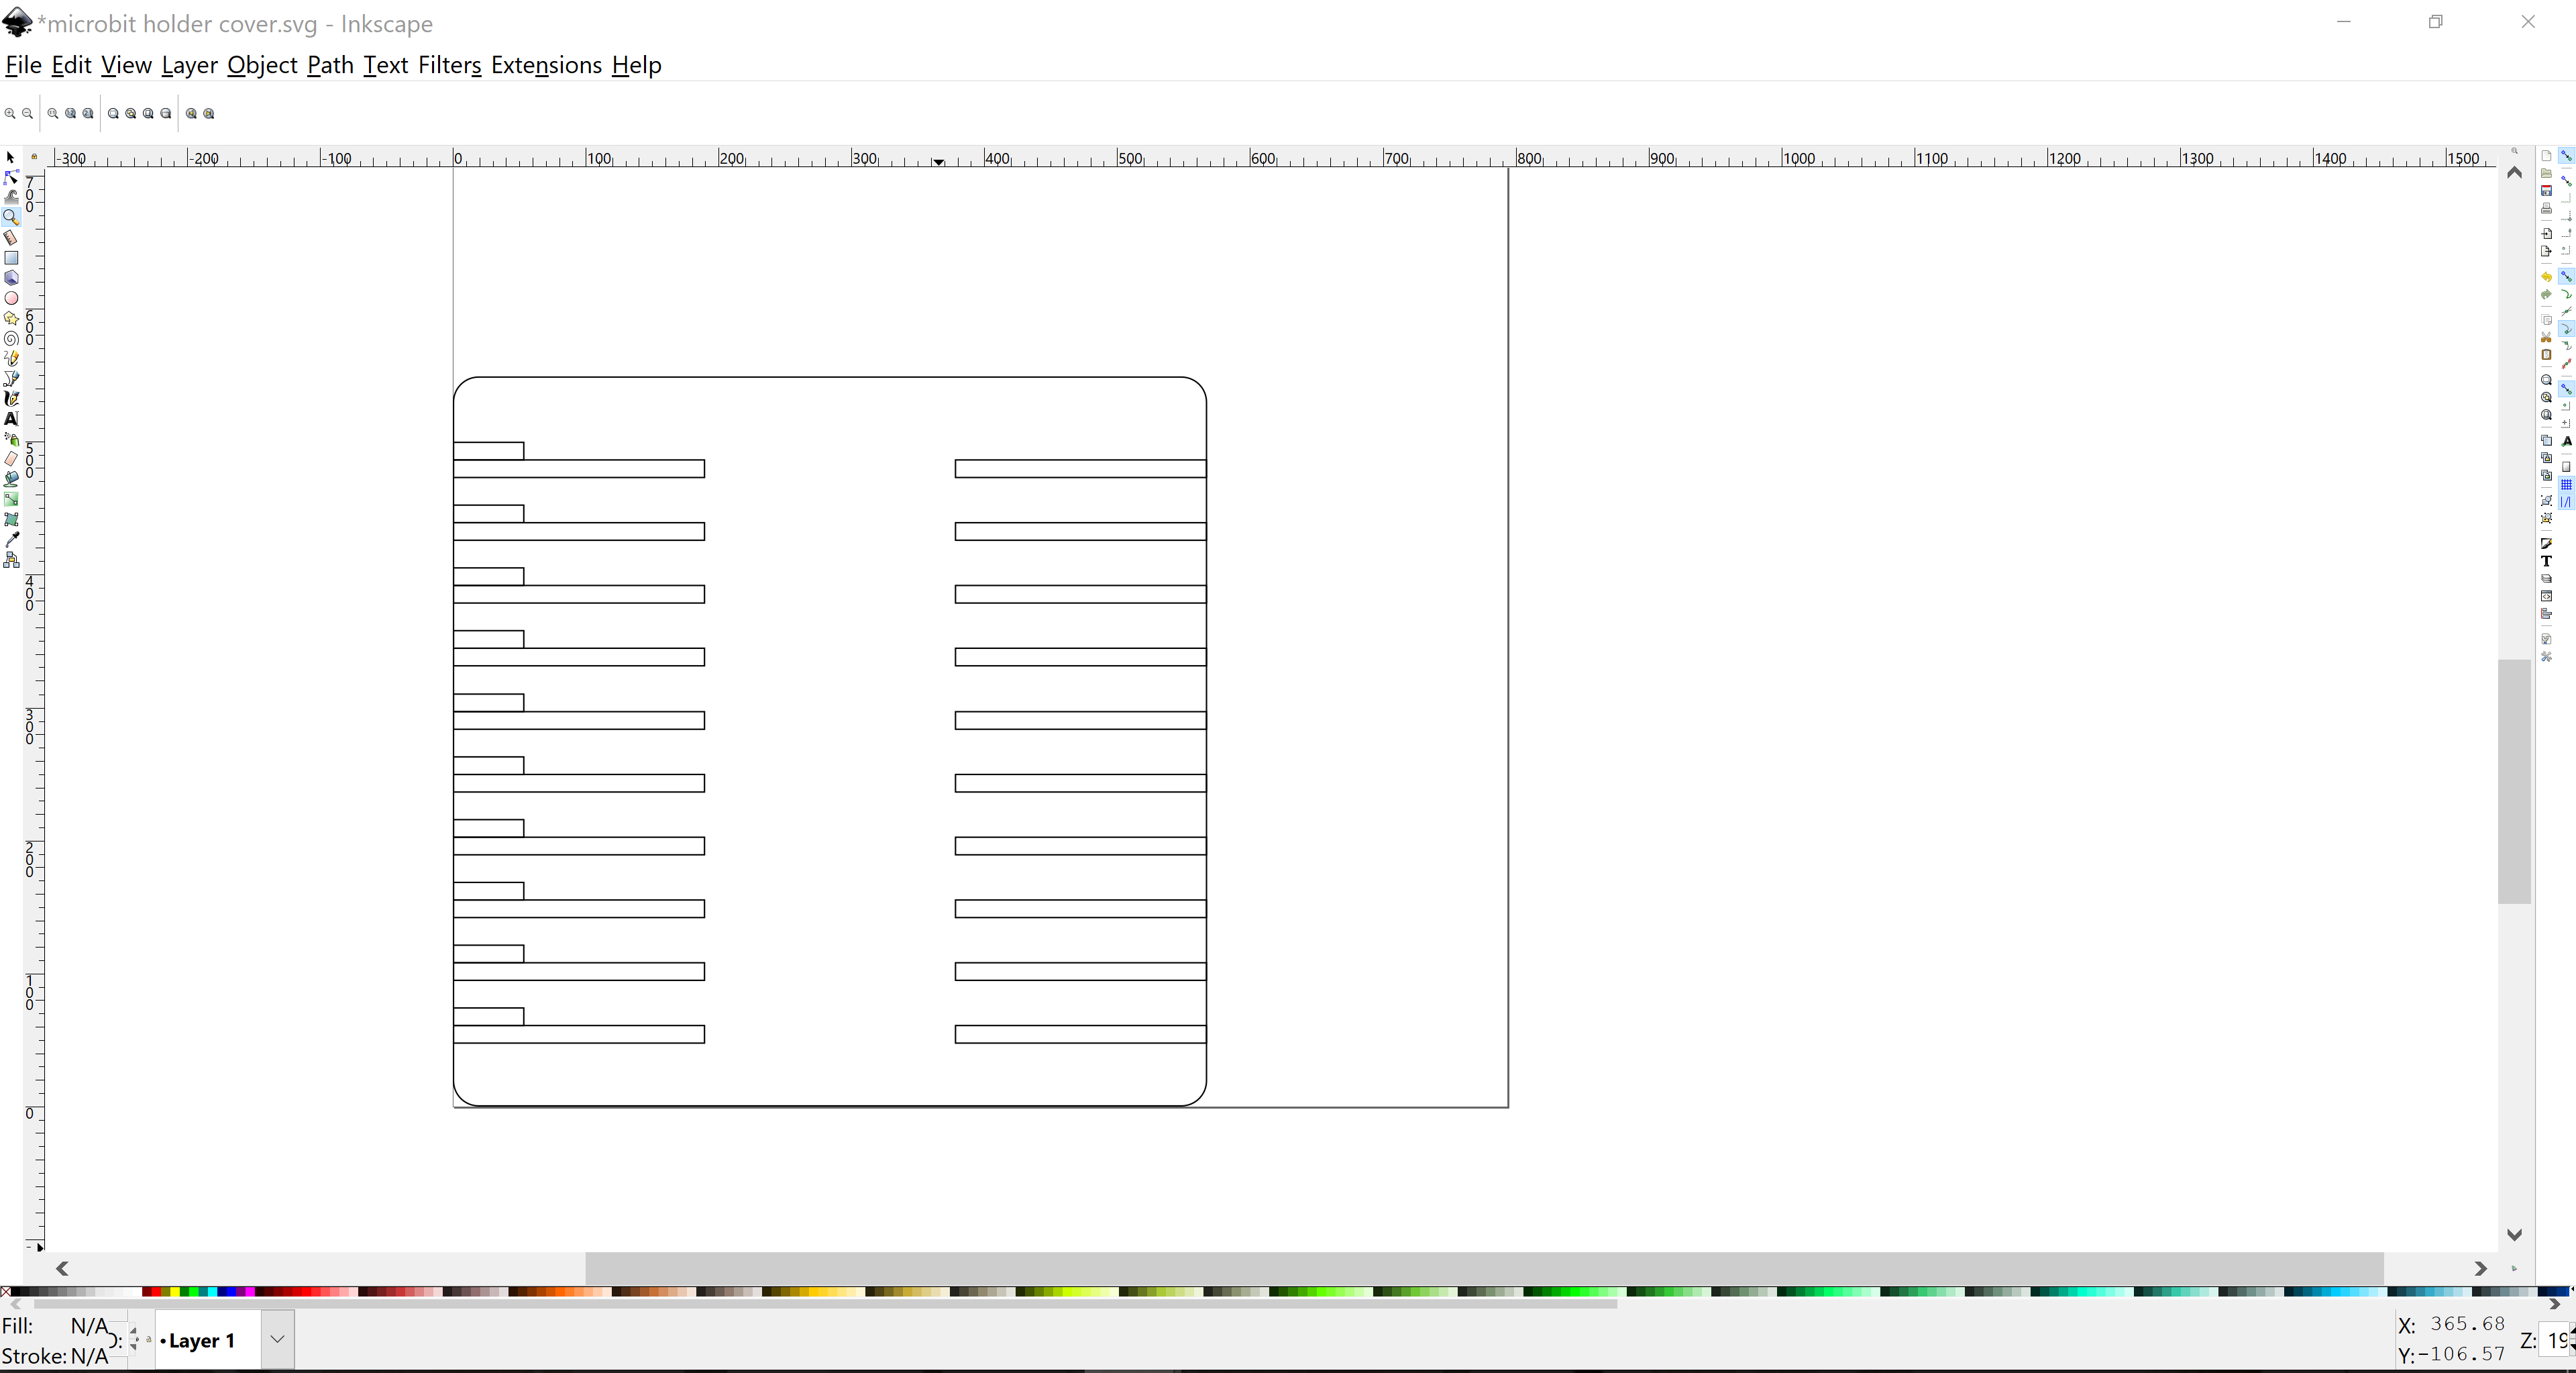
The extra width for the groove on the left would be to make space for the protrusion on the underside of the micro:bit. After printing, the acrylic piece would be bent such that the grooves on the two sides line up for the micro:bit to fit inside. The two A and B buttons on the micro:bit would protrude outside the stand, allowing the micro:bits to fit nicely.
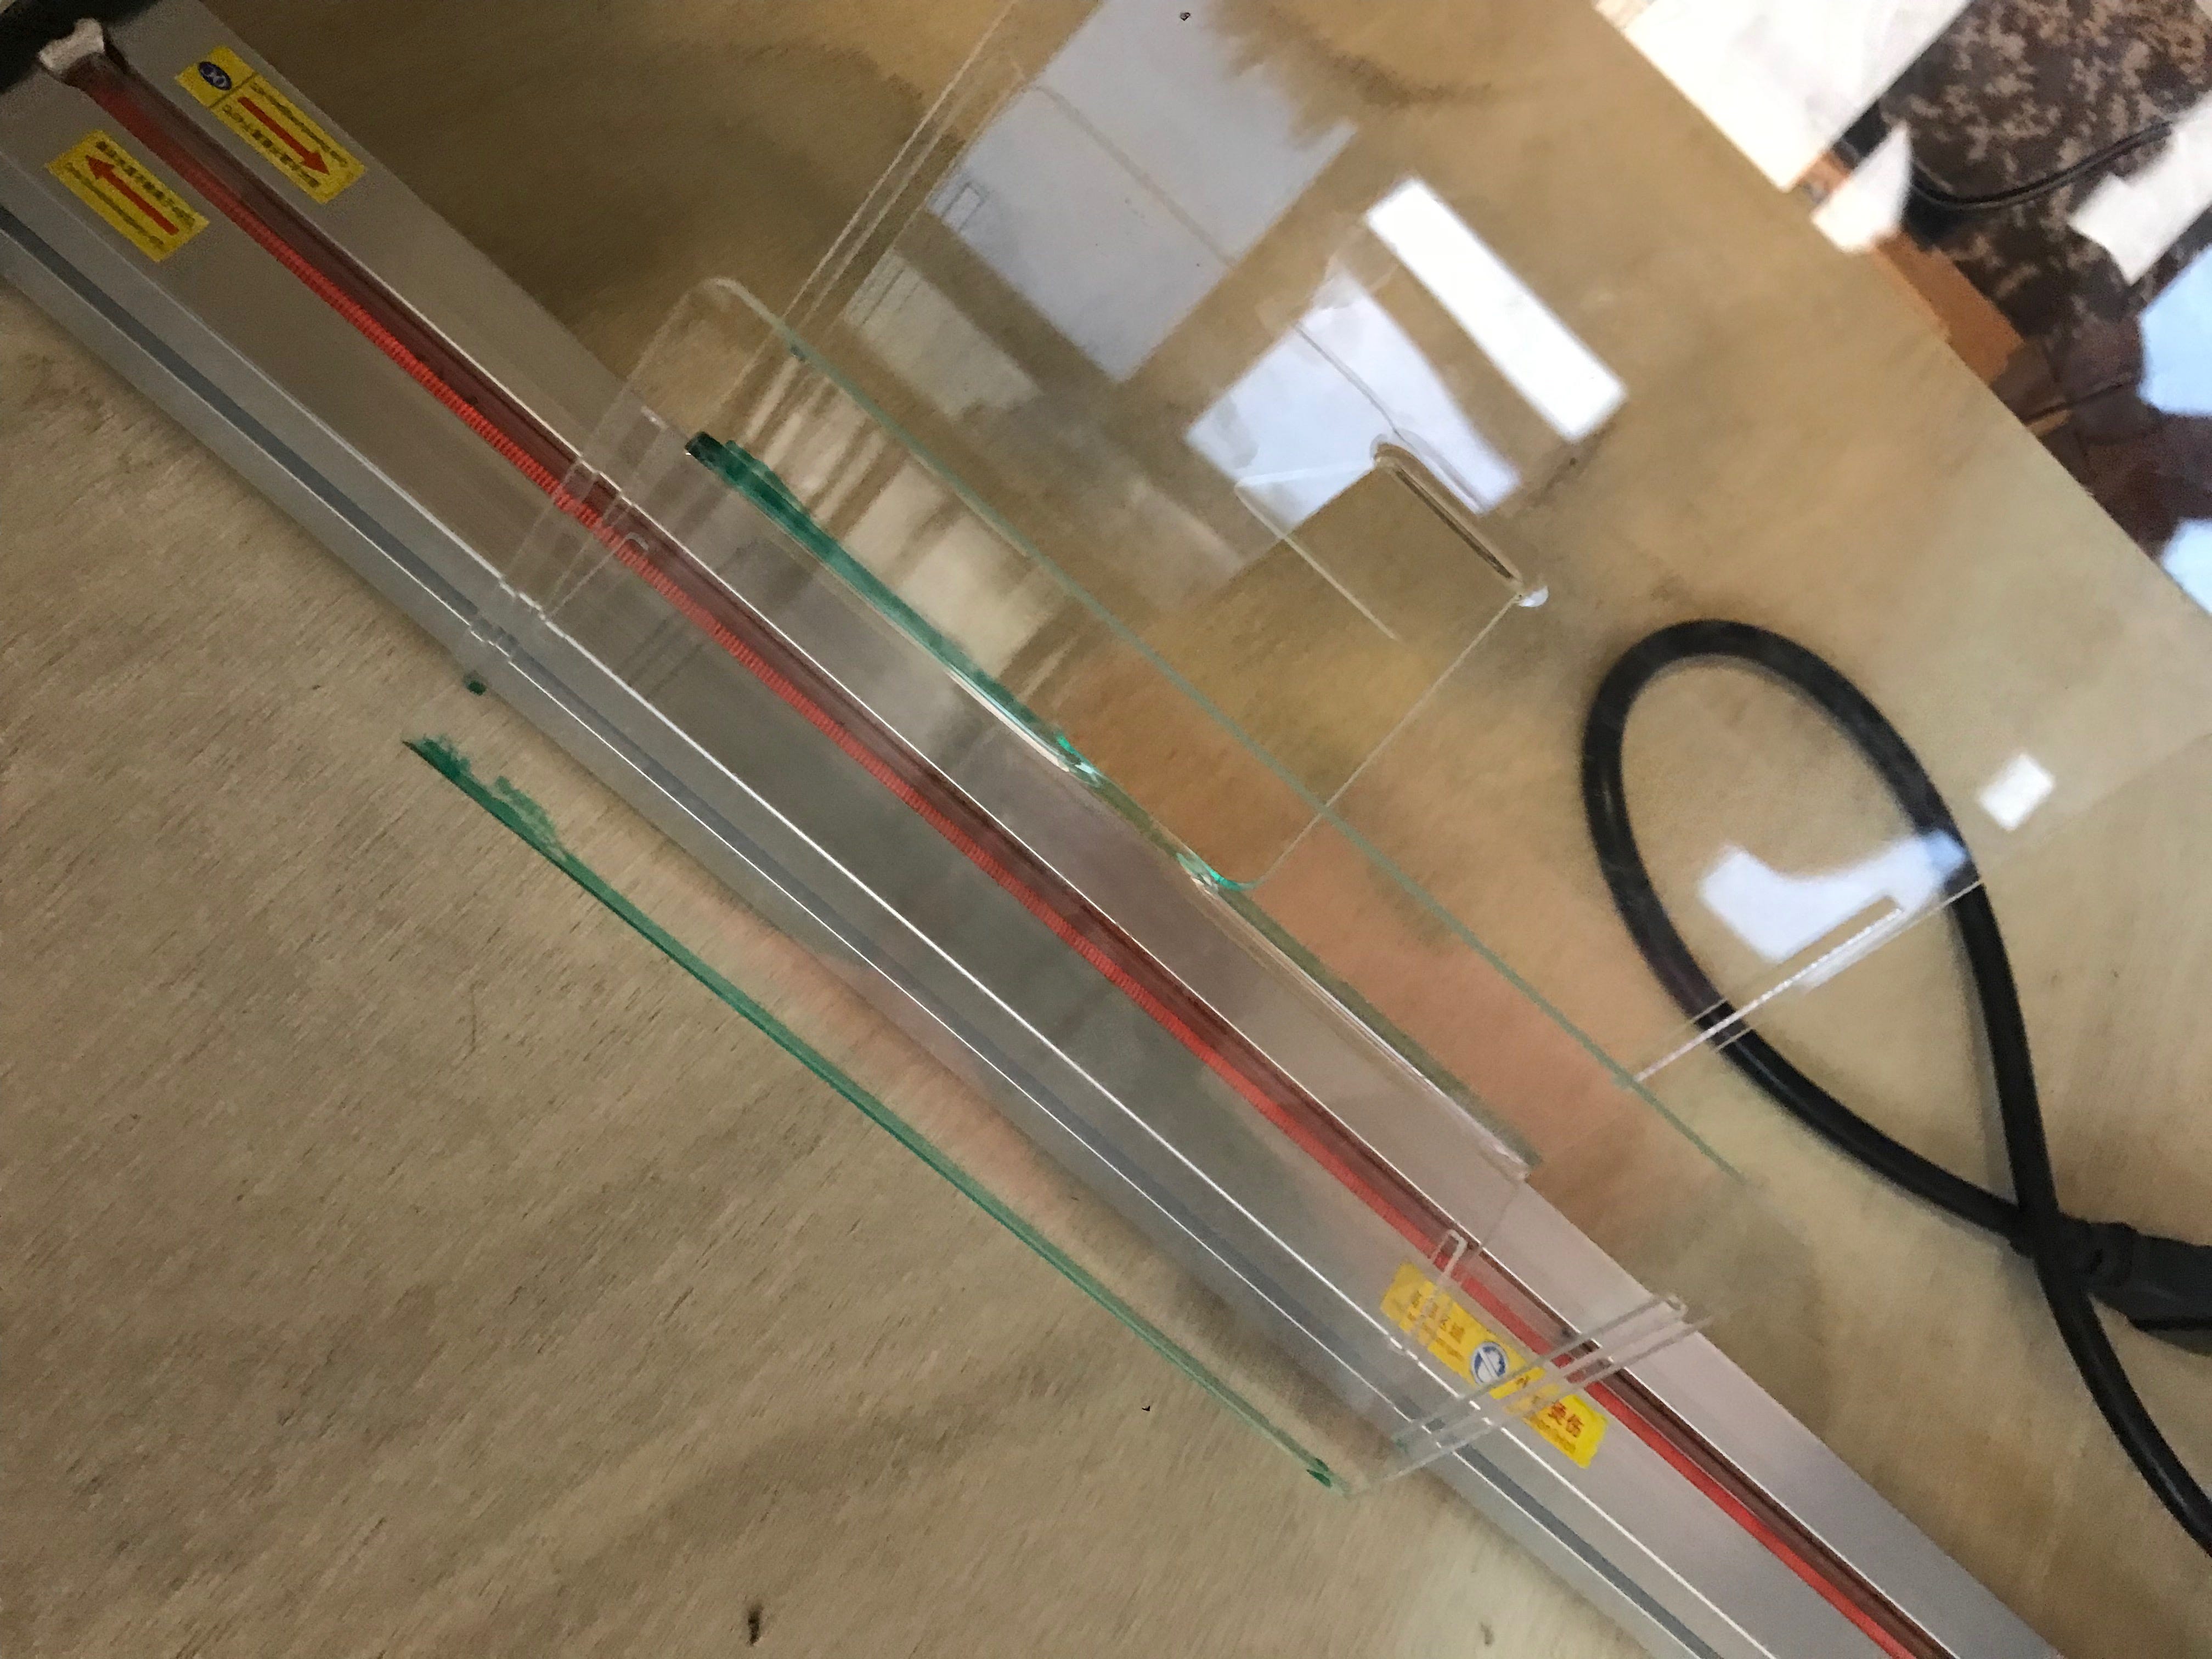
I forgot to take a picture while bending the micro:bit stand, so here’s a picture of me bending another piece of acrylic for a leaflet stand! I used green whiteboard marker to mark out the lines I wanted to bend.
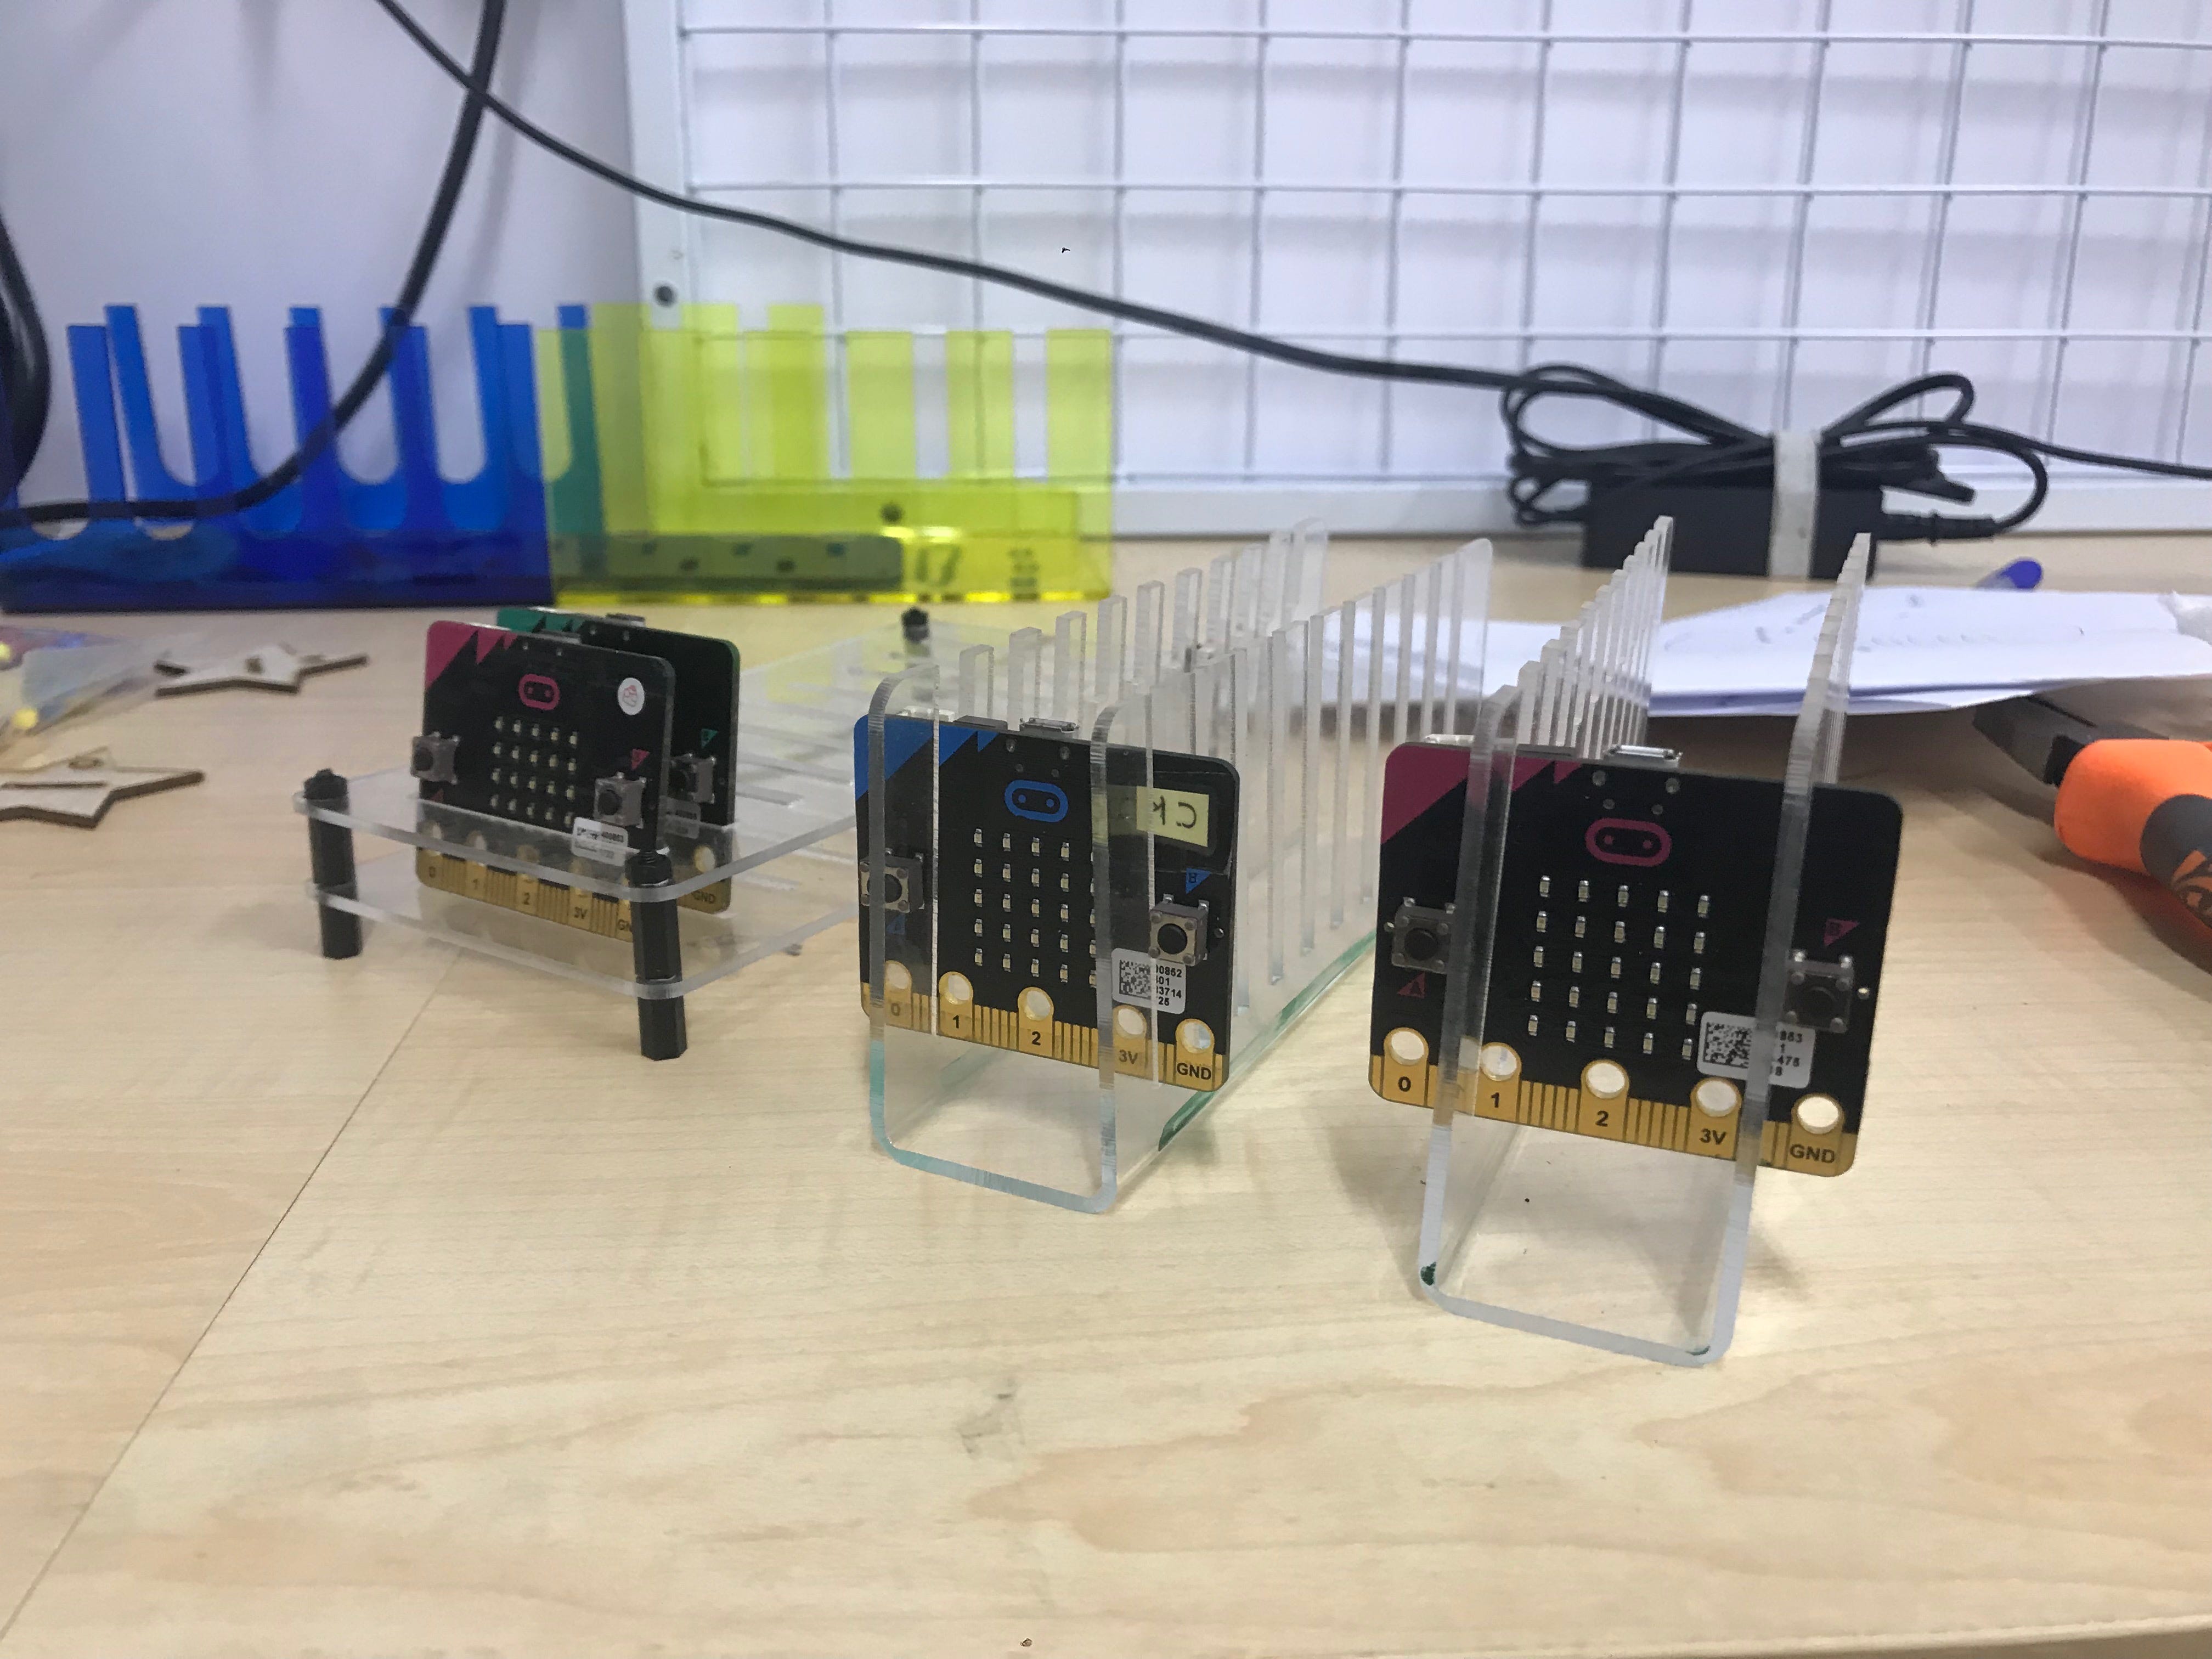
I made both a taller and shorter version of the portable stand!
To make it properly portable, I would need to make a cover to prevent the micro:bits from falling out. This means laser cutting holes in a piece of acrylic such that the cover rests directly on the micro:bits, and using a rubber band to secure it all together during transport. I would recommend making the holes on the cover a little larger than the protruding forks of the stand, so that the cover can still be easily removed.
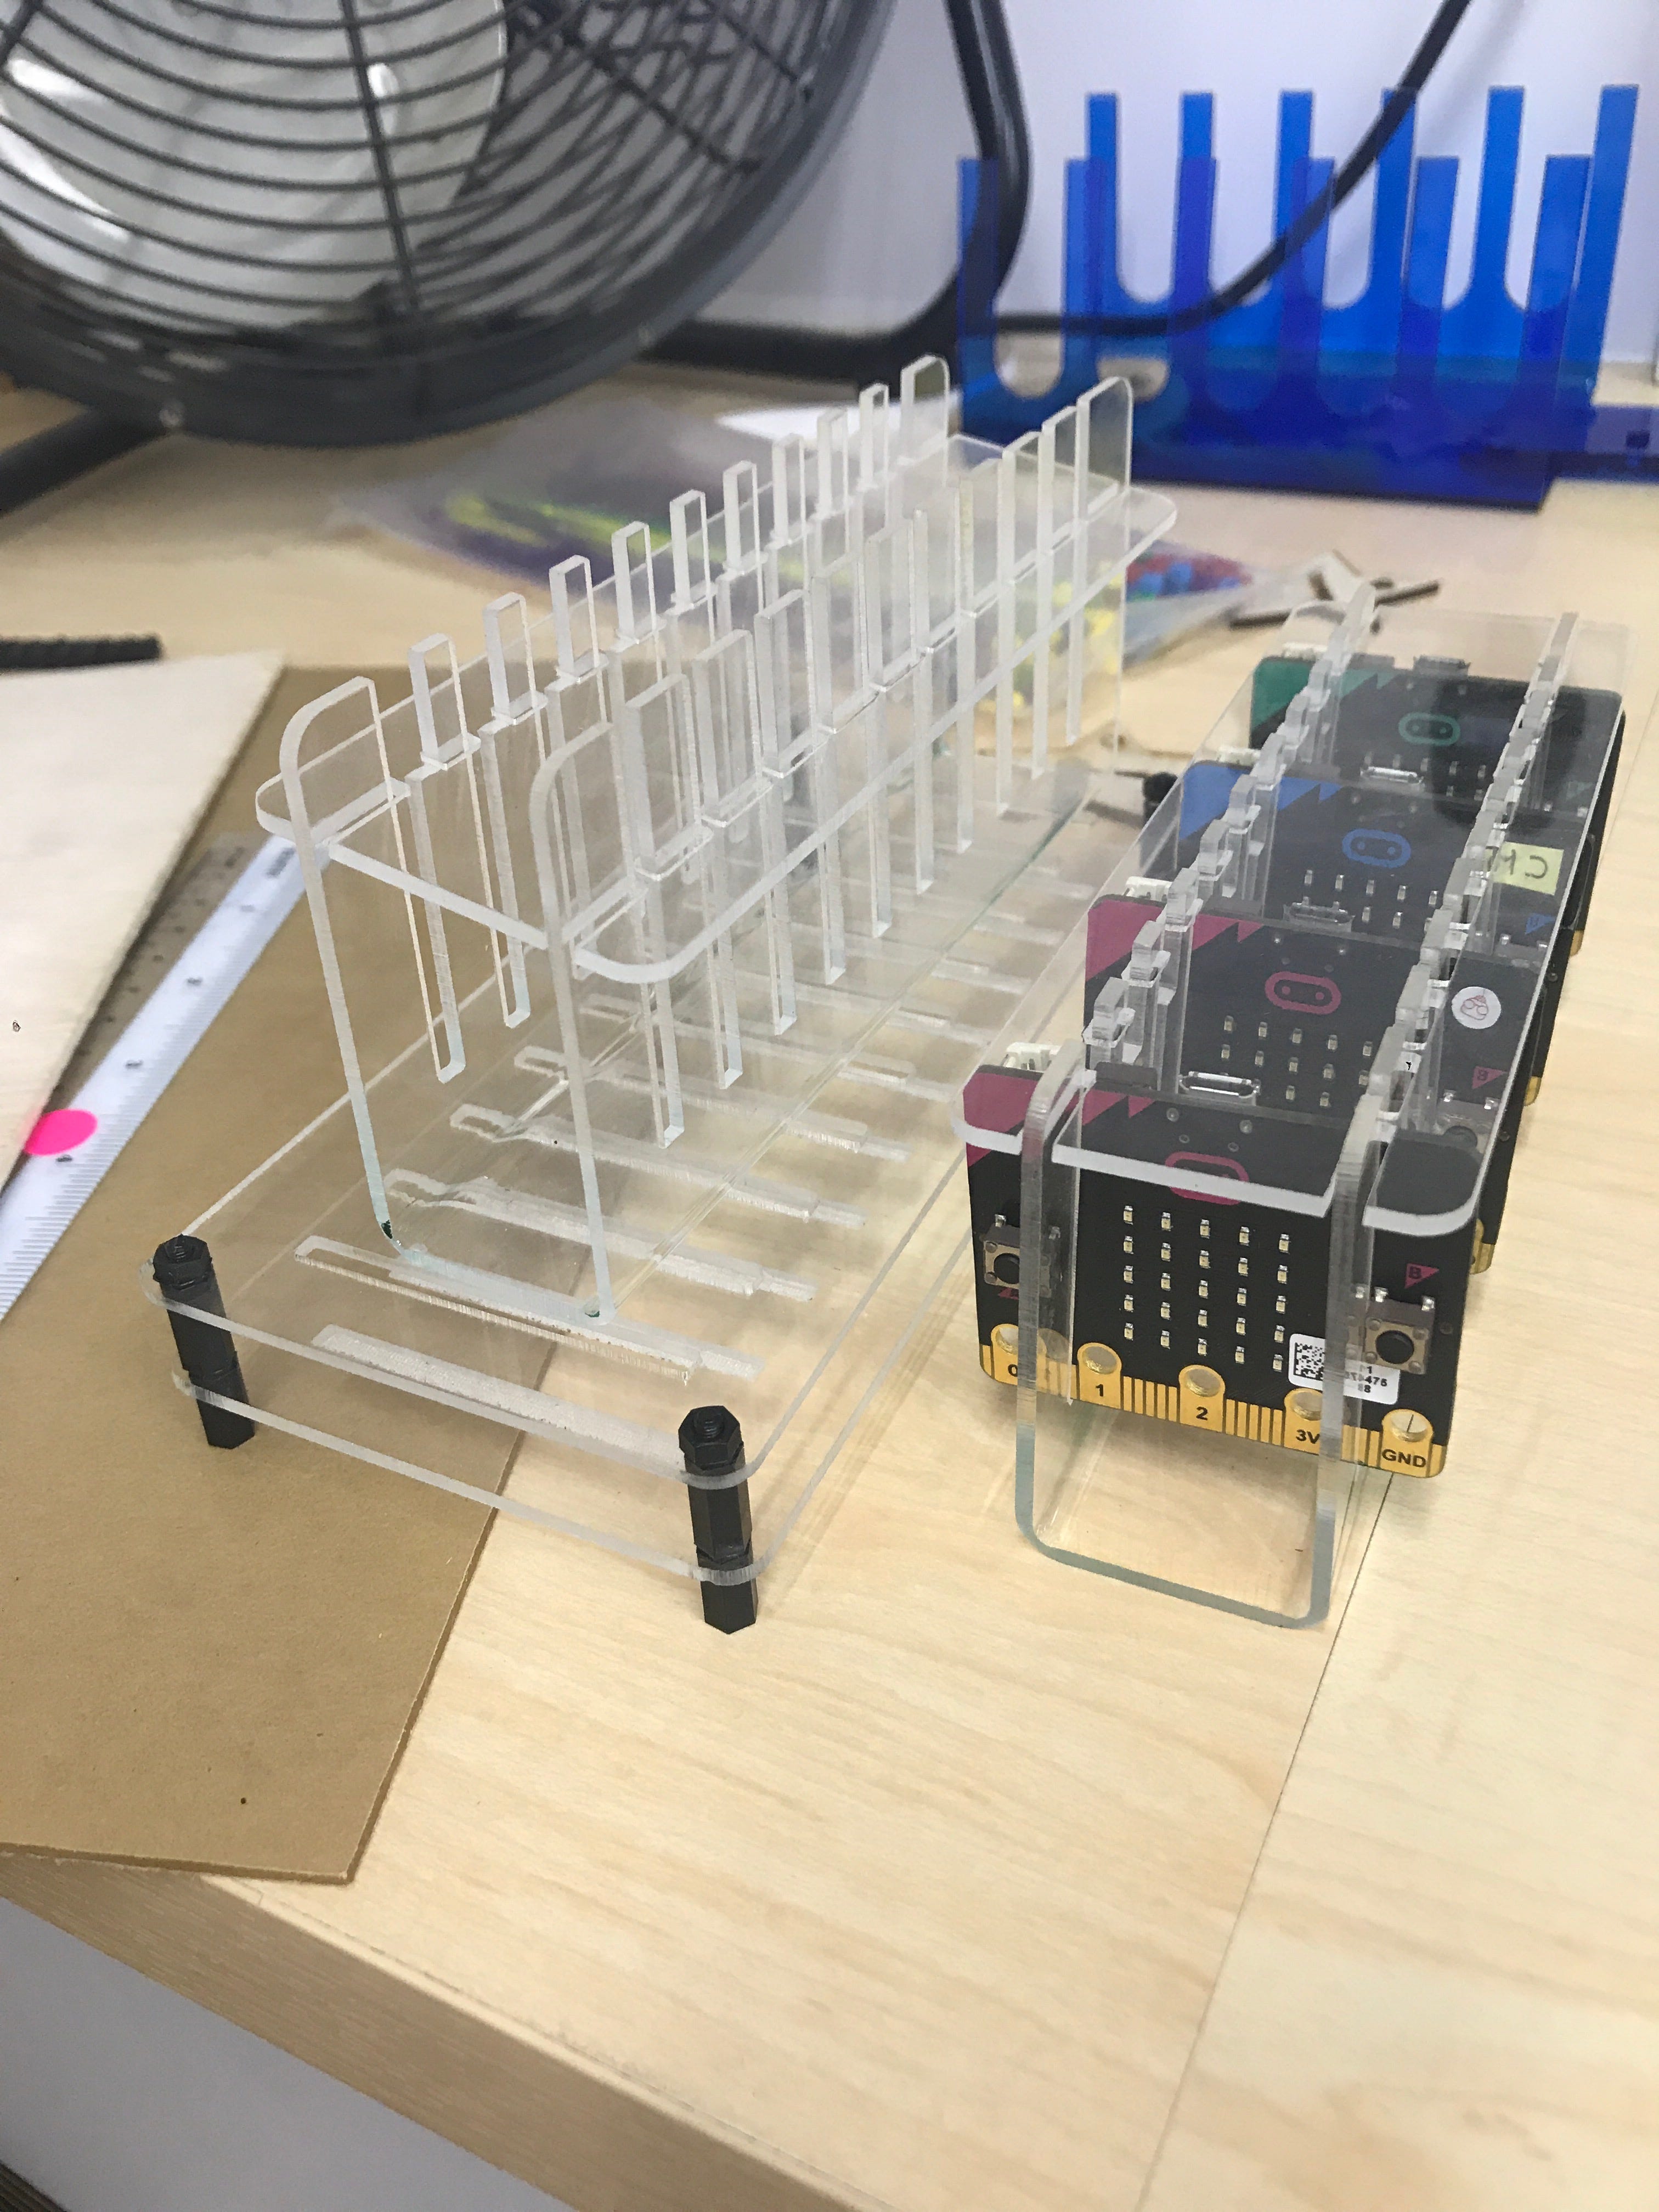
Just use a rubber band to secure everything in place and the micro:bit stand is fully portable!
Now, what’s a micro:bit without its USB cable? Since micro:bit USB cables are pretty short, I decided to make a cable organiser to go with the micro:bit stands. My first design was similar to the portable micro:bit stand, laser cutting out forks which were then bent using the acrylic bender for the cable wire to wrap around securely.
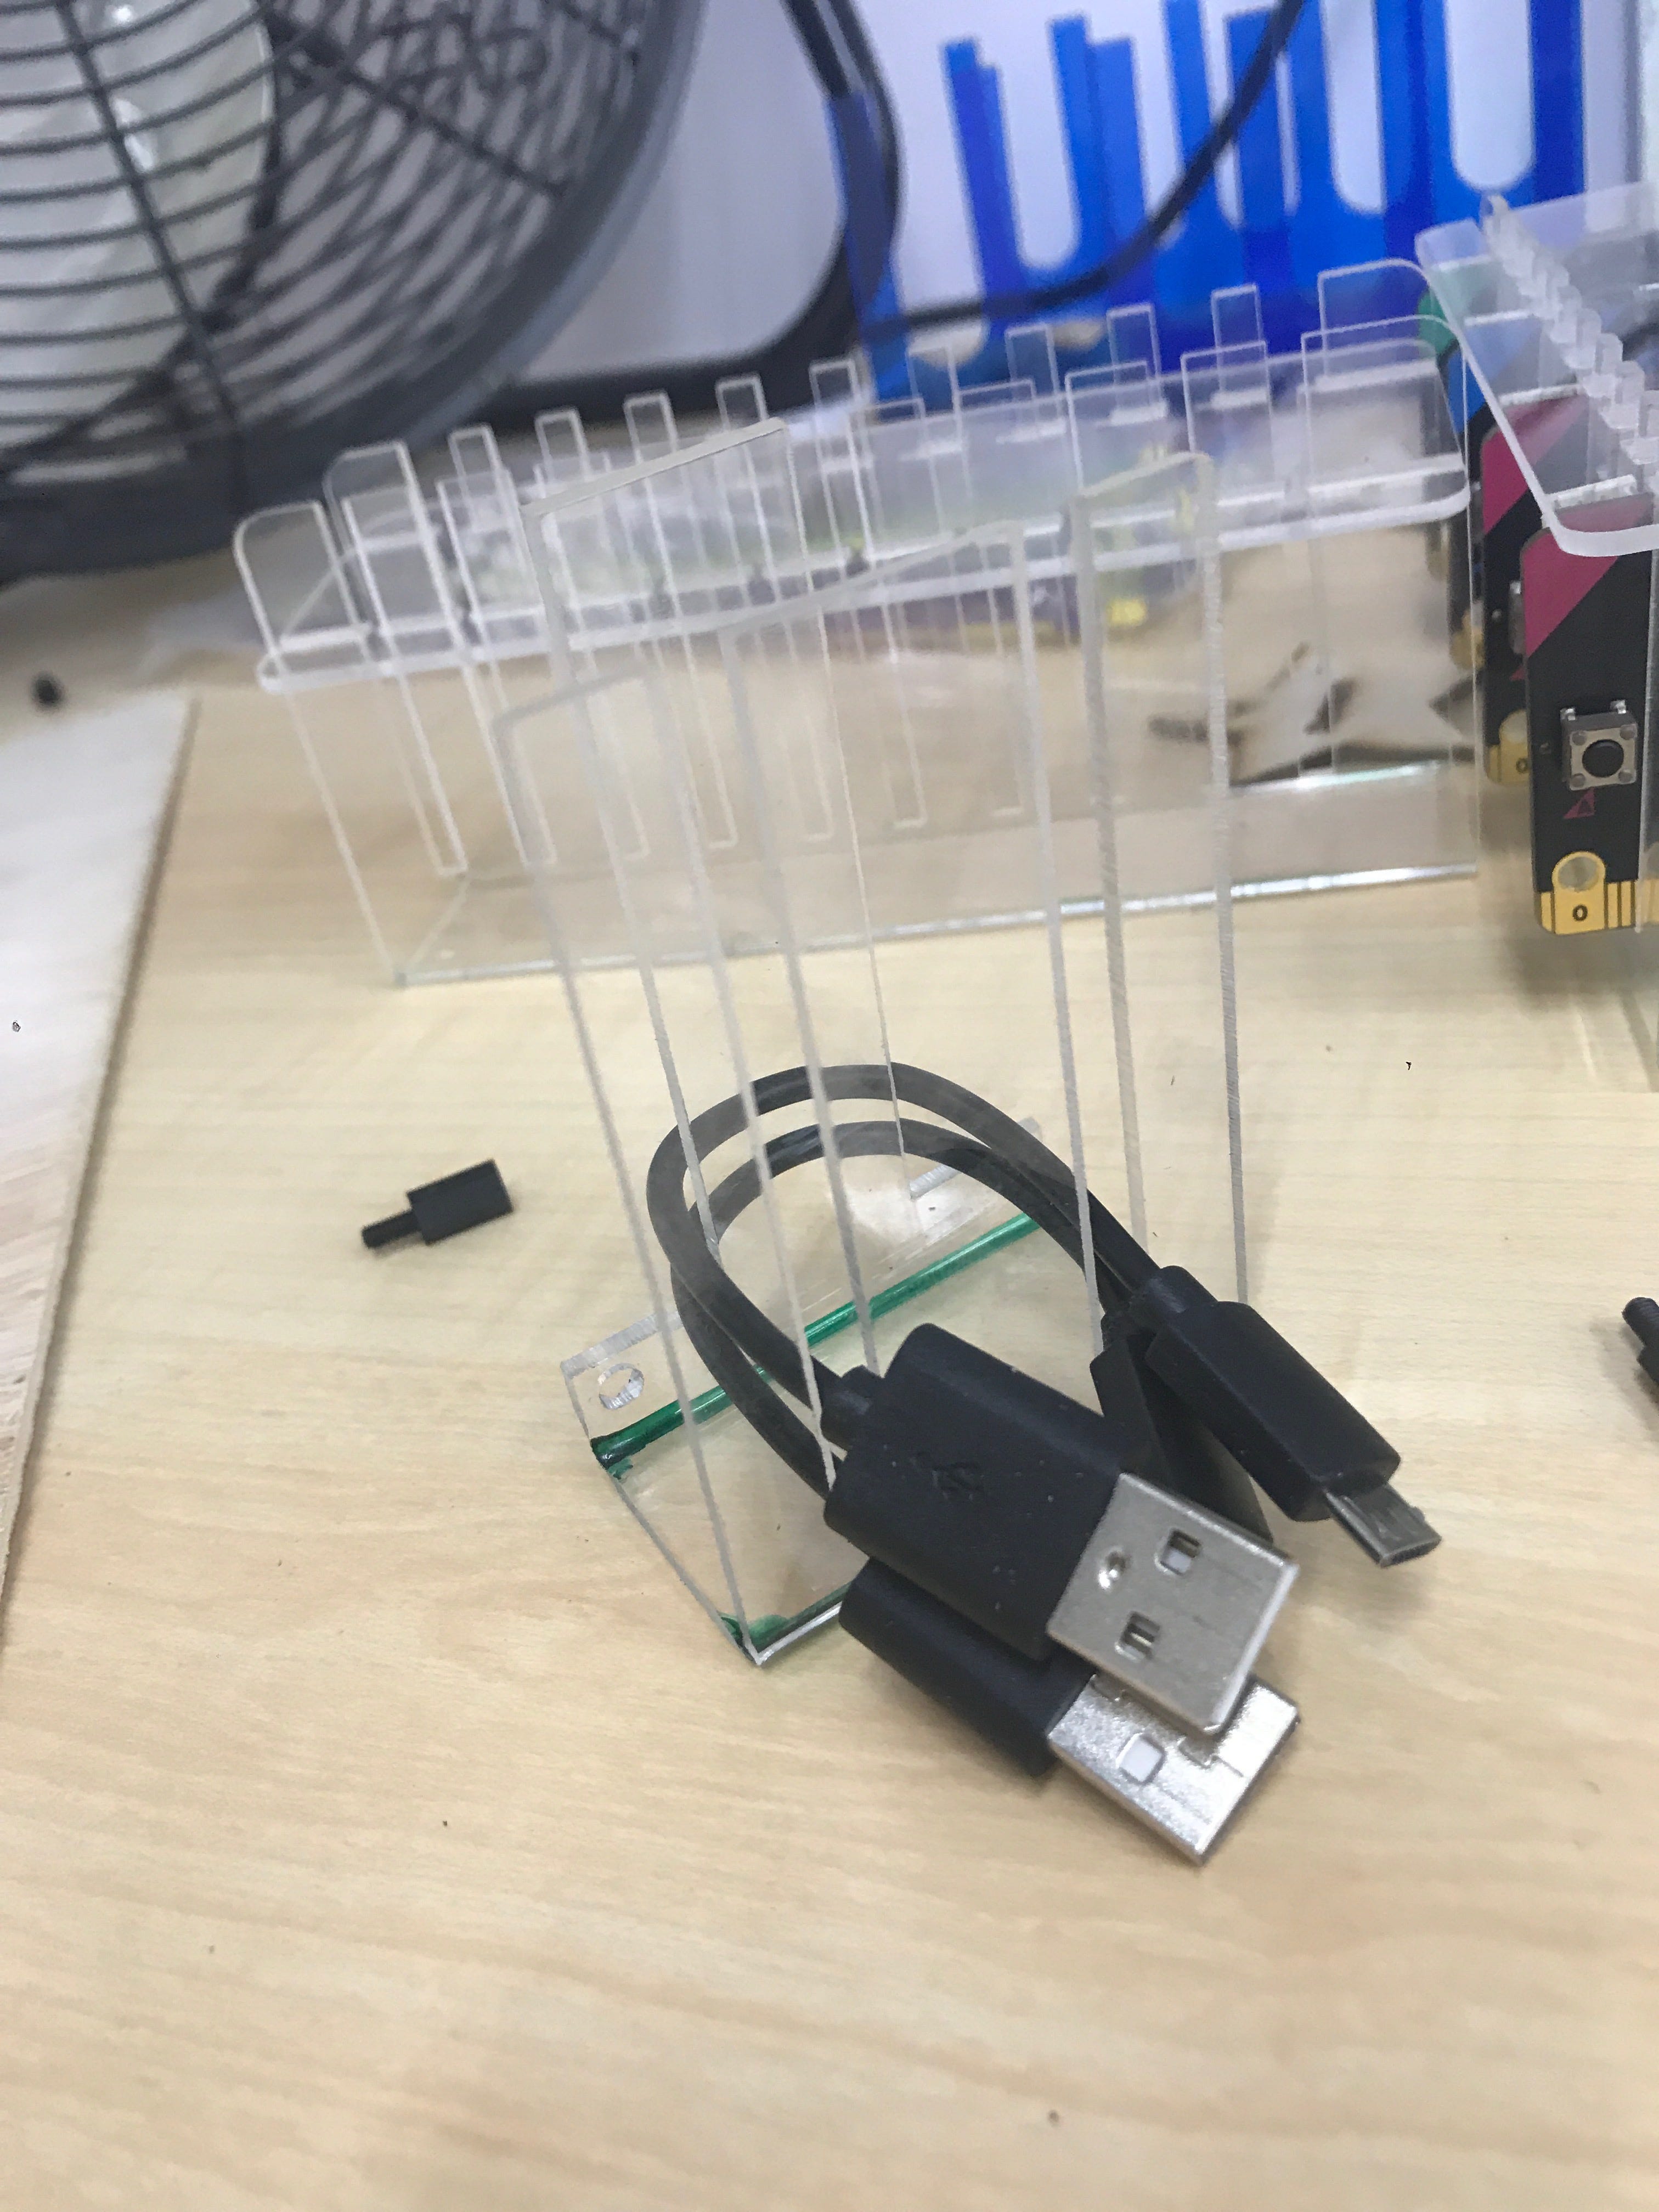
First prototype for the USB cable holder
However, I soon realised that the centre of gravity of the cable holder would be skewed to one side, causing the holder to tilt and the cable heads to rest on the table surface. I decided to change the orientation of the stand such that the cable heads would be pointed upwards for a more stable structure. The screws that were previously used for the micro:bit display stand were also used to ensure that the base was secure.
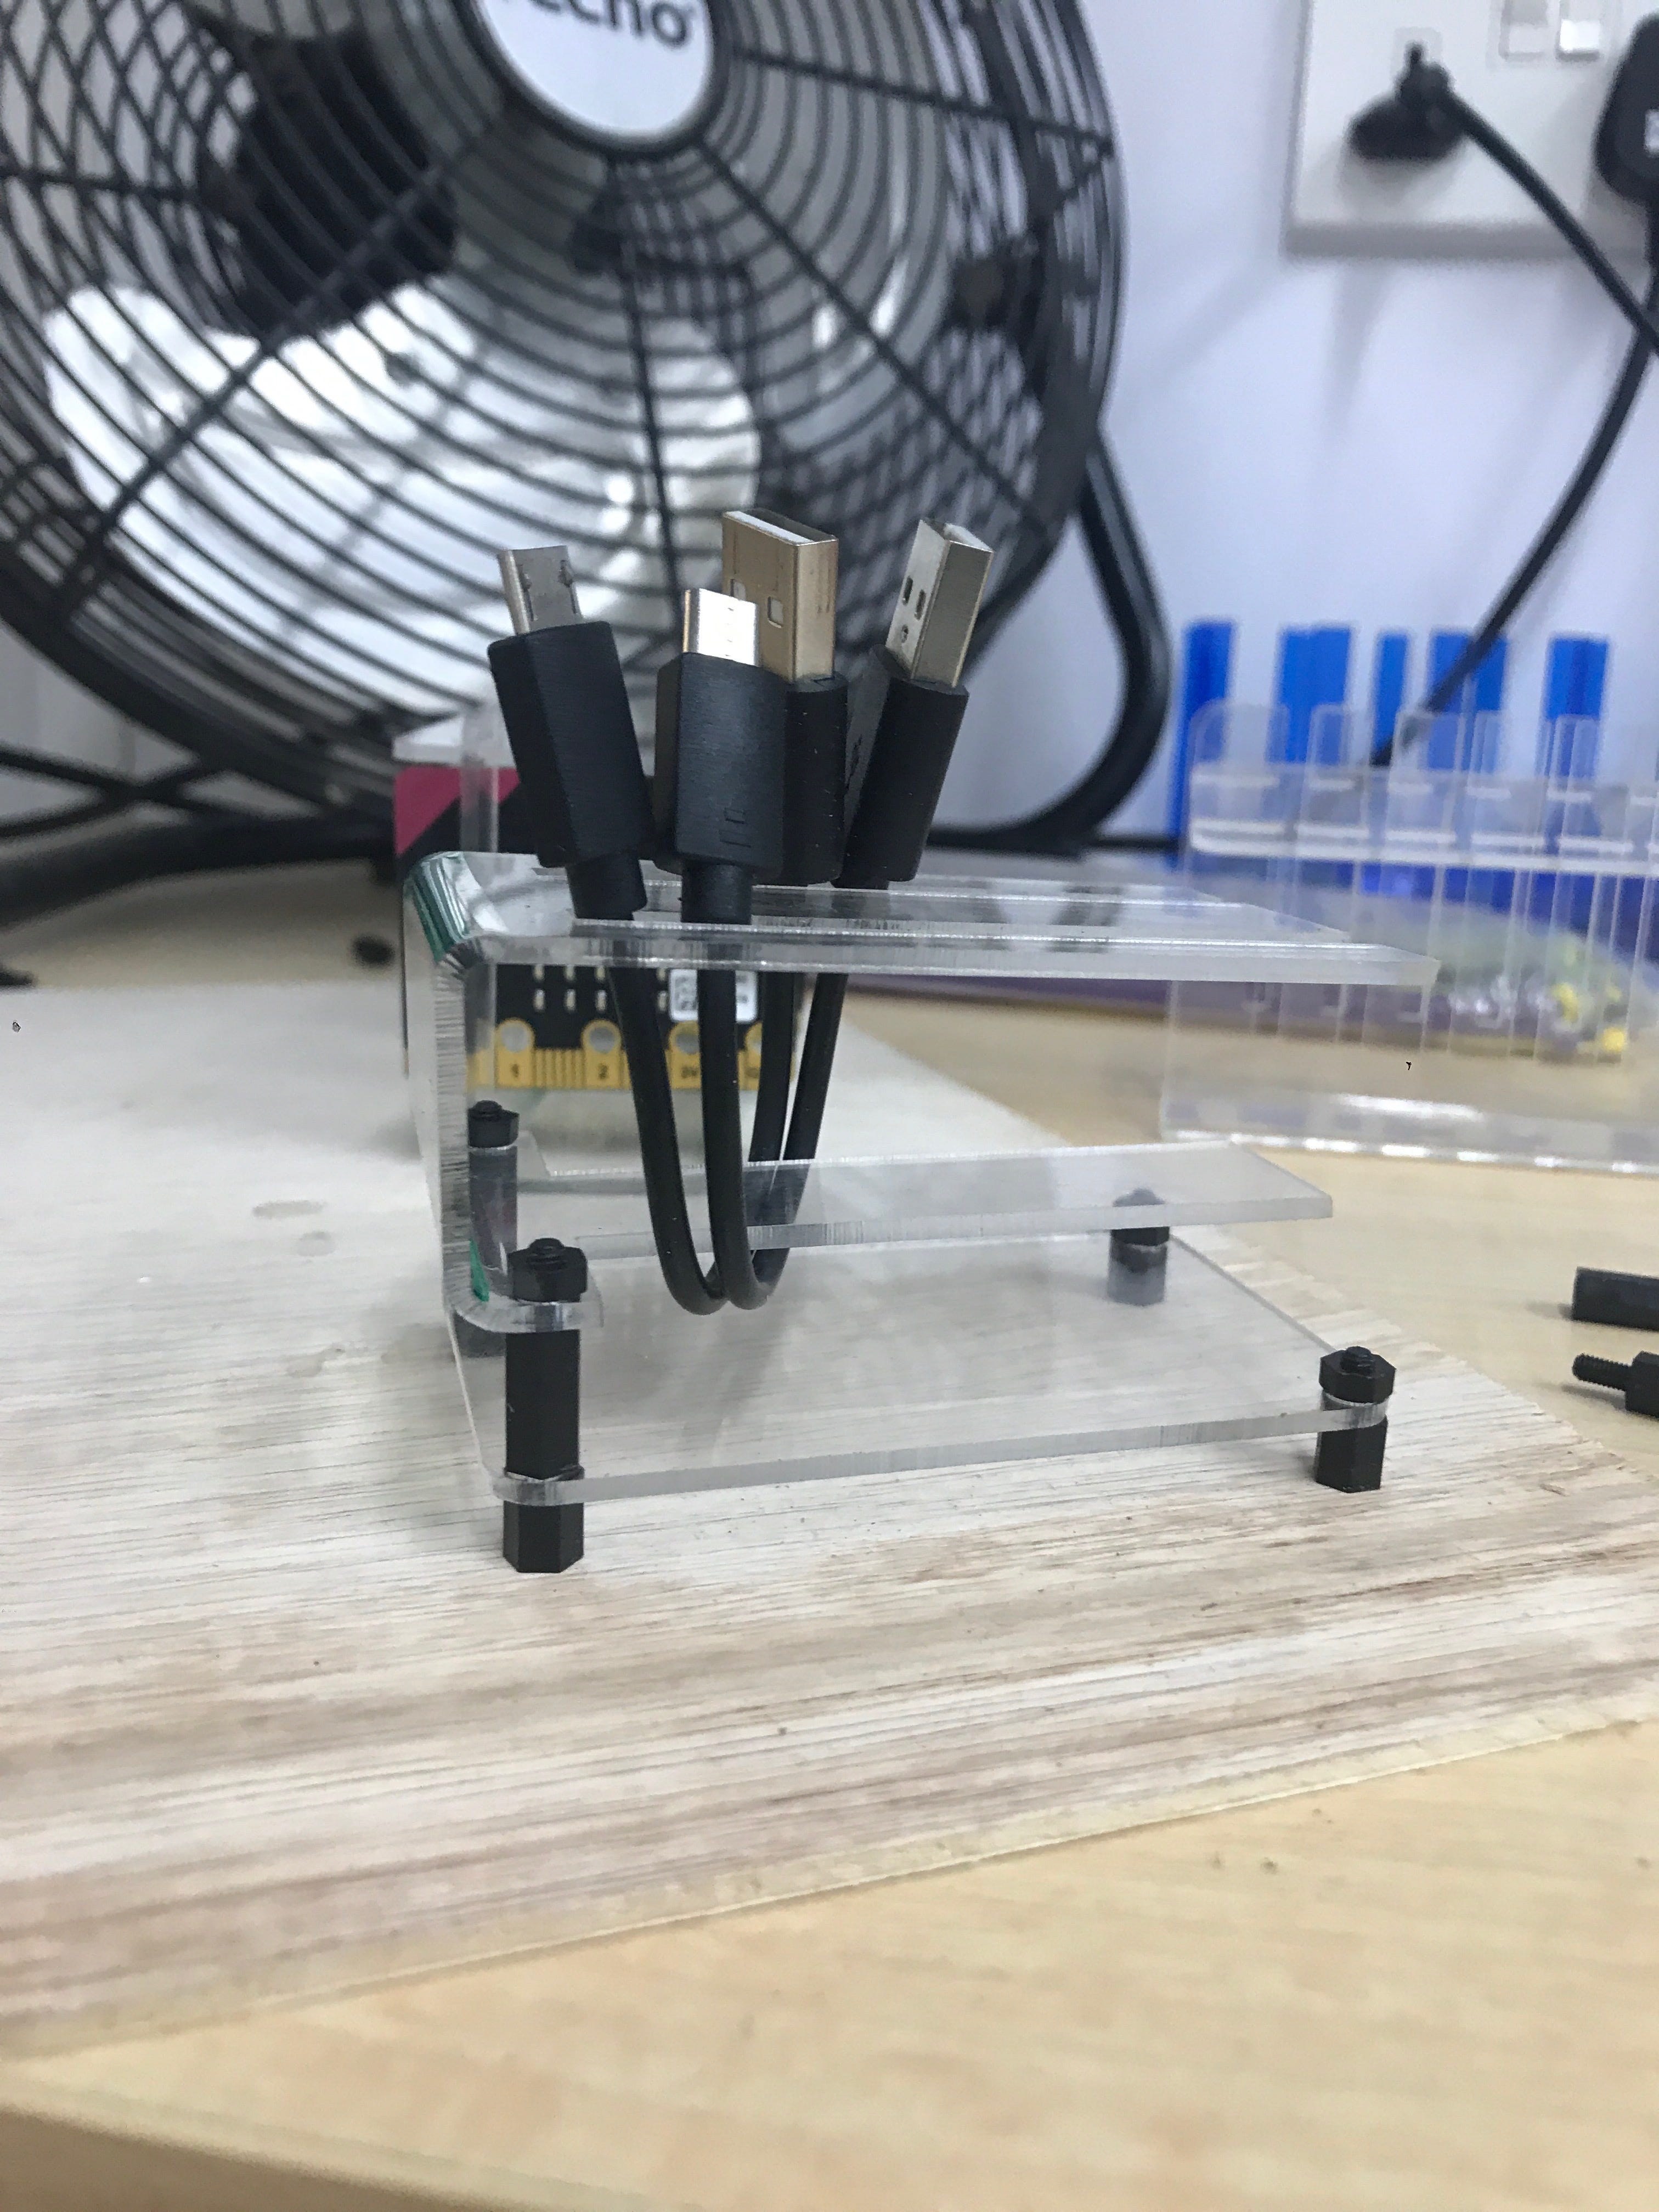
Final cable holder! On hindsight, I could have made the holder much longer to hold more USB cables
I enjoyed using the laser cutter and acrylic bender so much I decided to save myself a trip to Muji and went on to create a few more pieces inspired by the#tumblr #aesthetic room decor floating around the internet lately.
To create shelving, simply create grooves as thick as or a little thicker than your acrylic sheets on the shelving frame (mine were 3mm thick). Then, add protrusions to the shelves to fit into the grooves such that the shelves stay secured, like so.
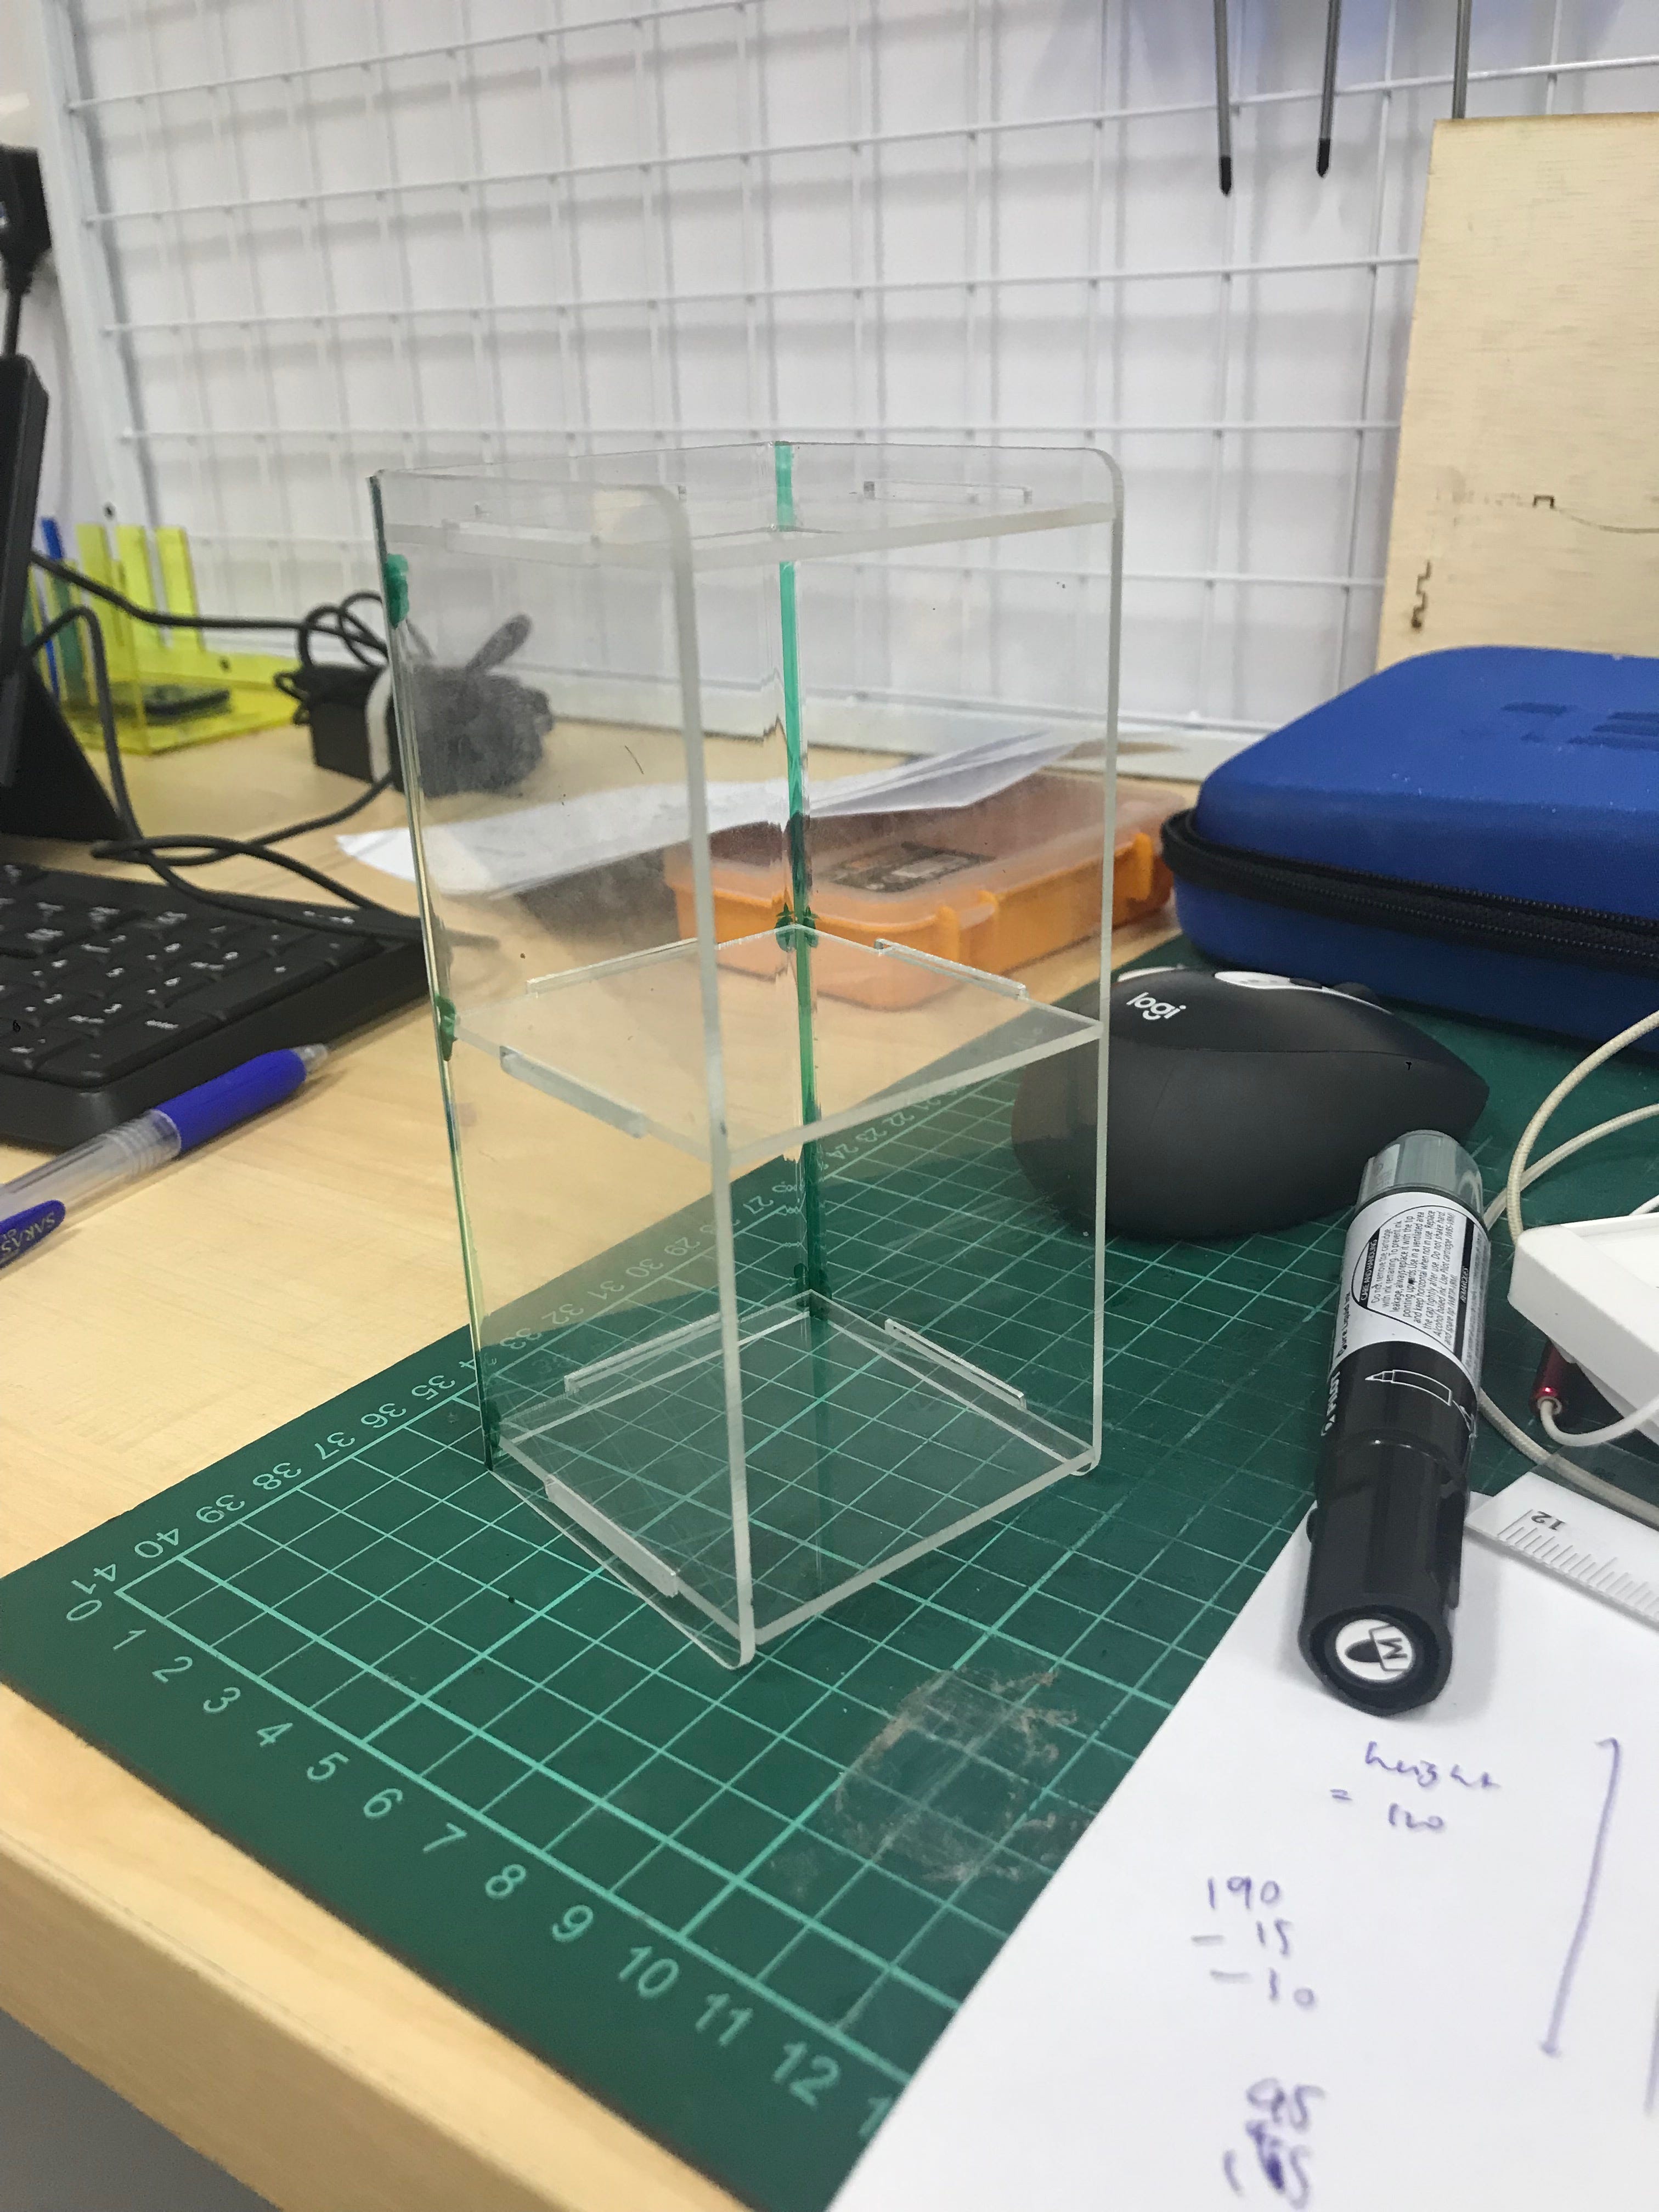
A 6cm-by-6cm mini display shelf I made!
Here’s a few other pieces I made, including an acrylic stand where only a small portion of the acrylic required to be bent. In that case, I used some scrap pieces of wood to cover the heating coil of the acrylic bender, to ensure that only one portion of the acrylic heats up. This resulted in the wood charring, but luckily it wasn’t enough to start a fire :”)
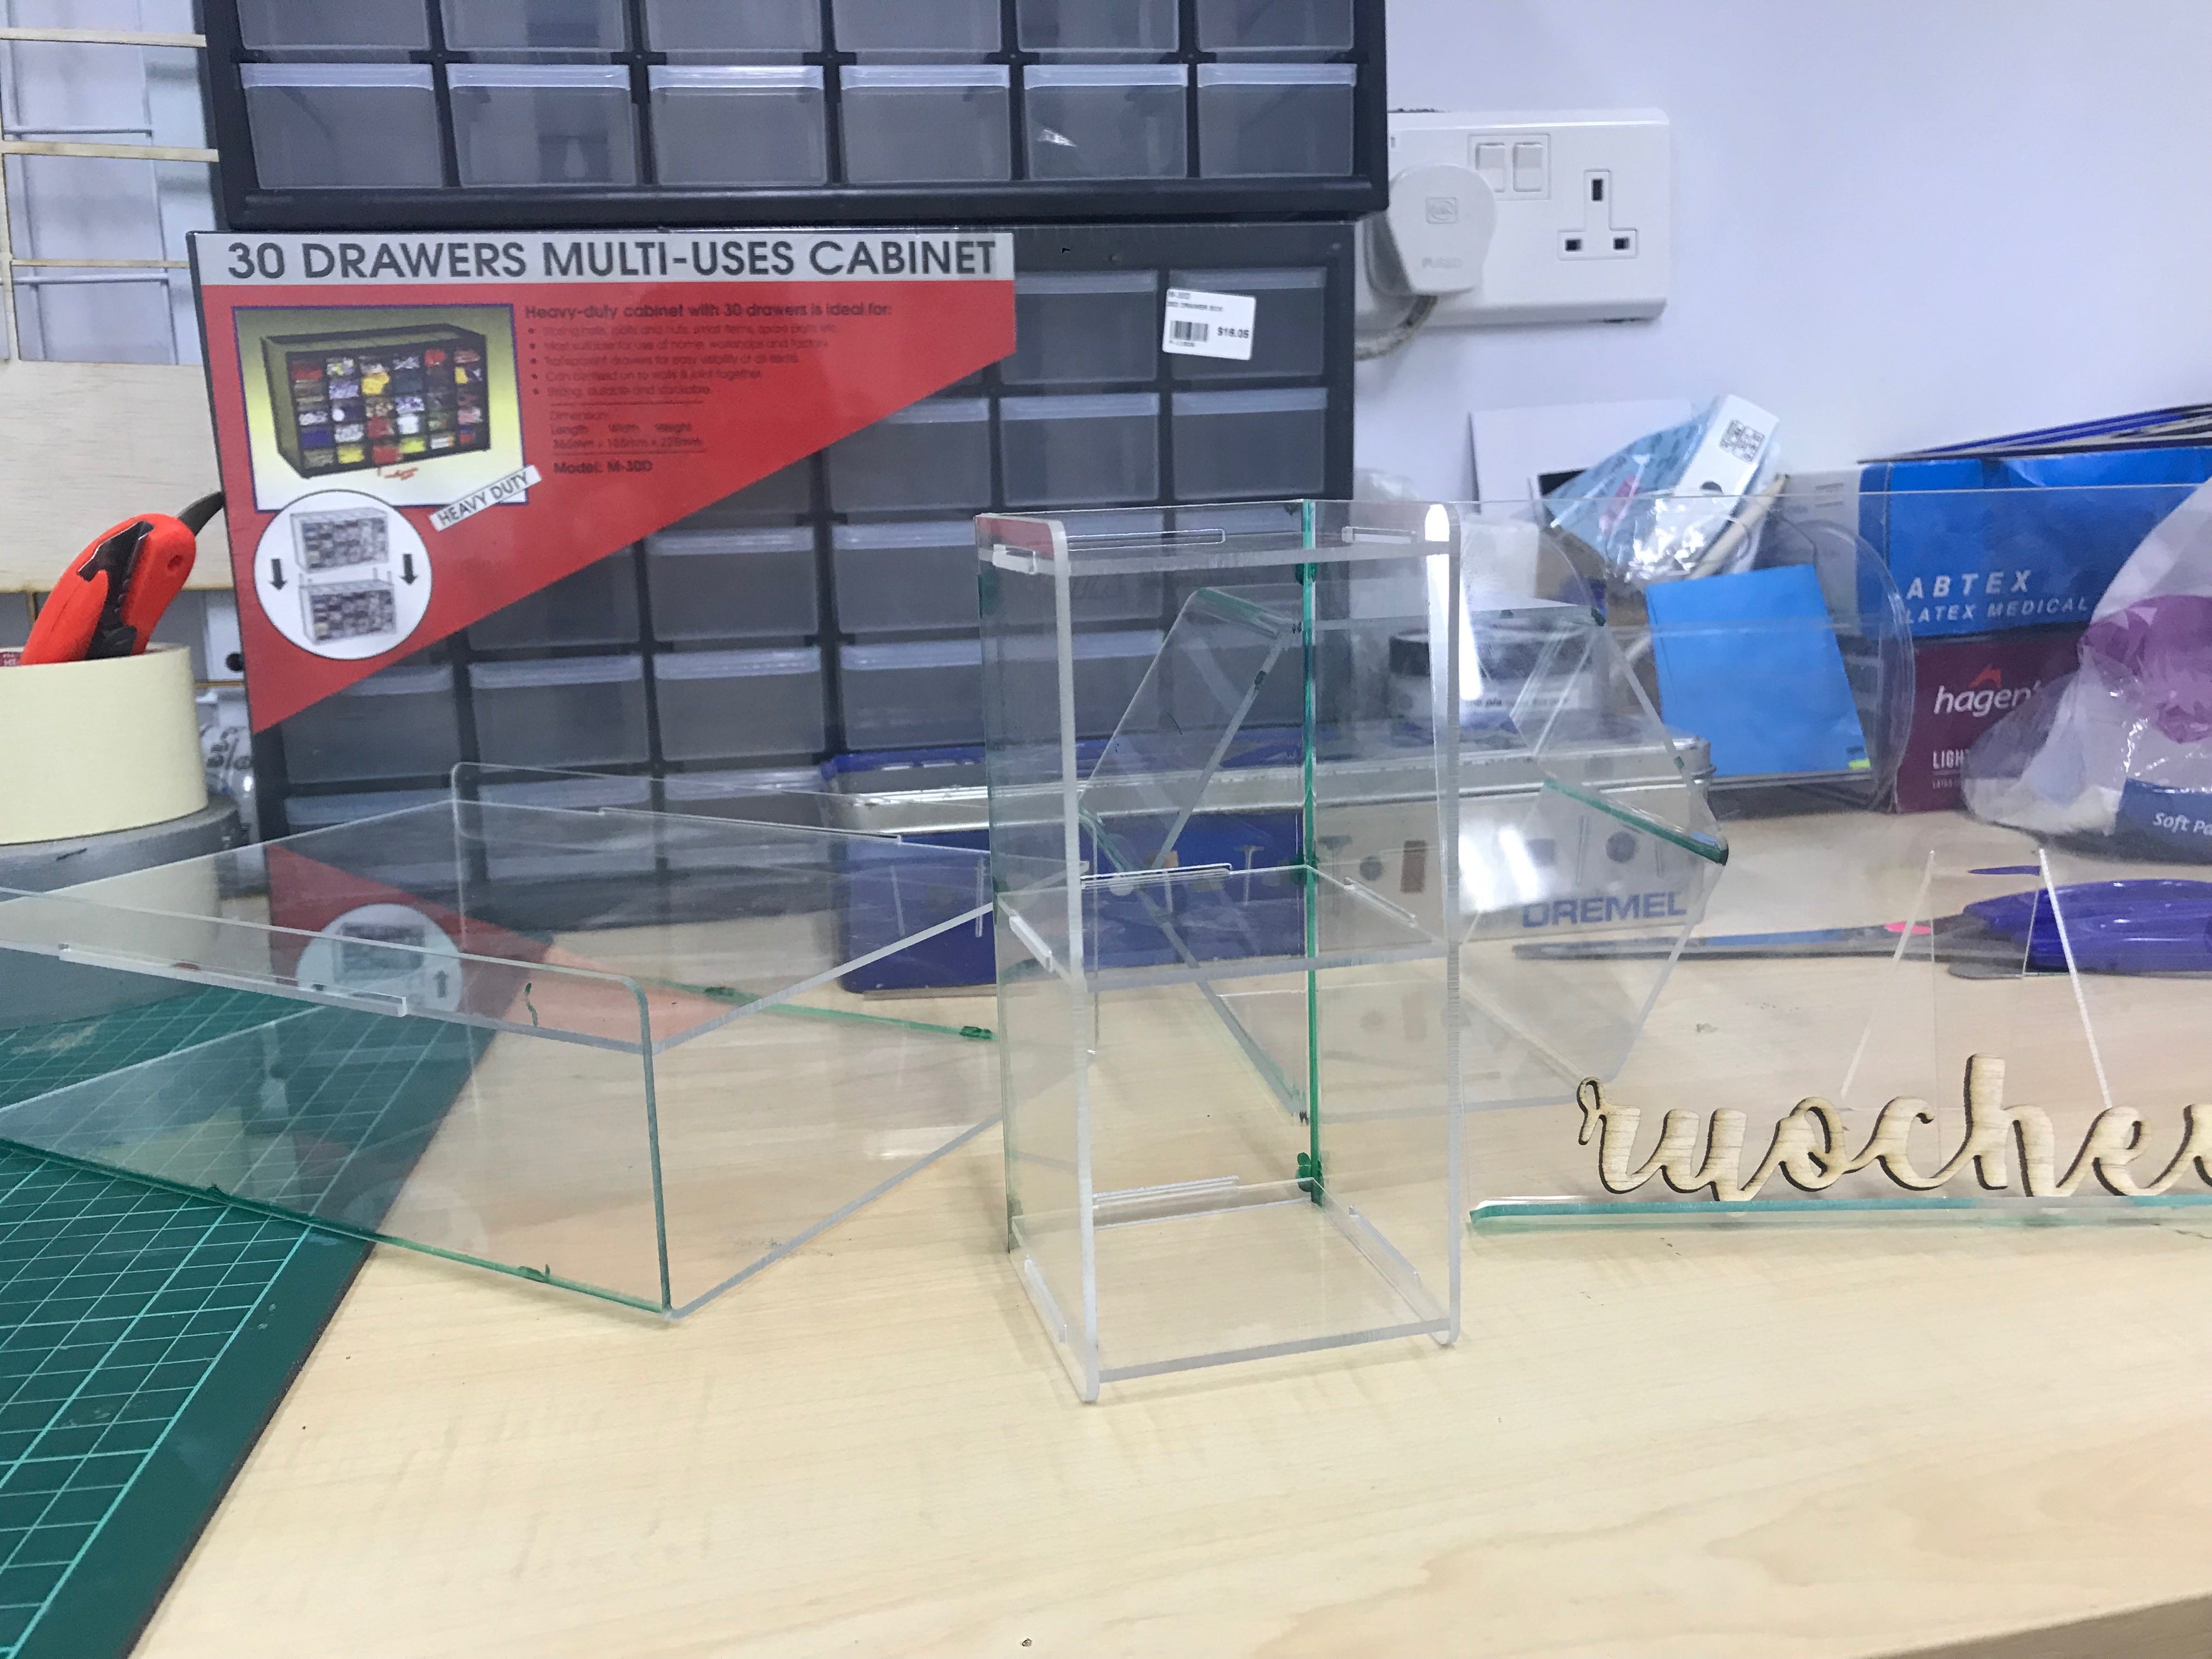
Some room decor inspo to save you a trip to Muji or IKEA. Tip: use hot glue in place of rubber feet!
So if you’re faced with a laser cutter at your disposal and don’t know what to do with it, I hope this article has given you some inspiration to unleash your inner DIY queen, and perhaps become your own IKEA like I did :”) Have fun!