

Editor’s note: Read Part 1 and Part 2 first for some background on what we call “Viennale”: the Singapore Pavilion for the Venice Biennale, No More Free Space, a project we undertook in collaboration with the Singapore University of Technology & Design.
Also editor’s note: Taking over on this story is Melvin, a brilliant young intern who’s starting out at the Nanyang Technological University in the fall of 2018. Read more on what he did for this project:
In March 2018, I had the opportunity to join Tinkertanker, an edutech startup (or so I thought), as an intern. Expecting to attend classes or write tutorials, I was quickly tasked to do R&D by testing various sensors for “Light Sticks” for the Singapore pavilion for an bi-annual architecture exhibition, the Venice Biennale.
This year’s exhibition required 2 types of lights, a computer controlled light panel that would display sequences, and small light sticks that that would respond to the exhibit goers presence. Tinkertanker was contracted to design, manufacture, and program these lights.
The candidate sensors ranged from simple PIRs (passive infrared receivers), to complex laser range-finders. Even though I’d done electronics as a hobby, this was the my first time really digging deep into the data sheets and testing components meticulously. I had to figure out the electrical characteristics—operating voltage, pinouts—and functional characteristics, e.g. time-out period, and determine which sensor to use.
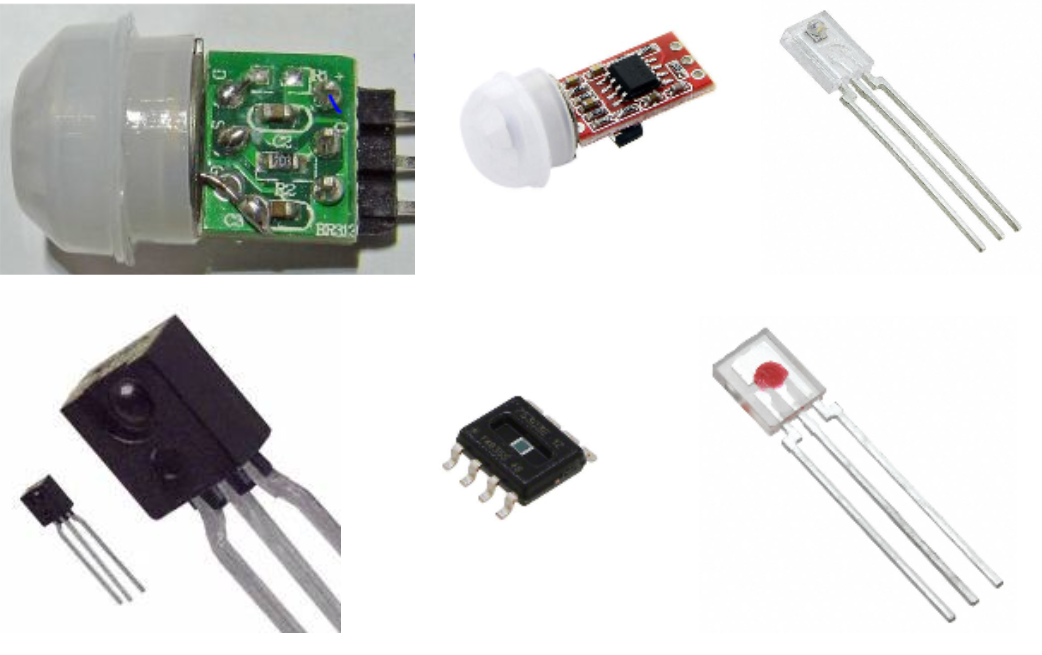
Some of the sensors tested. Note to future self: Check polarity…unless you want to breathe in magic smoke and destroy half of the samples you were given to test.. ahem.
Surprisingly, the PIR from Aliexpress—the most affordable one!—won the sensor shootout due to the following reasons:
- It was a standalone unit, so there was no need for an active element (such as infrared LEDs, lasers) at some other part of the structure or light stick;
- Its size was perfect for the acrylic housing; and
- It had the best time-out period, which was neither too slow or too fast.
Making the Light Stick Prototype
I thought making the light sticks were going to be a piece of cake. Just some batteries, LEDs and sensors, right? Furthermore, the acrylic tube we decided to use was a perfect fit for the AAA batteries and PIR sensors. It seemed like I didn’t have to do much. We just needed 2 wires along the length of the light stick:
- A wire to connect the –ve terminal of the batteries to the the ground pin of the sensor
- A wire to connect the signal pin on the PIR to the –ve pin of the LED.
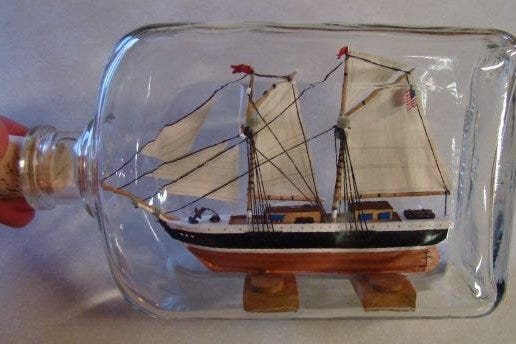
Building a ship in a bottle is hard! Source.
However, I soon found out that making these light sticks was like building a ship in a bottle. Since it was such a tight fit, it was surprisingly difficult to keep the wiring flush with the acrylic tube. A little force would fray the wires or rip out the solder parts. After spending a whole day making a single slick prototype, I decided to make the frankenstein of a light stick pictured below.
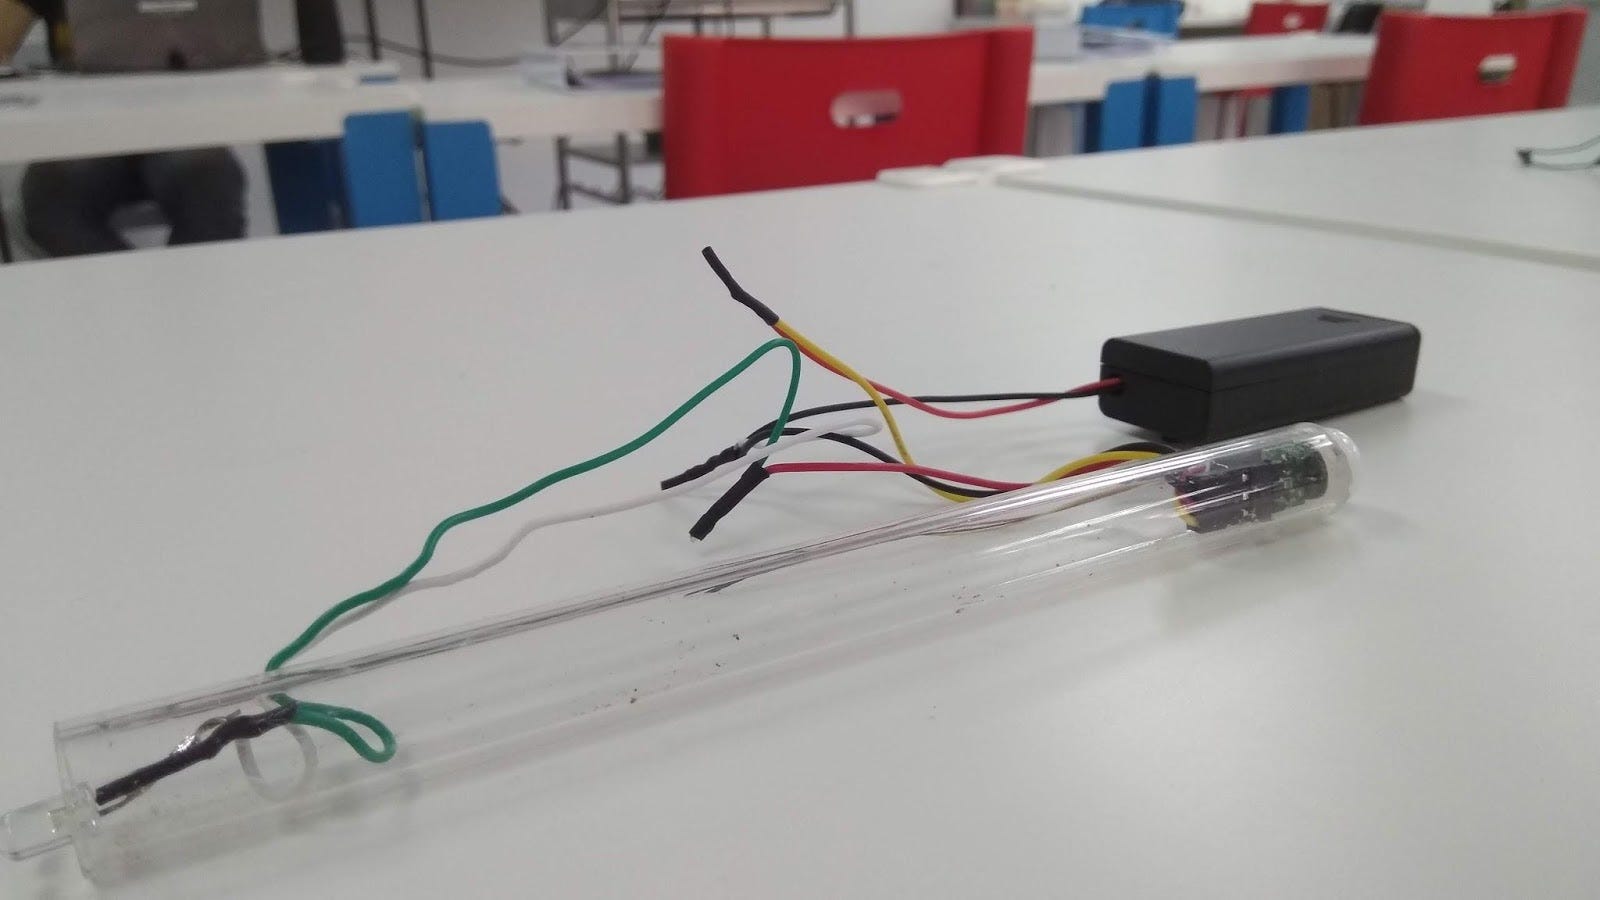
“Prototype” light stick with an external battery case. Not my finest work…
Since it was much easier to manufacture, we could make multiple sticks to test if the lights “followed” the user, the critical function we needed to test anyway. After which, I switched to developing the light panels while the light sticks would be completed by Sarah and Steven (Spoiler alert: it turned out awesome in the end — read about it in the next post!).