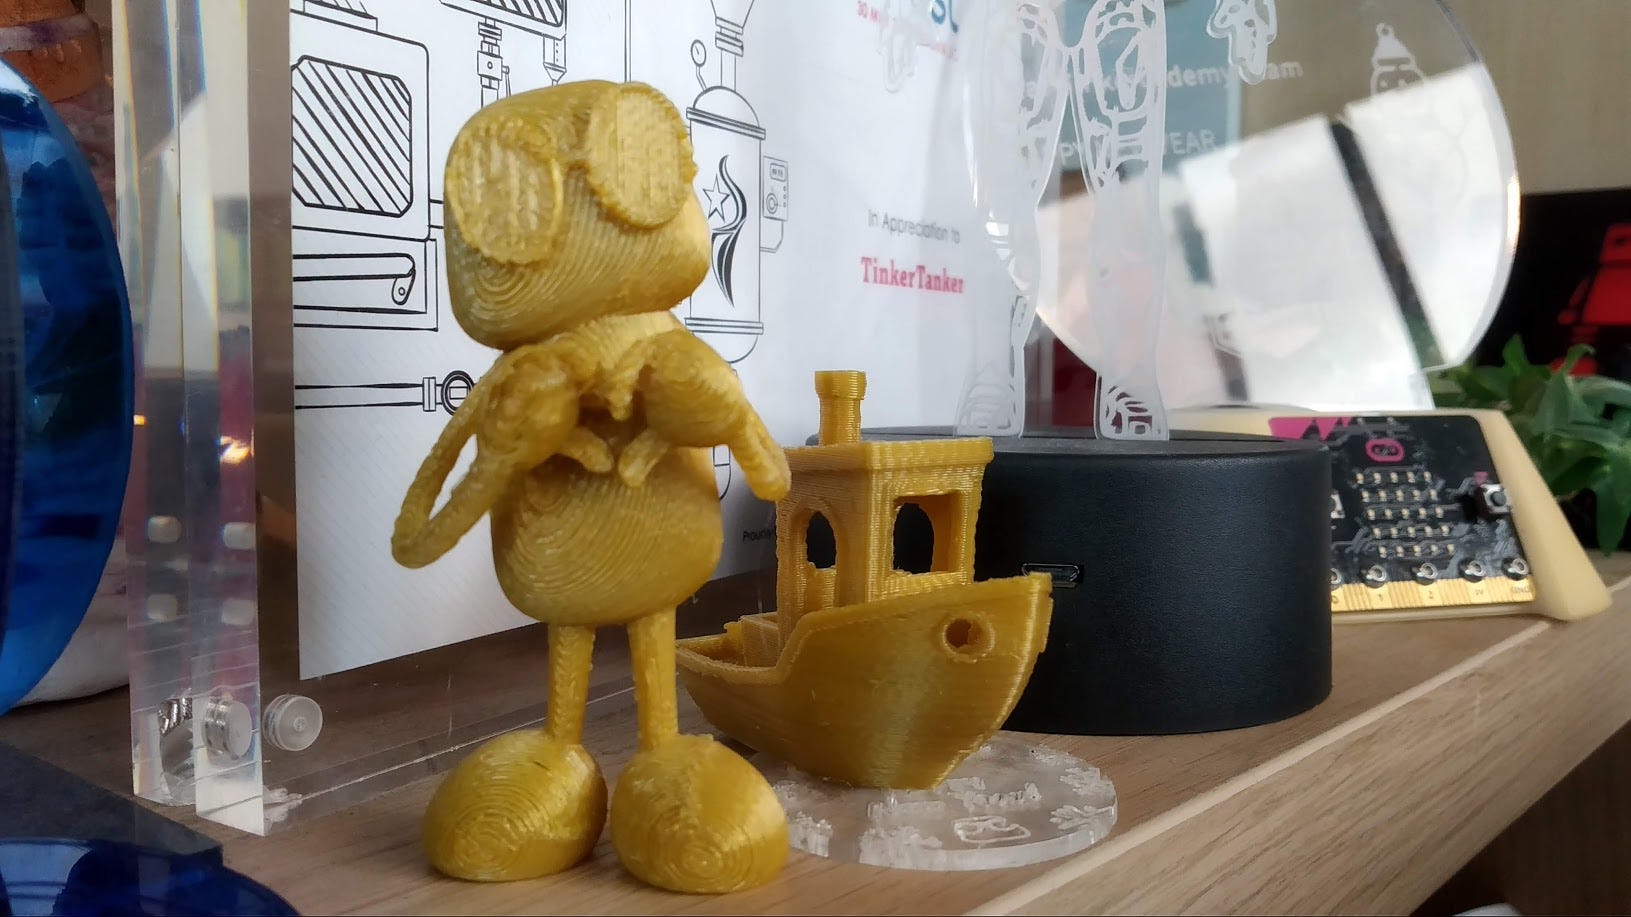
Editor’s note: Here’s Mireille’s second blog post, this one detailing her 3D printing adventures! You can read her first post here.
Introduction
I absolutely love all things 3D. Augmented Reality, CGI animation, 3D printing… there is just something about the medium that captivates me. That said, it is no surprise that one of the biggest changes I noticed when returning to Tinkertanker for a second internship was the huge da Vinci 1.0 Pro 3D printer in the workshop.
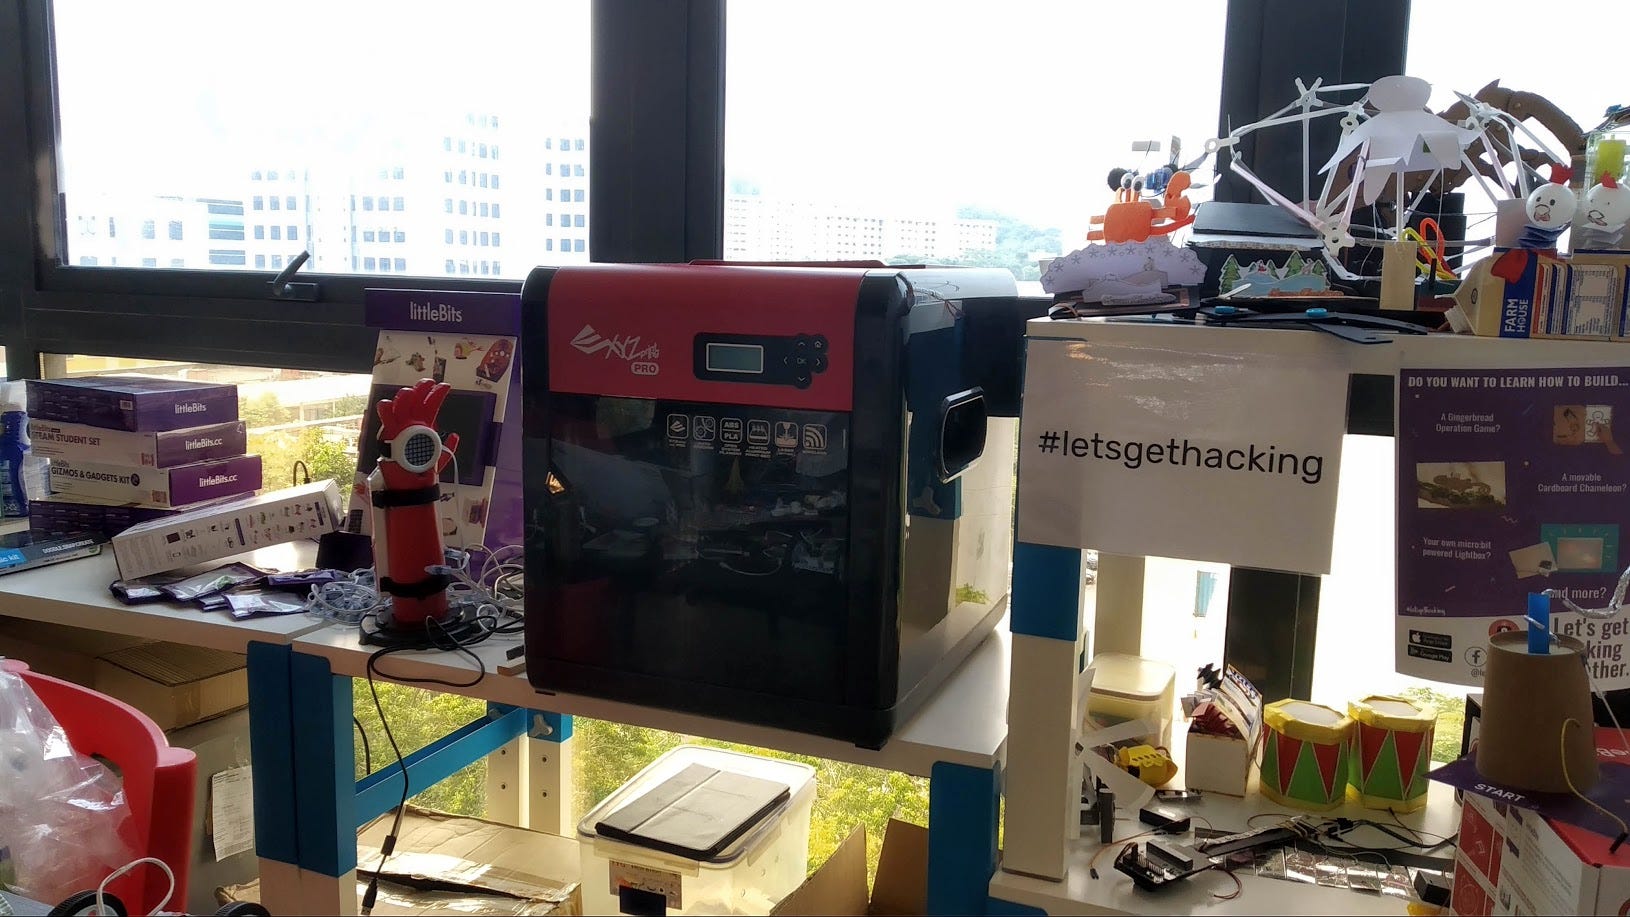
I have since moved the 3D printer outside, but look at the size!
The da Vinci 1.0 Pro was released by XYZprinting, and coincidentally, the 3D printer I own at home (a small but colourful da Vinci miniMaker) was by that company as well. That is why when I heard that the office 3D printer had some problems, my passion and slight familiarity pushed me to attempt to fix it. Here are the results of my experiments!
The First Impression
Some people may prefer to dive right in, but as a relatively “kiasu” (i.e. afraid to lose) person, I decided to start off by reading the product information on the official website.
The first thing I noticed while scrolling through was the allowance for 3rd Party Filament. To provide context, my miniMaker accepts only filament from XYZprinting. However, allowing 3rd Party Filament means that I could use the nice golden PLA filament already owned by the office!
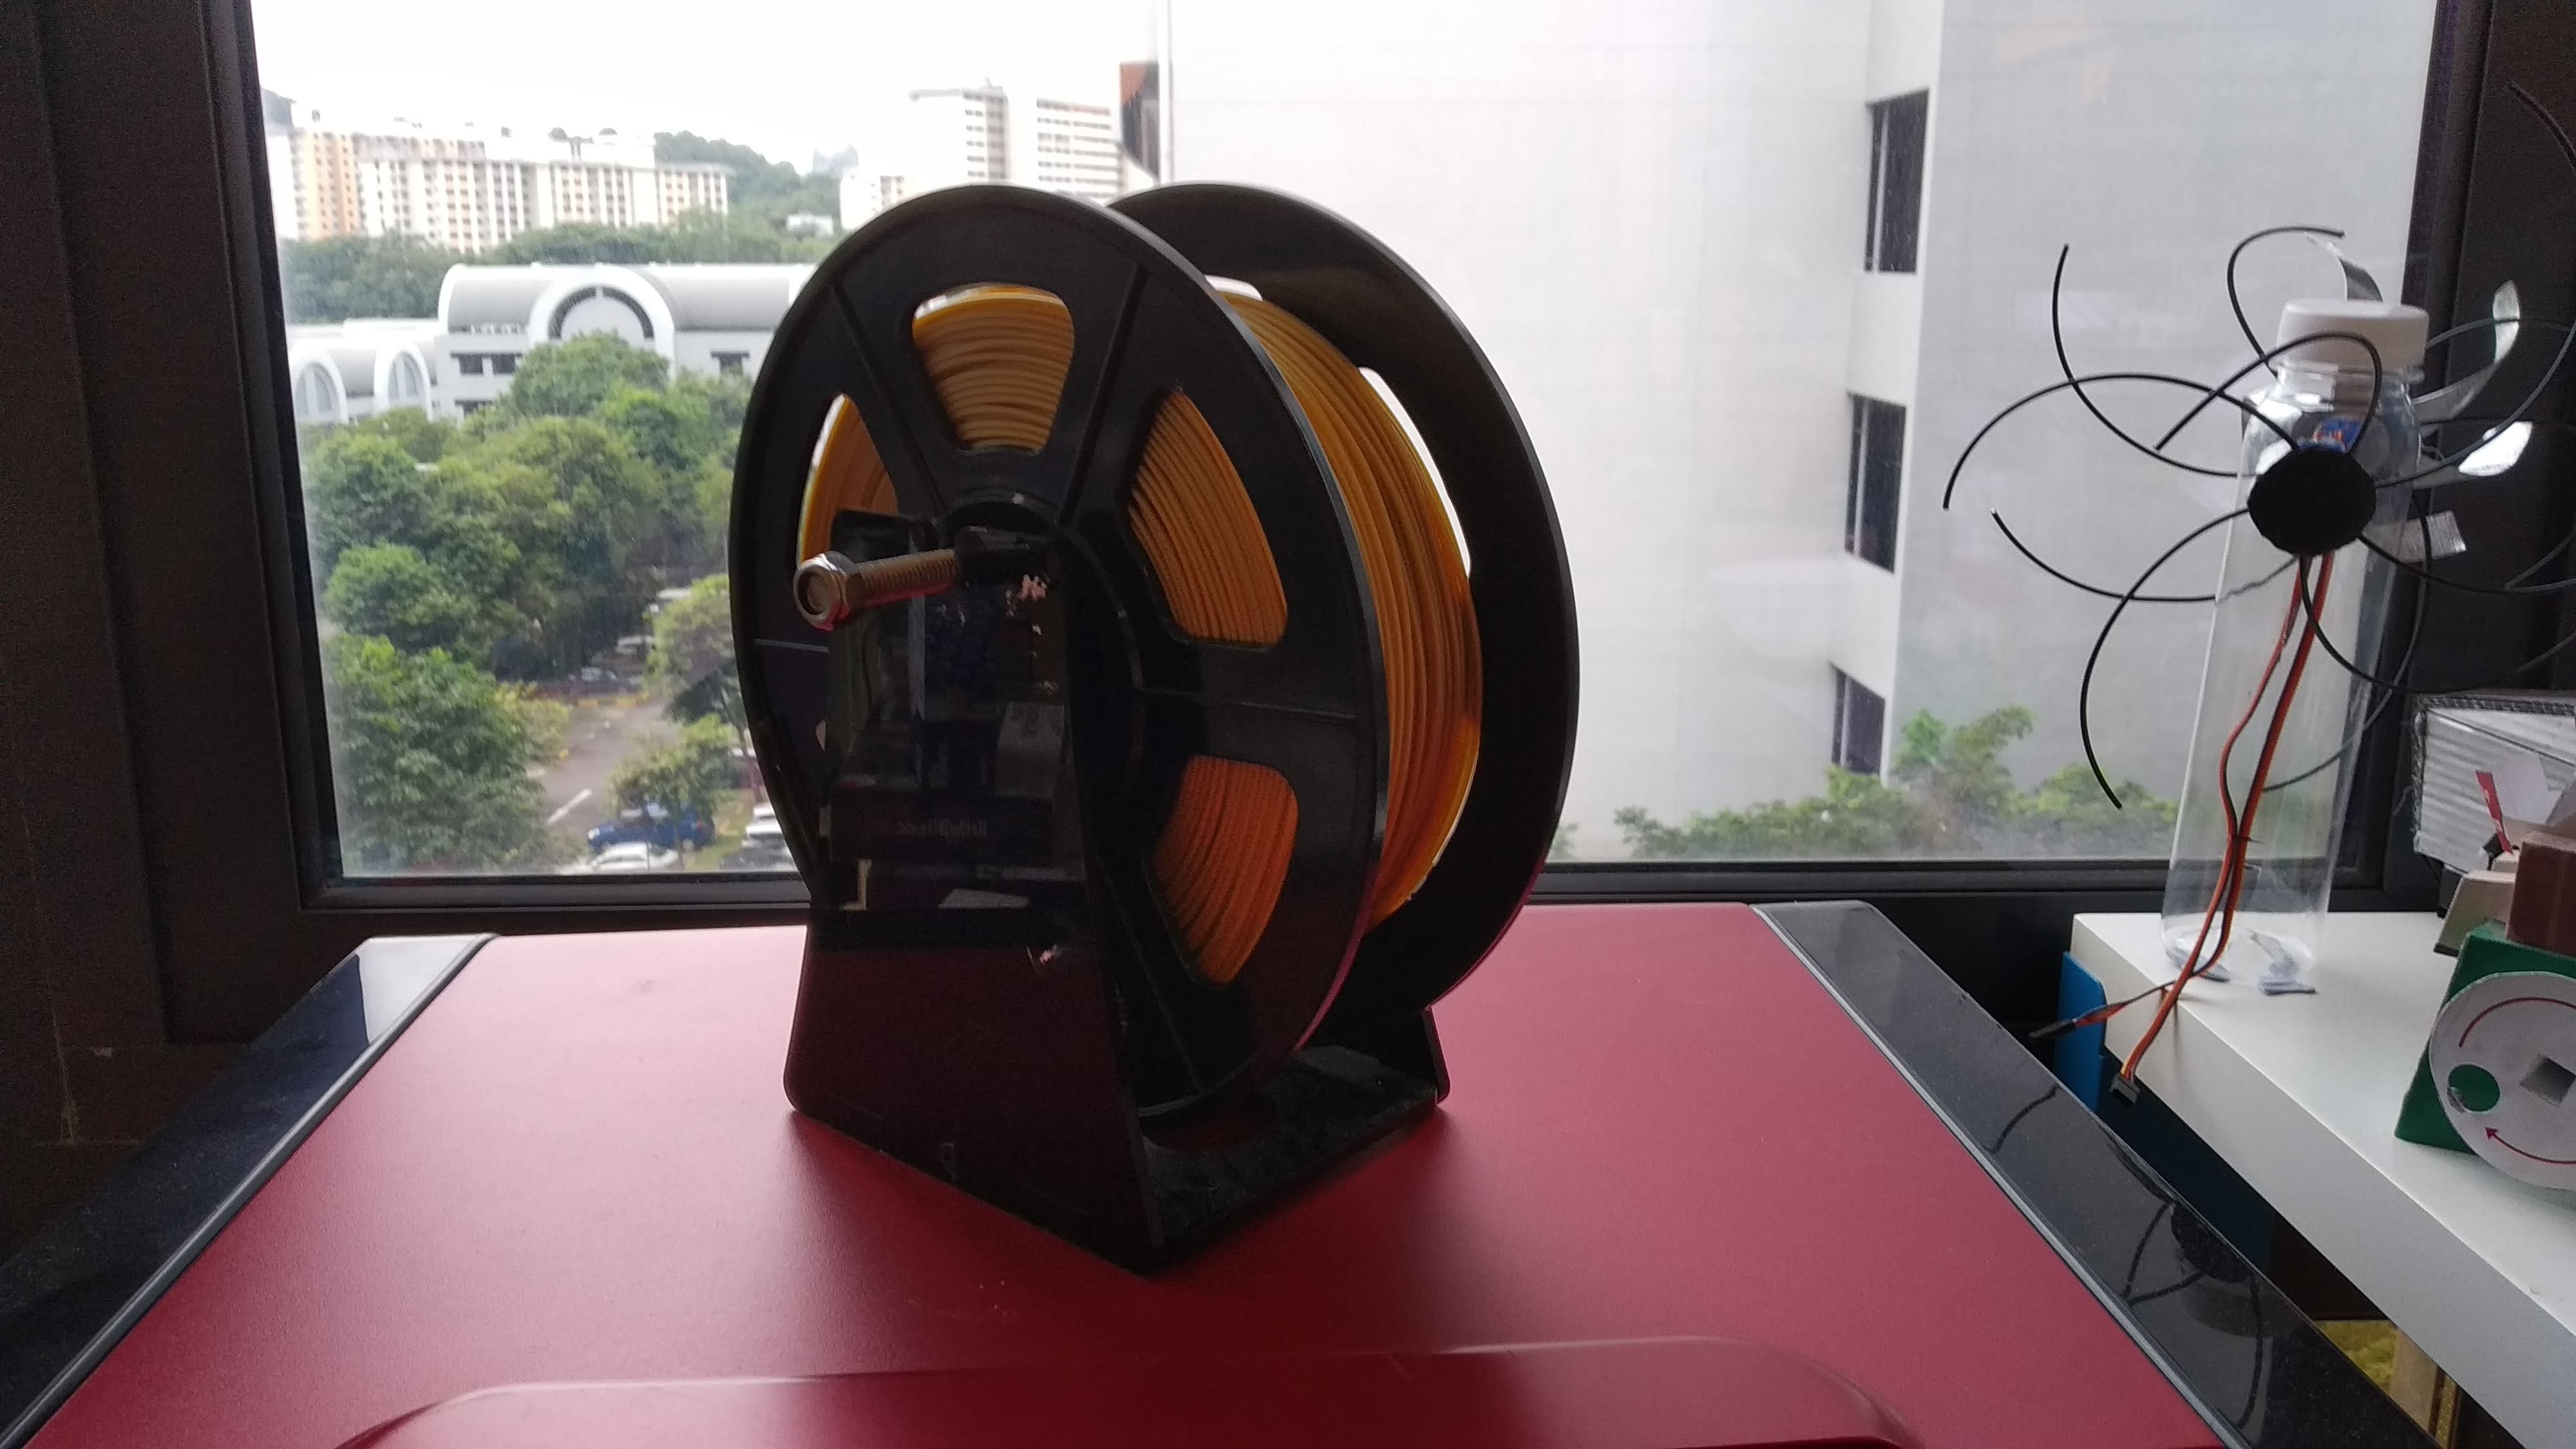
It is definitely not metallic, but I think it’s a nicer colour than the yellow XYZprinting filament that originally came with the 3D printer.
The other cool feature I came across was Wireless Printing!
Set the da Vinci 1.0 Pro up in your workshop and connect to it wirelessly to print from anywhere within your home/office network.
Like the official description says, Wireless Printing would allow for connection from anywhere within the office. This was great, main reason being the workshop was too small for the 3D printer (hence me moving it out). Connecting to the 3D printer via Wi-Fi meant that we could use the same computer for laser-cutting in the workshop to 3D print — think of it as a convenient central hub!
#3DBenchy
Background
For those not too familiar with 3D printing or the 3D printing community, the 3DBenchy is a standard “torture test” for 3D printers.
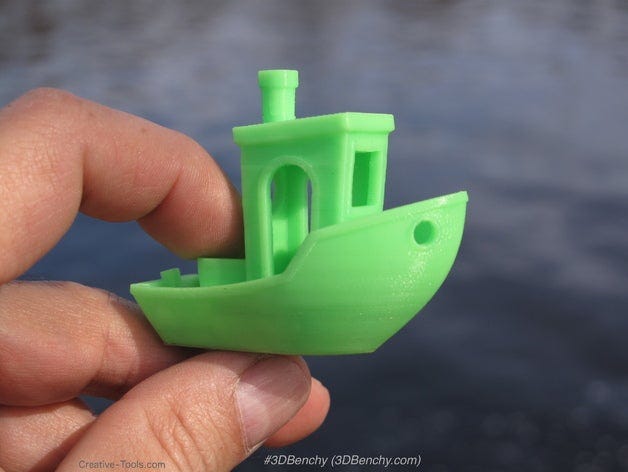
Picture taken from Thingiverse
As you can see, there are “holes” (e.g. windows, cabin, hull, etc.) that require supports, making it ideal to put any 3D printer to the test (you did not think that a torture test was meant for killing the printer, did you?)!
The 3DBenchy is small, adorable and fun to say! Needless to say, I felt this was an apt print to try out the 3D printer for the first time.
Set-Up Tribulations
Setting up the da Vinci 1.0 Pro definitely took longer than I had first anticipated. Ideally, the steps to set up (from my prior experience) would have been as follows:
- Prepare print bed.
- Load filament.
- Calibrate.
- Print.
Steps 1 and 2 were simple enough, but at Step 3, I was warned that there would be problems. Basically, after calibration the screen will show a “CALIBRATE FAIL”. My natural course of action was to search the Internet, but 2h of trying suggested solutions did me no good.
Finally, on a whim I decided to try switching the filament to the golden one instead of the yellow XYZprinting PLA. The golden filament was truly a miracle; for some reason, immediately after loading it in, I managed to get “UNLEVEL BED”, and proceeded to spend the next… ~20 minutes adjusting it to reach the perfect level.
A quick review of the whole calibration process: Personally, I find the miniMaker method a lot more reliable. It may just be because the 1.0 Pro is not in mint condition, but it took way too many tries to get perfect level.
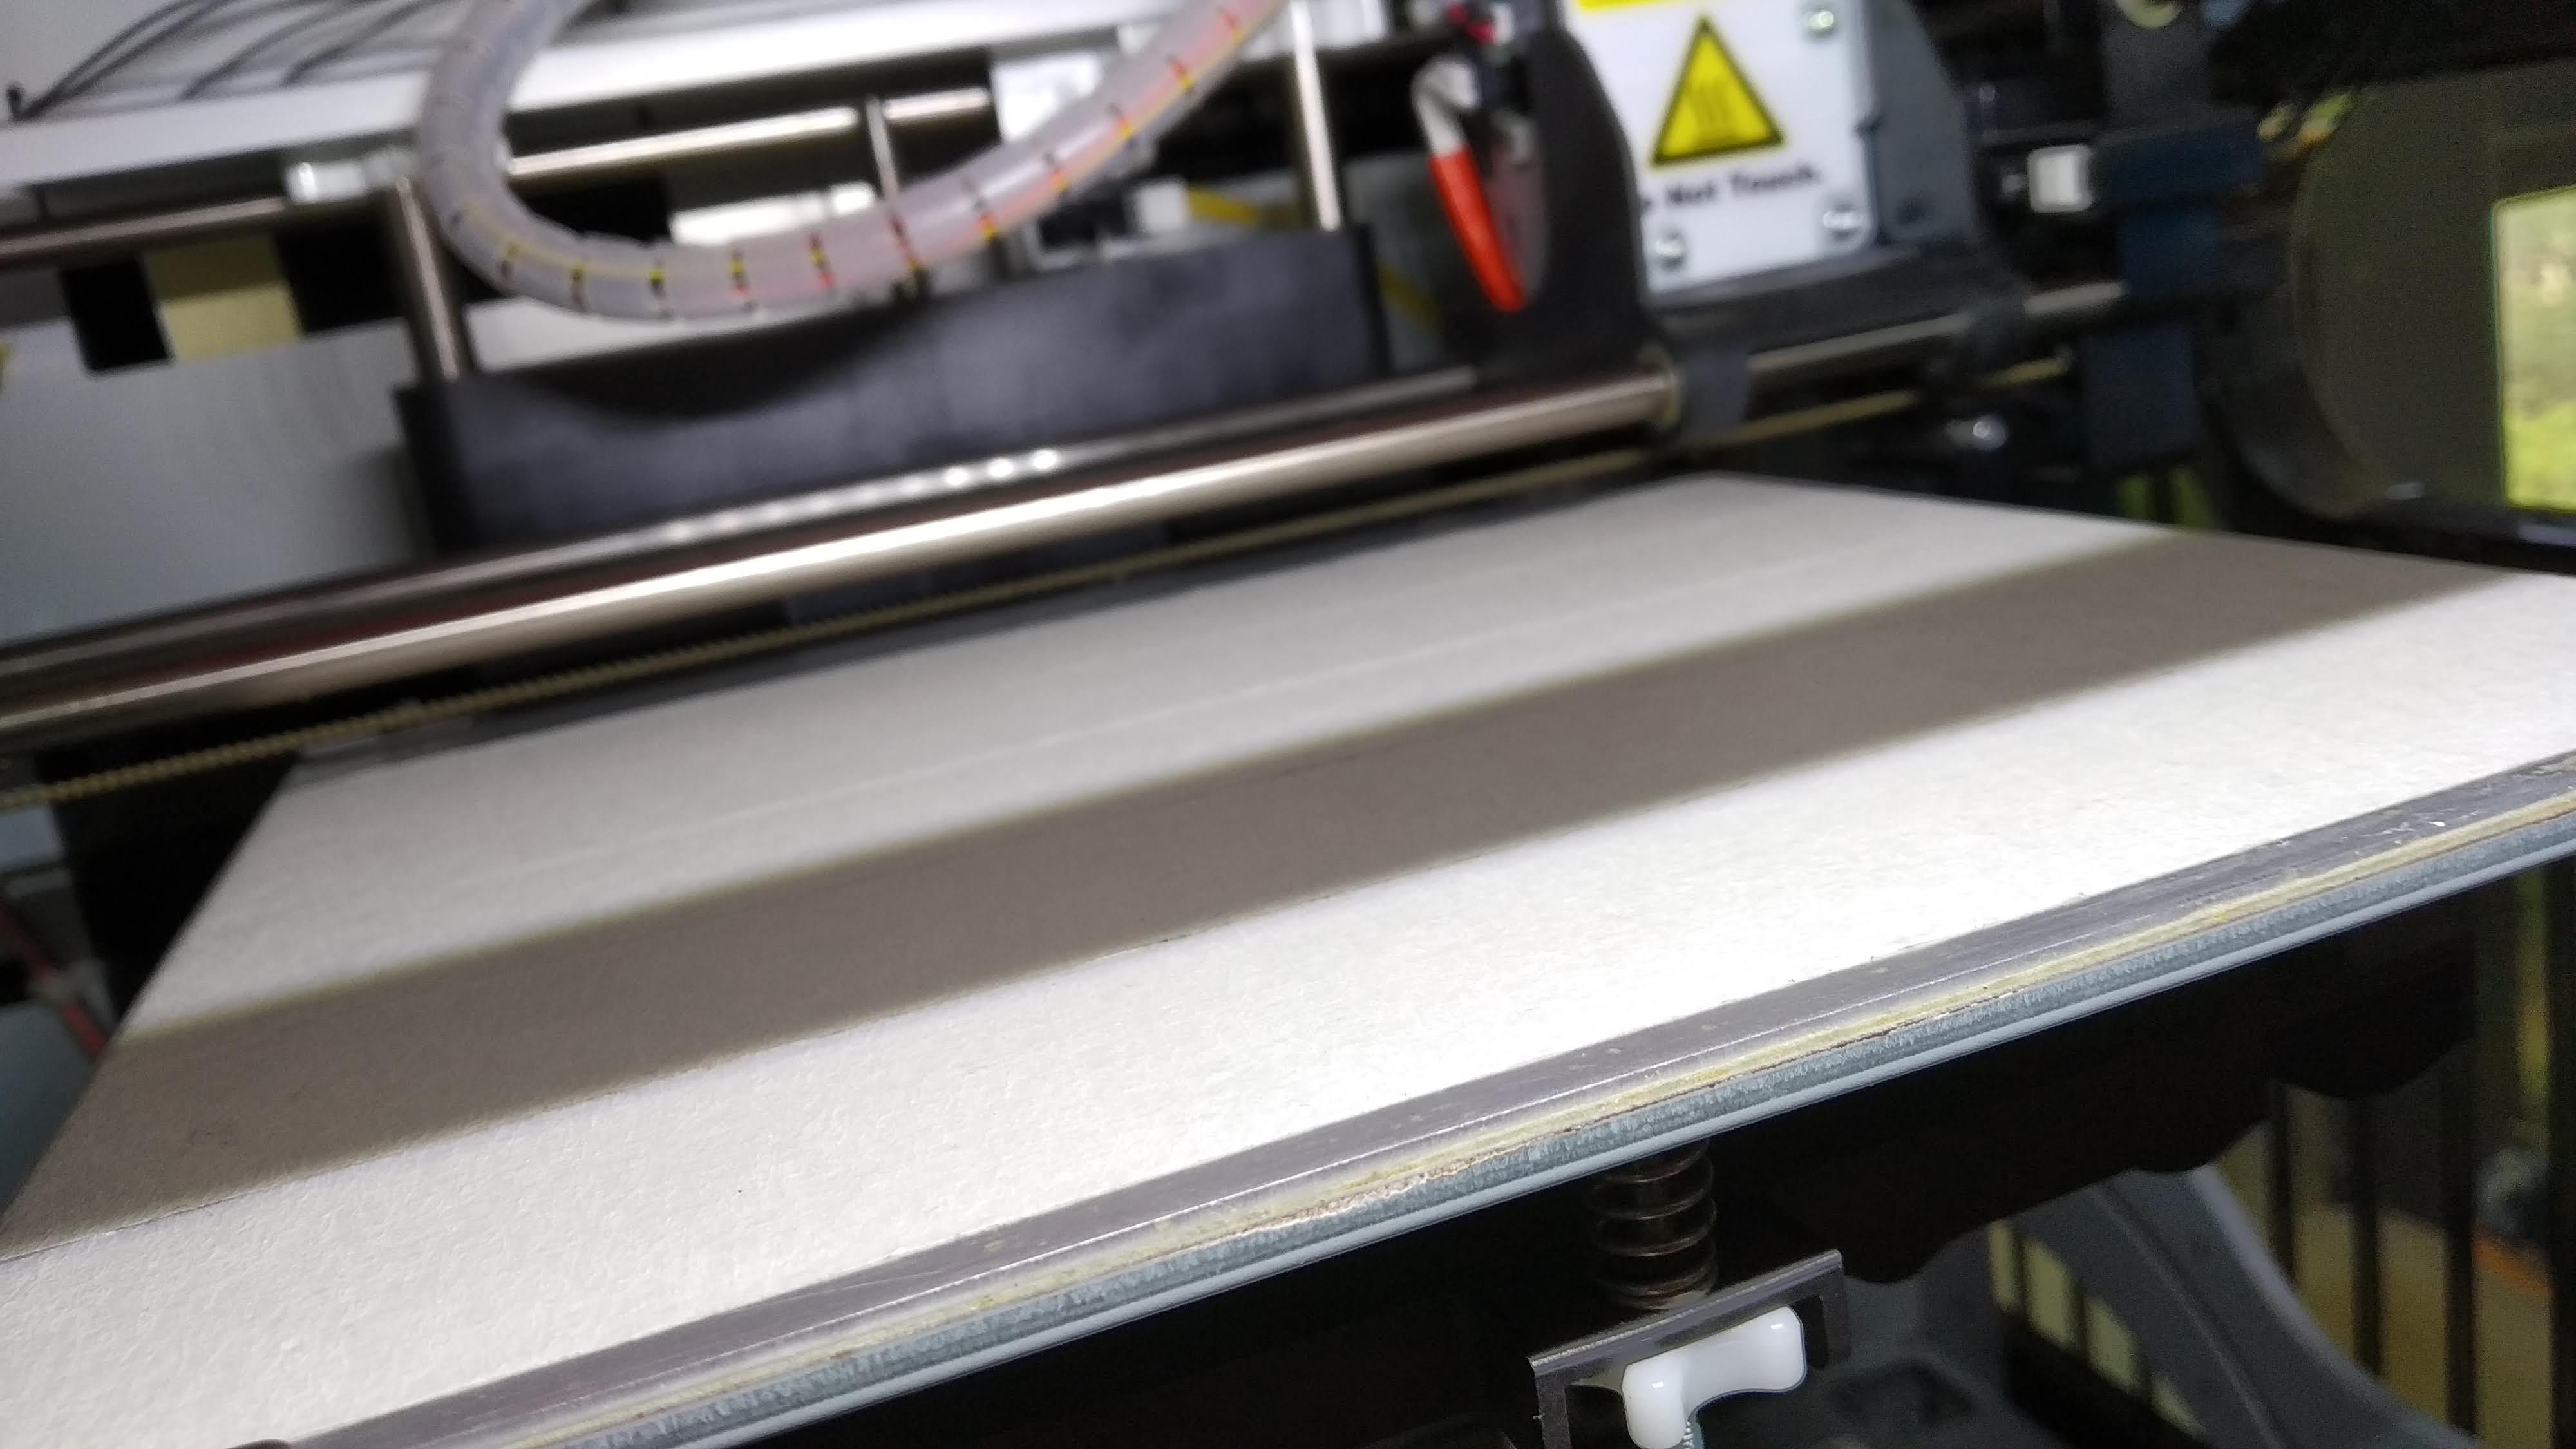
The da Vinci 1.0 Pro print bed covered with masking tape (as a cheap alternative for the adhesion sticker)
The calibration system works as follows: a sensor near the nozzle detects the position of the four corners; if it is not level, you would have to turn the white knobs underneath the print bed to adjust its tilt. This system felt long (each calibration took more than a minute) and arduous compared to that of the miniMaker. For the latter, the print bed was always flat since during printing, the z-movement came from the nozzle instead of the bed. Calibration was for the nozzle and took a mere ~30s.
With the calibration settled, another problem arose: The filament would not be extruded! Luckily, unloading and reloading the filament resolved that… or did it (foreshadowing)?
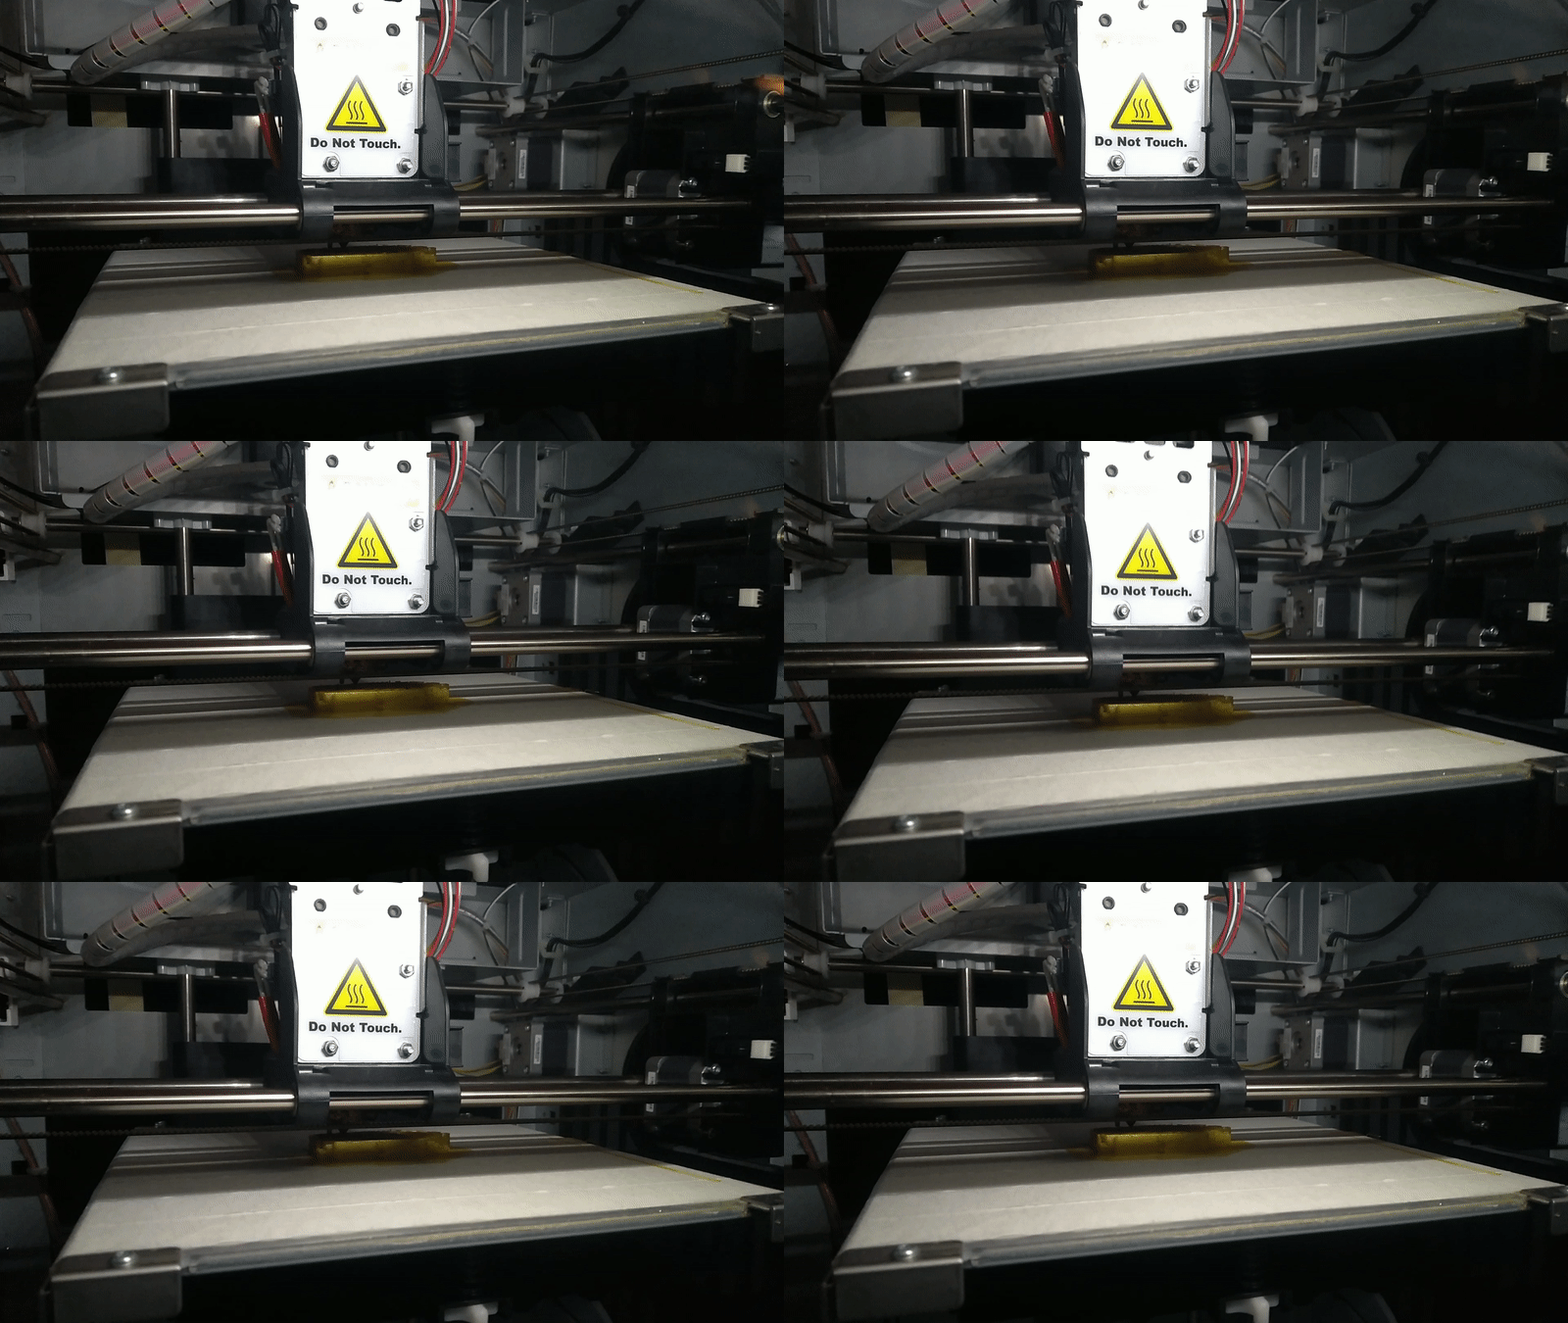
Finally, it could start printing!
The Thrilling Result
For all the effort put in, the results certainly delivered!
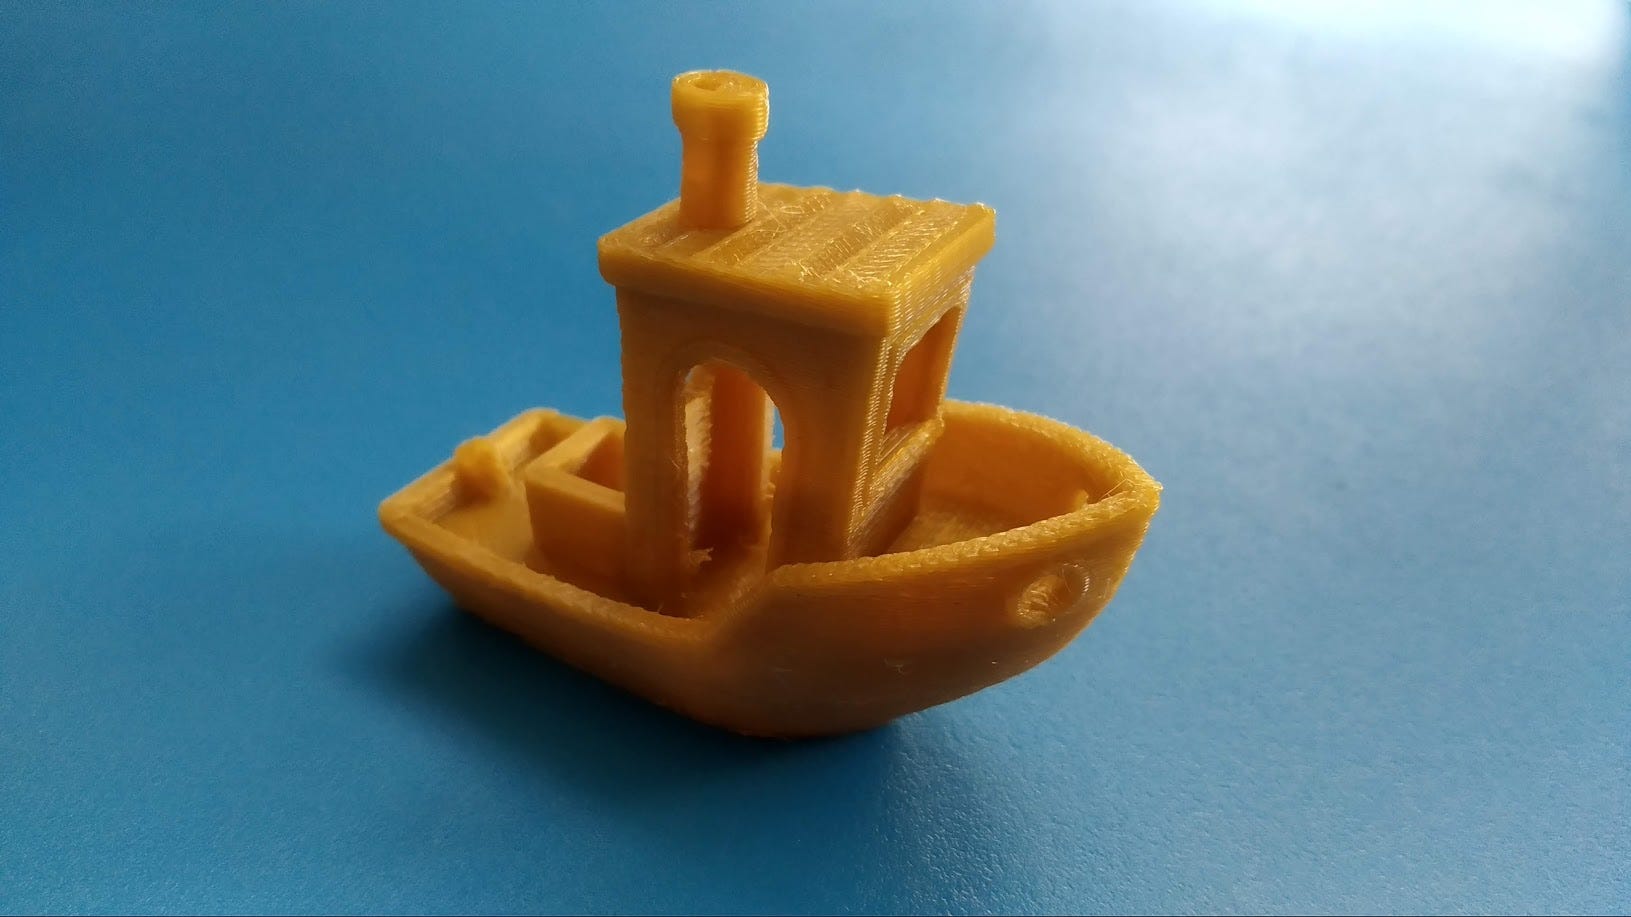
Front-side view of the 3Dbenchy
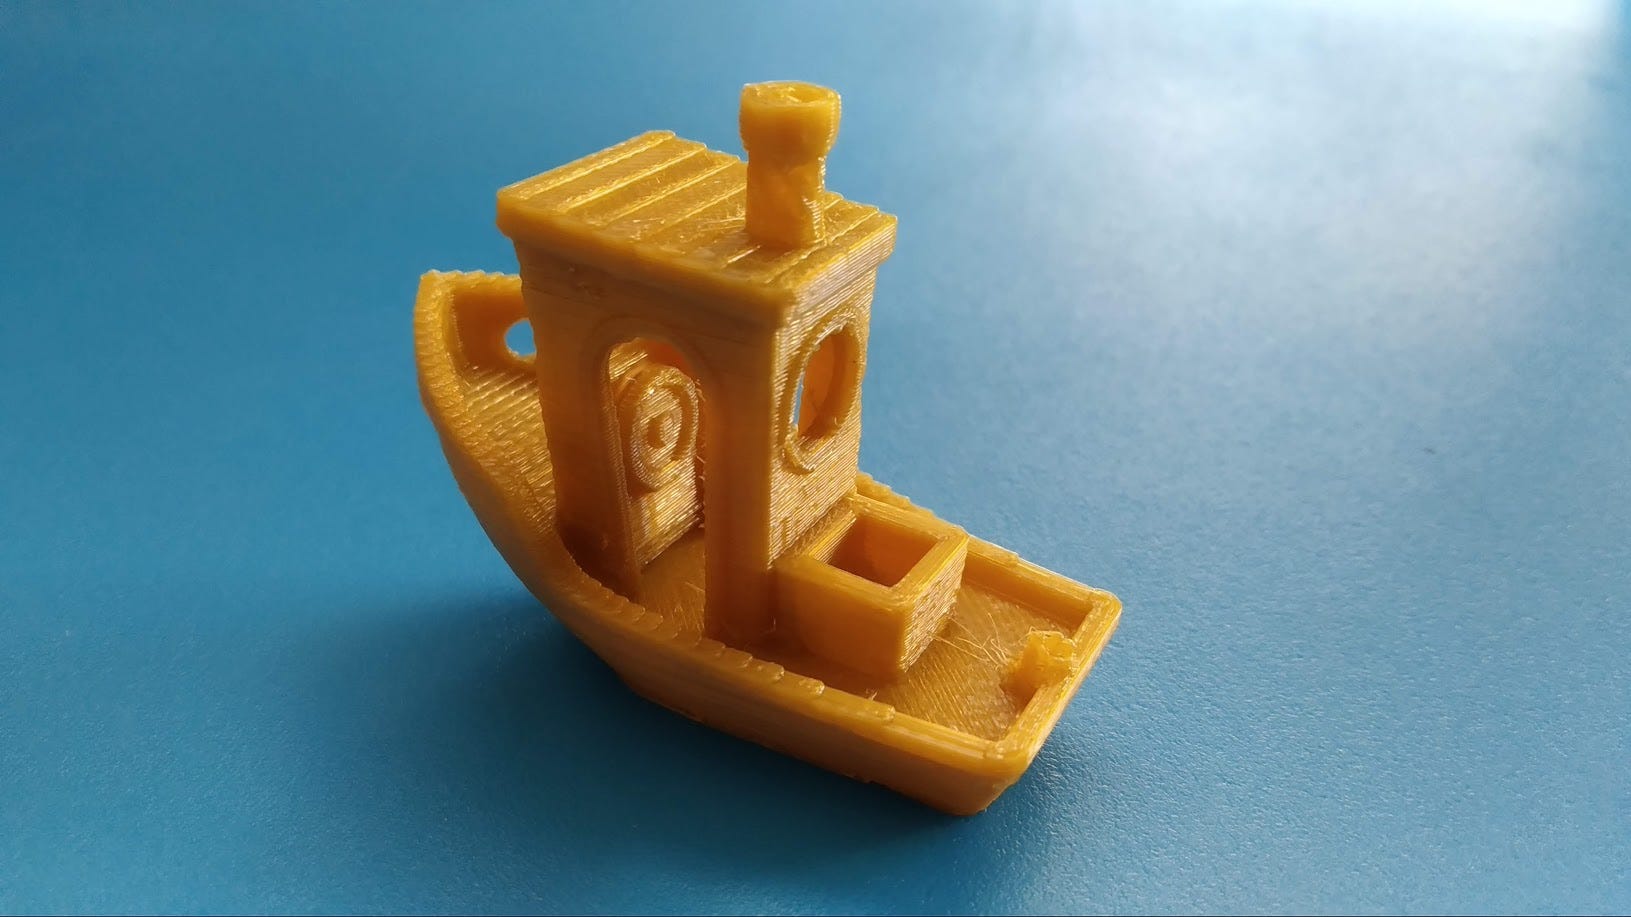
Back view of the 3DBenchy (look at the tiny wheel!)
Considering how it is a second-hand 3D printer, the results looked really smooth and the supports could be removed fairly easily. Not to mention, the detail on the wheel and the roof came out seamlessly. With this, I was satisfied with the default settings, though perhaps decreasing the layer height would have allowed for more detail and less obvious layers.
Our Beloved TKRobot
After passing the torture test, the 3D printer had to rest as we prepared for Tinkerfest. After hibernating for a month back in the workshop, I wanted to try printing something I 3D modelled on my own — and what a better “first” print than TKRobot, the Tinkertanker mascot!
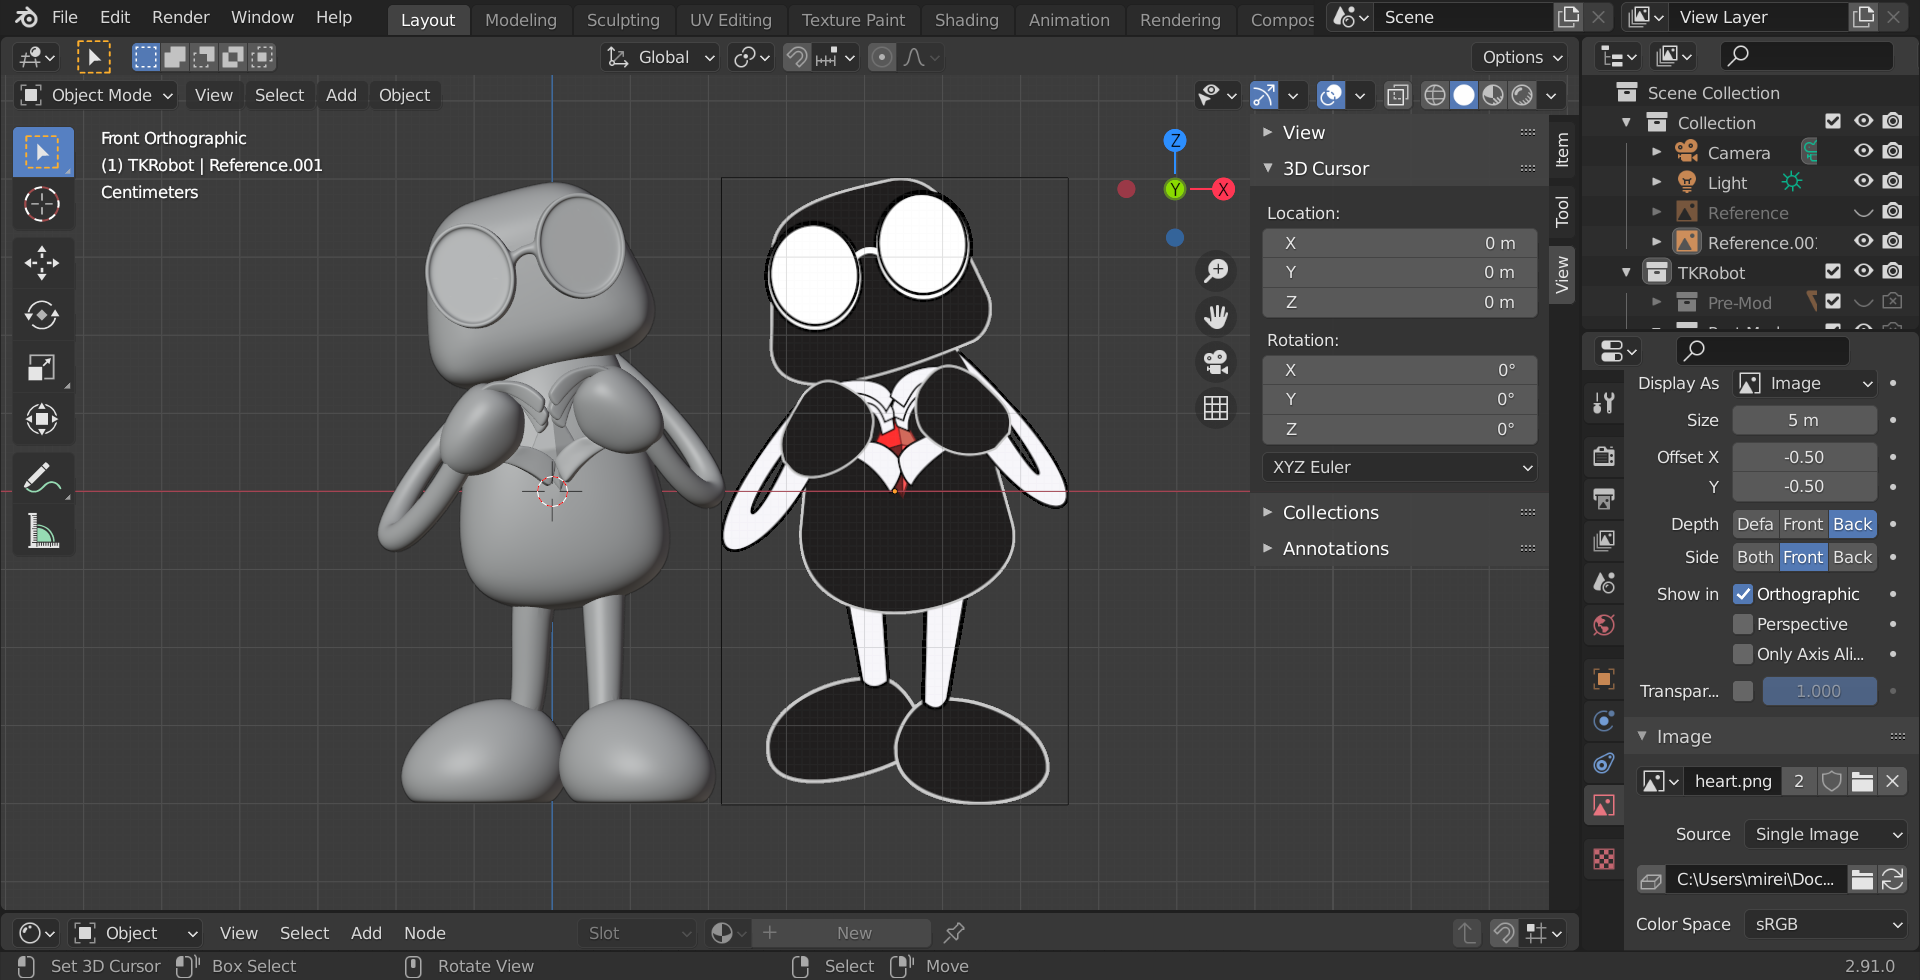
TKRobot in my go-to 3D software, Blender ❤️️
More Tribulations
Sadly, a month in hibernation and a trip to-and-fro from the workshop did not bode well for the 3D printer. It took at least 15 tries and more than an hour of waiting to get calibration to a perfect level, but on the bright side, the 3D printer seems to have found a permanent home and calibration should go smoothly from now on.
Remember the foreshadowing from a few paragraphs ago? As it turns out, the same problem of the filament not being extruded happened again. Worse still, reloading the filament did not help this time, neither did cleaning the nozzle nor increasing nozzle temperature. After hours of attempted troubleshooting, I finally snipped off the cable tie holding the filament tube and pulled it out of the nozzle. Then, after spending an hour armed with tweezers and a solder sucker trying to clear all the stubborn jammed filament, the da Vinci 1.0 Pro was in operation once more!
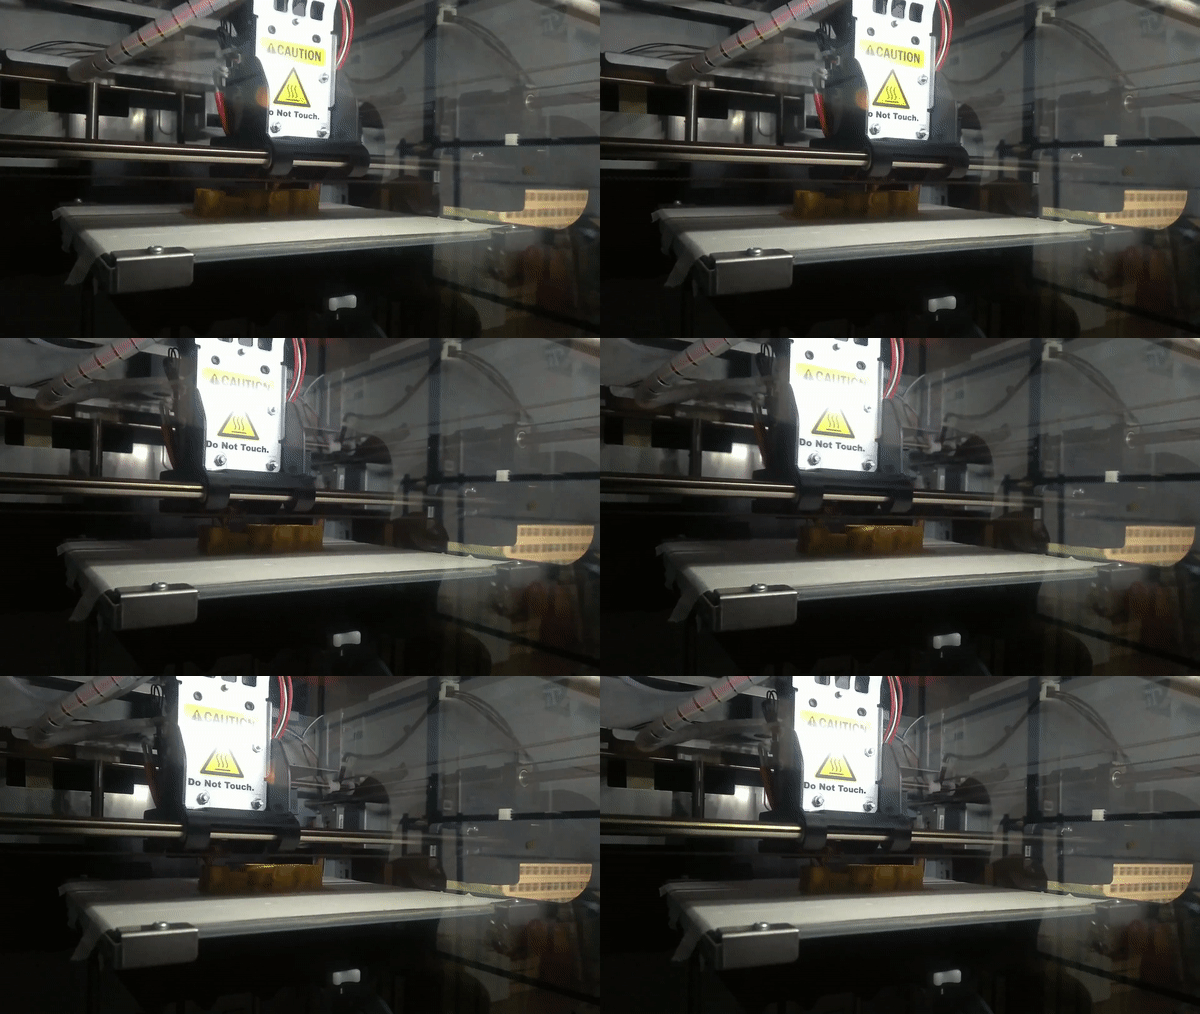
Go 3D Printer go!
More Thrilling Results!
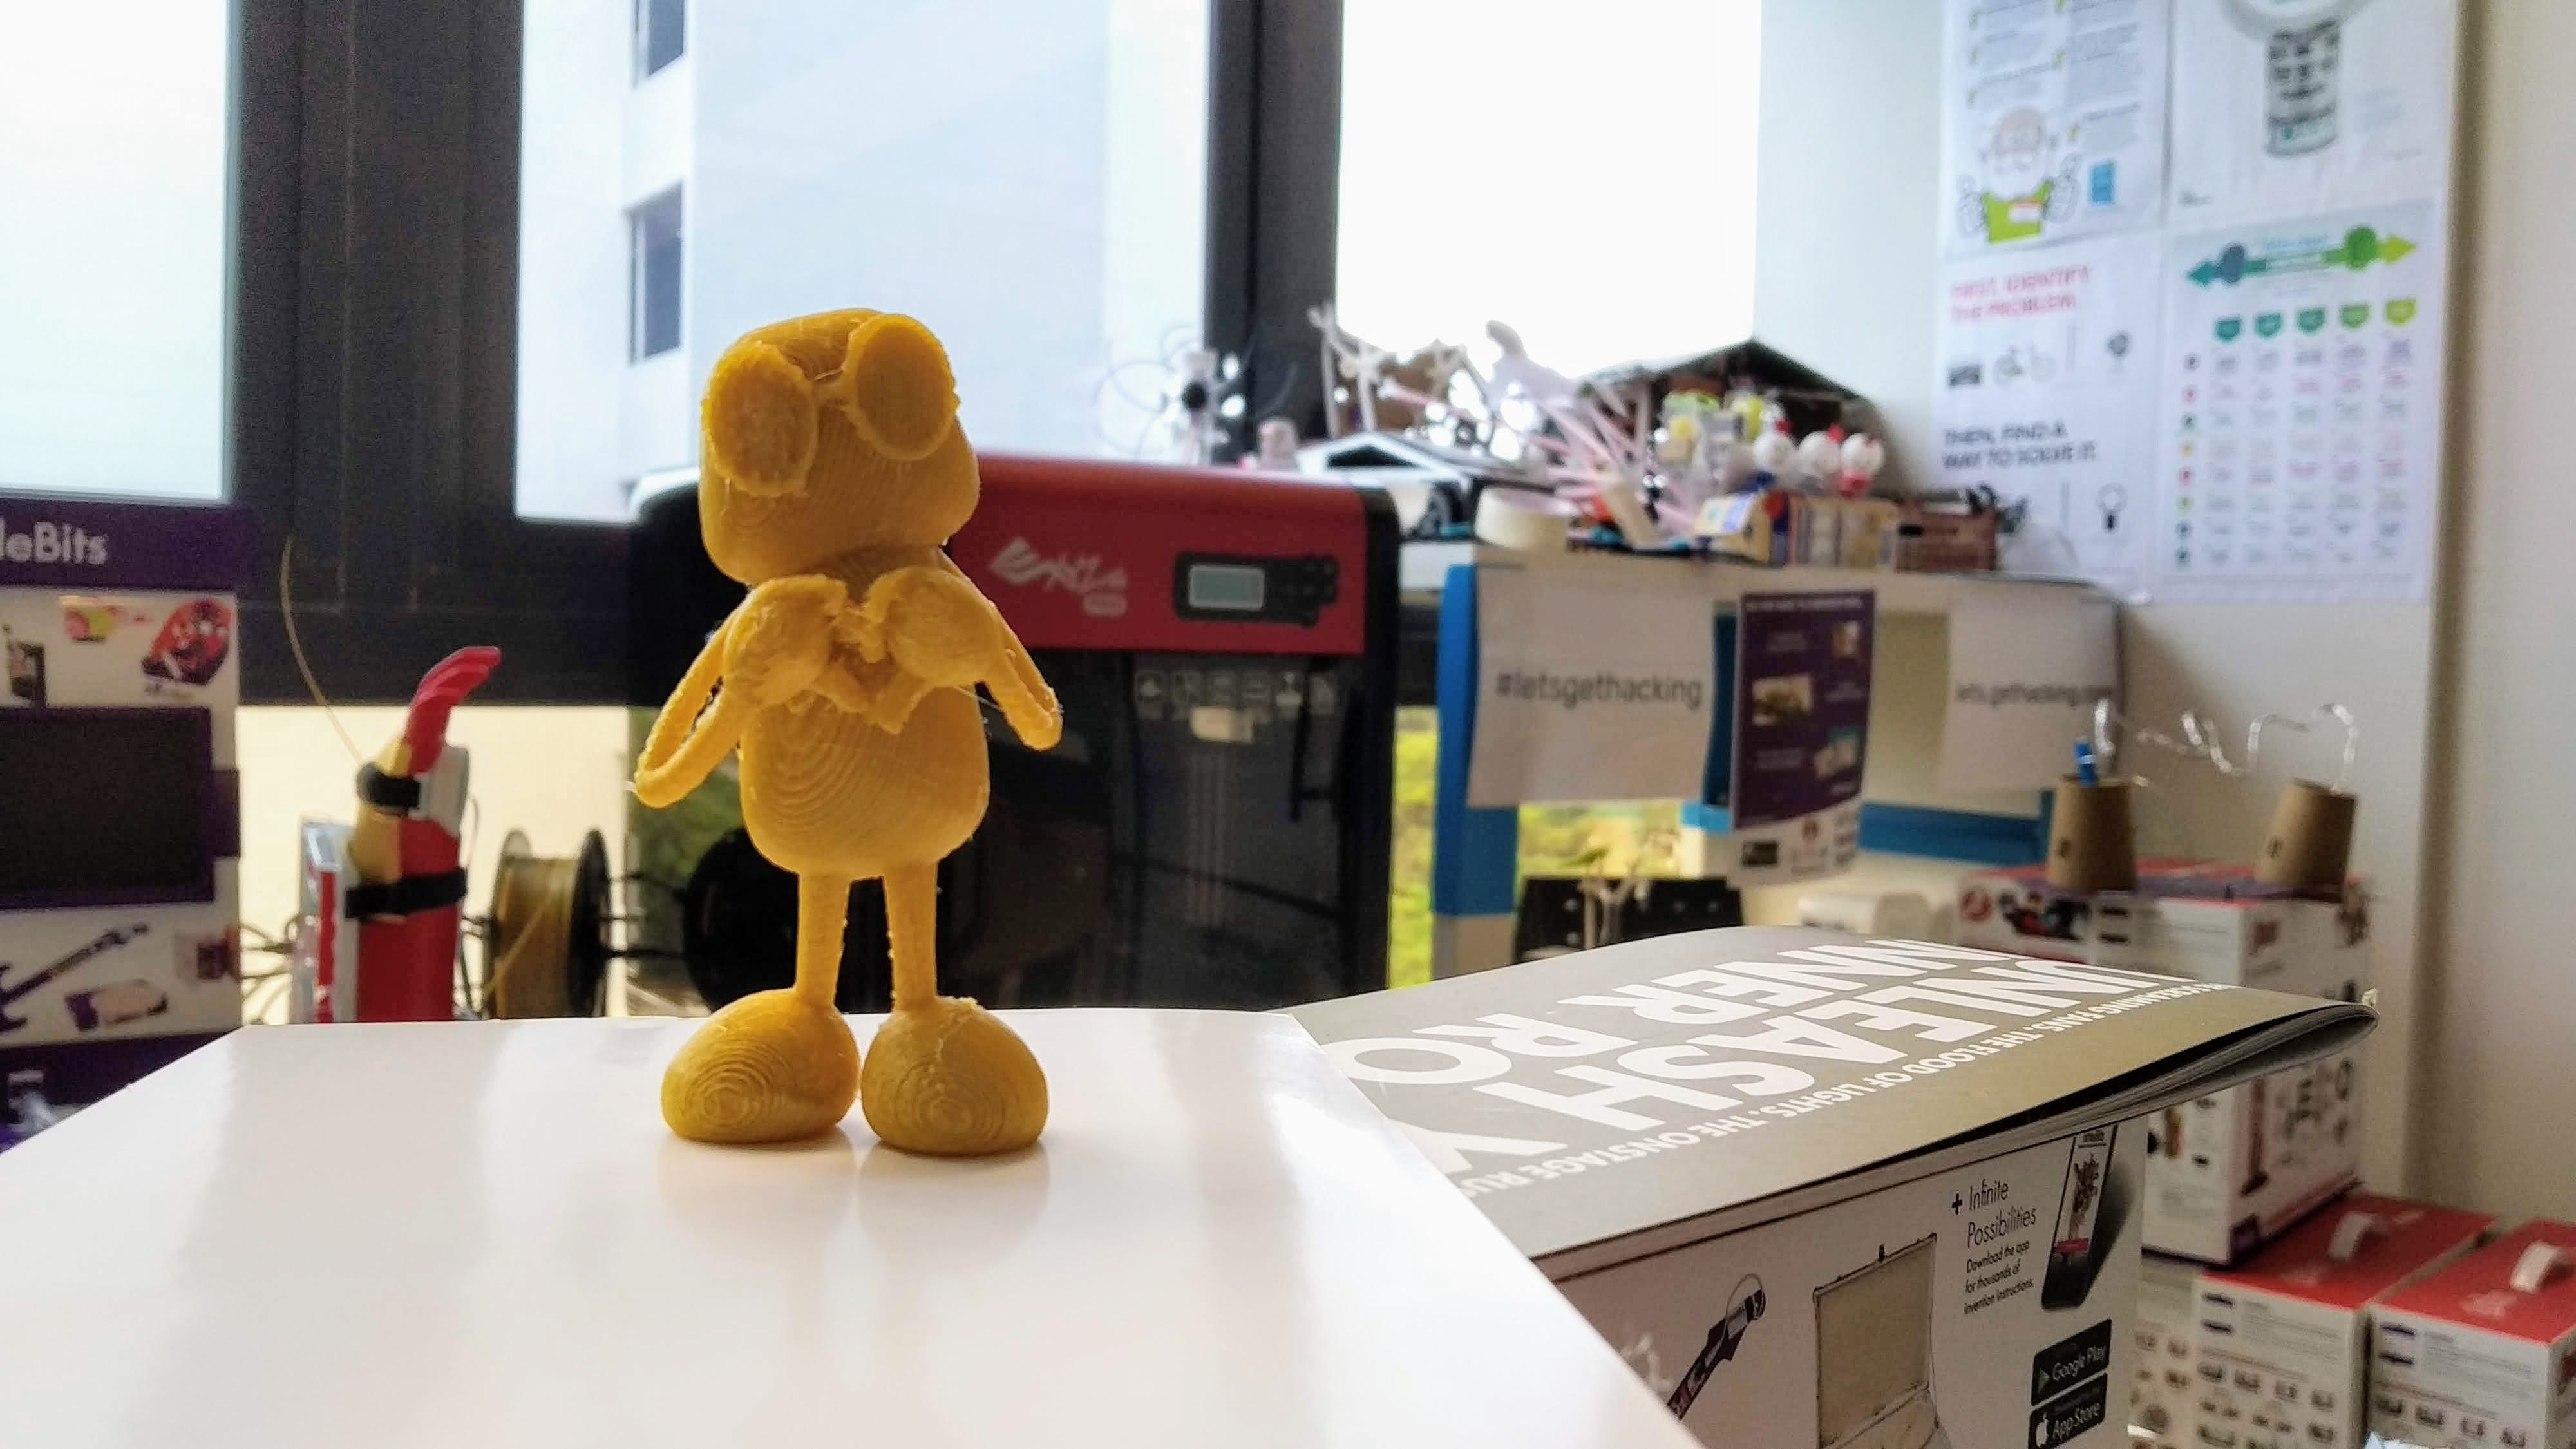
TKRobot sends love ❤️️
The TKRobot came out great! Admittedly, the details could have come out better, though I would blame that on my 3D model. Perhaps in the future, I could make TKRobot’s limbs thicker so that they would be less fragile, and I could reconsider the orientation of the print. If necessary, I could also try tweaking with the print settings to that there are more supports and the print quality is better. However, for now, I am happy with how it turned out!
What Next?
After the two prints, I went on to write a 3D printing guide for the company as well as finish setting up the Wireless Printing, passing on my knowledge of using the da Vinci 1.0 Pro (but hopefully not the hours spent troubleshooting and repairing it) right as my internship ended.
Given more time, I can see myself having fun working on a project that combines fabrication using the 3D printer with electronics such as the micro:bit. Maybe some day, I will return to the office and do just that. Until then, it brings me joy just knowing that the two precious prints are on the company KALLAX shelves on display, and that the 3D printer is ready for anyone to use for their tinkering endeavours.