Plant Monitoring
Step 0 – Pre-build Overview
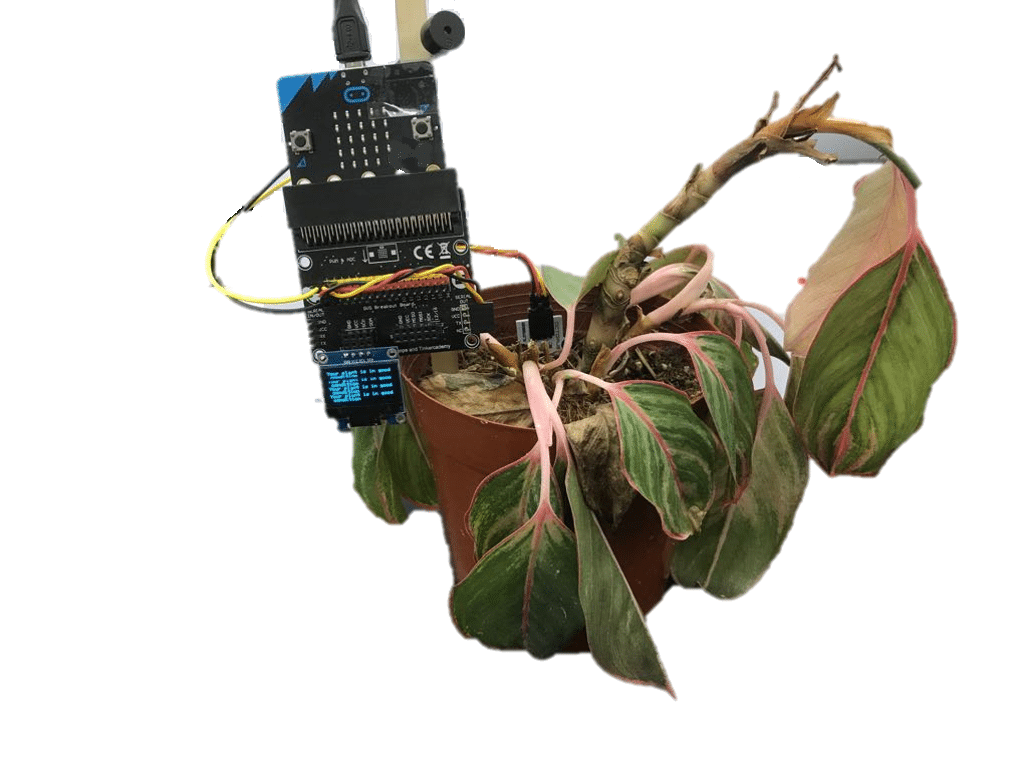
In this project, we are going to create a plant monitoring which the buzzer will sound when there is not enough water. The OLED will continuously display the current moisture level of the soil.
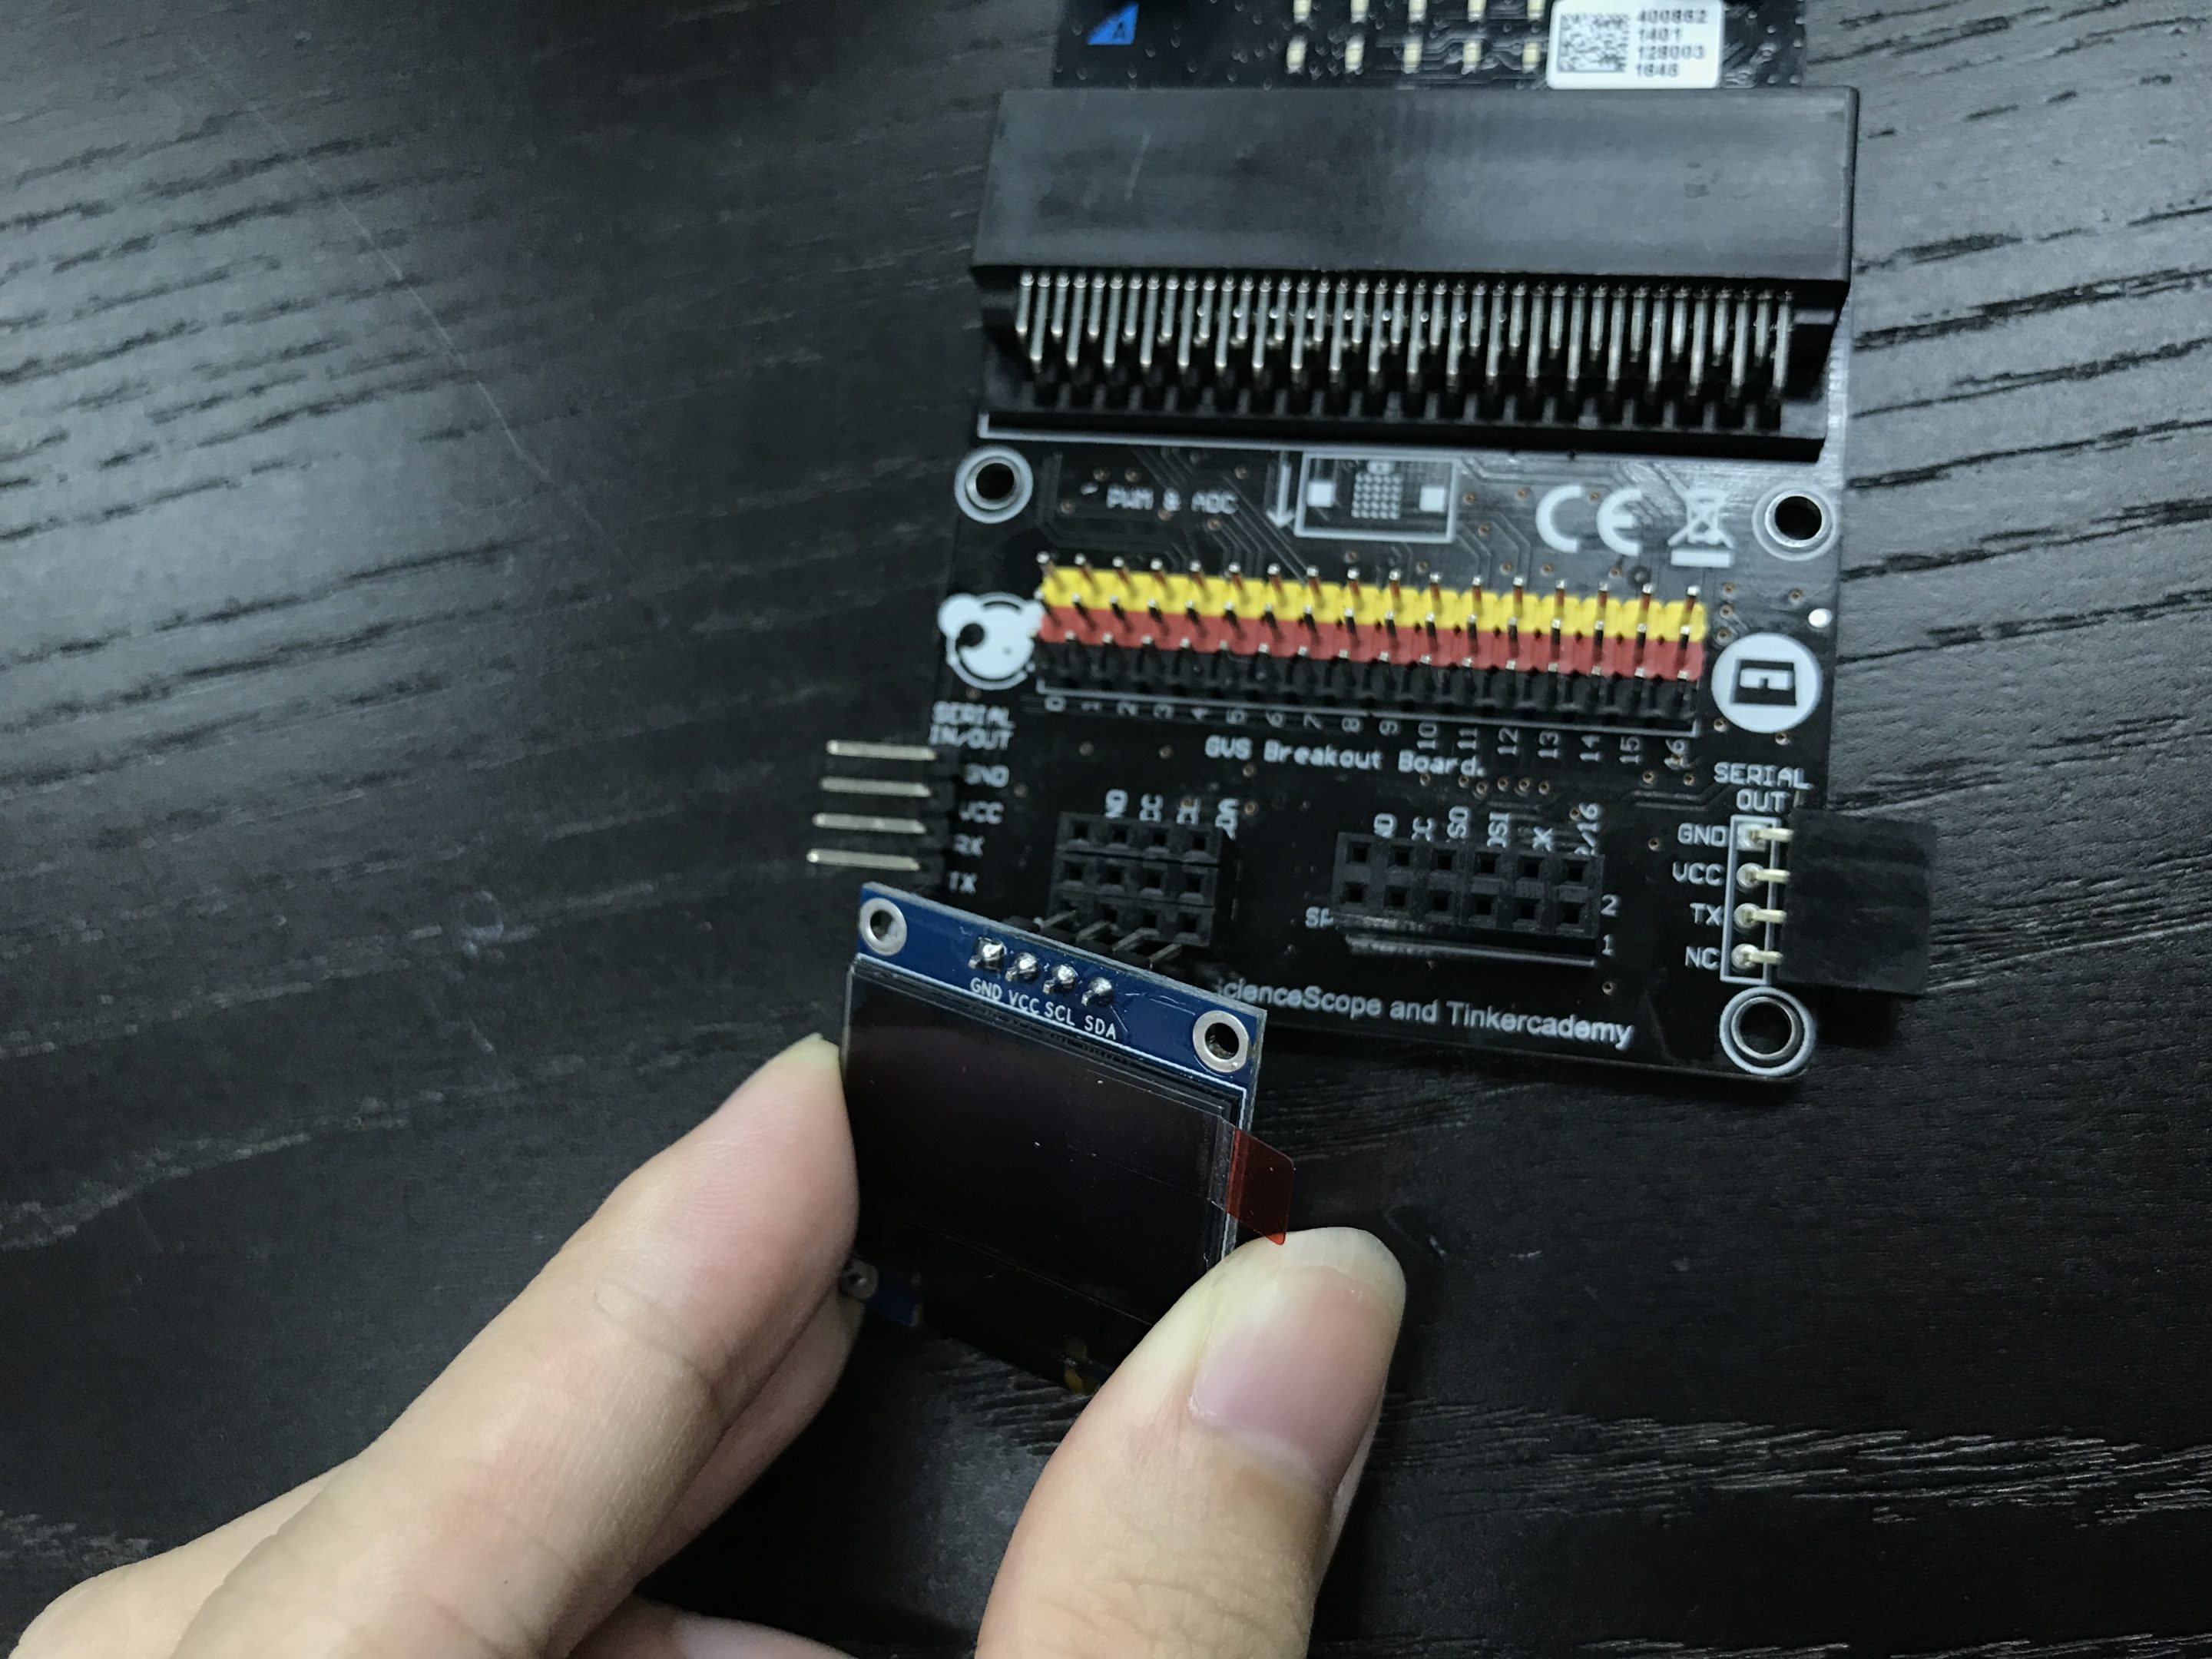
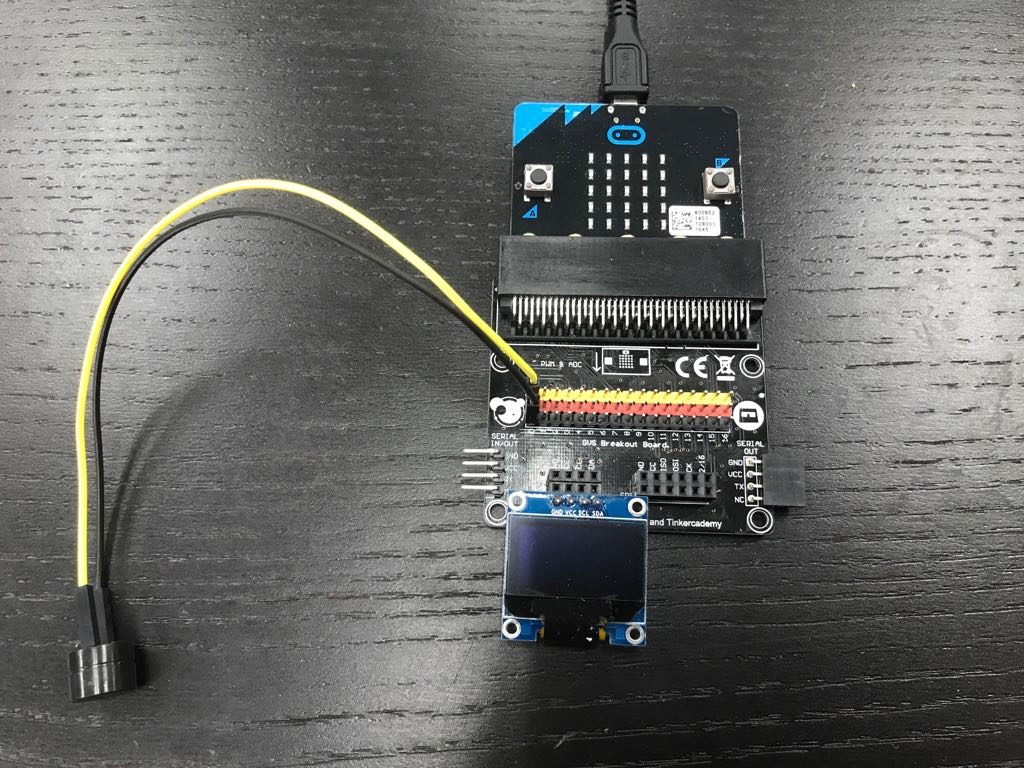
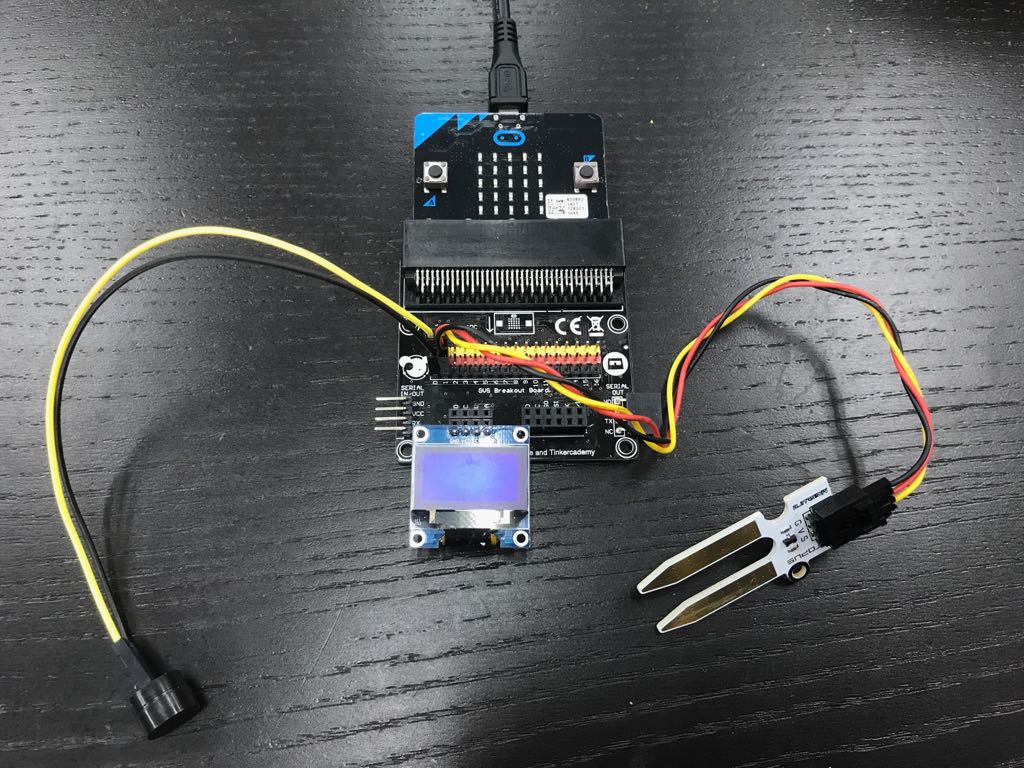
MATERIALS: 1 x BBC micro:bit, 1 x Micro USB cable,
1 x Breakout board, 1 x Mini buzzer, 1 x OLED,
1 x Moisture sensor, 2 x Female-Female wires
Do note that although the physical manual from any Tinker Kits sold in 2019 and earlier includes a servo in this project’s instructions, this project does not require one. We apologise for any confusion caused by our error.
As an aside, take up the challenge to create a cooler project that uses the servo to water your plant when it is thirsty!
Goals
- Get to know the buzzer, OLED and moisture sensor
- Make something with a moisture sensor
Step 1 – Components
Step 2 - Pre-coding
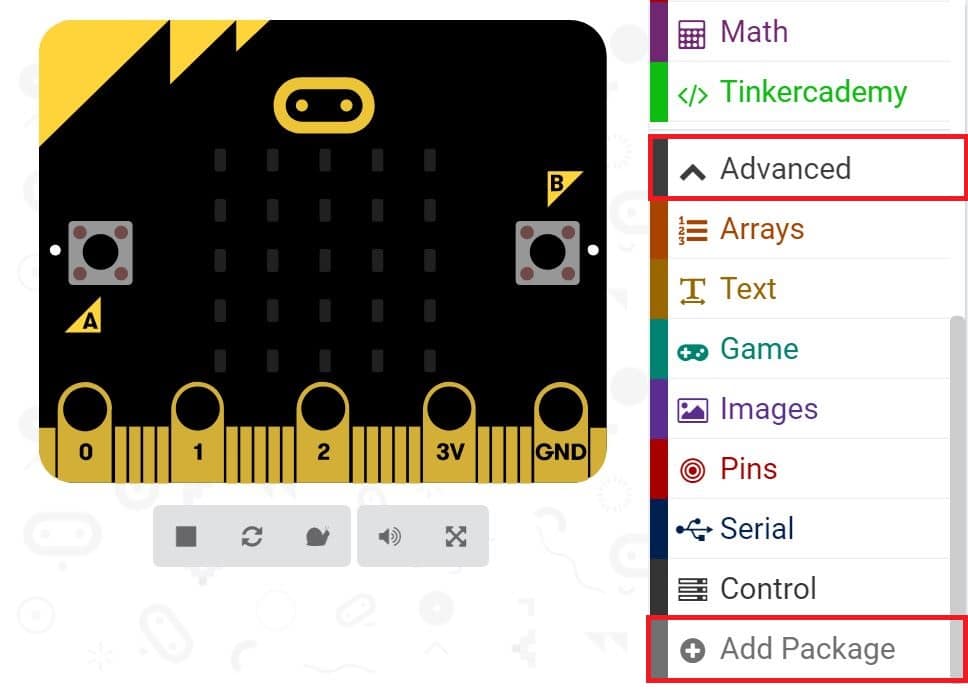
We'll need to add a package of code to be able to use our kit components. Click on Advanced in the Code drawer to see more code sections and look at the bottom of the Code Drawer for Add Package.
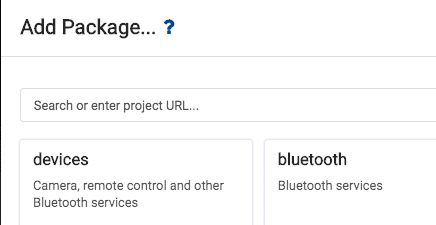
This will open up a dialog box. Do a search for tinkercademy or just tinker. Click on the search icon ![]() or press enter, then click on tinkercademy-tinker-kit.
or press enter, then click on tinkercademy-tinker-kit.
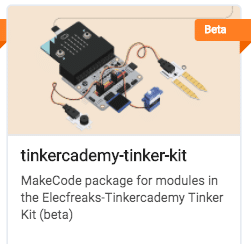
Note: If you get a warning telling you some packages will be removed because of incompatibility issues, either follow the prompts or create a new project in the Projects file menu.
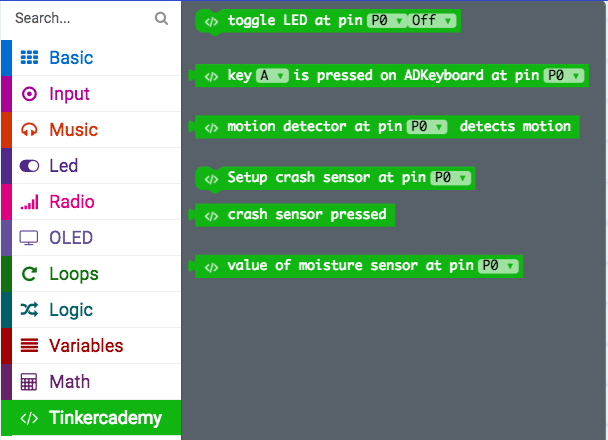
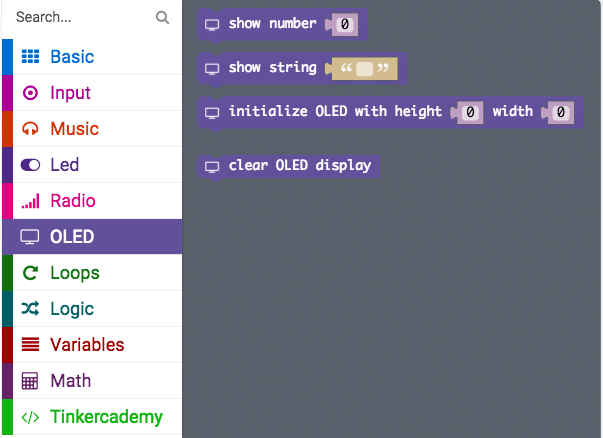
Click on Tinkercademy or OLED inside the Code Drawer to find our custom blocks for the various components in your kit
Step 3 – Coding
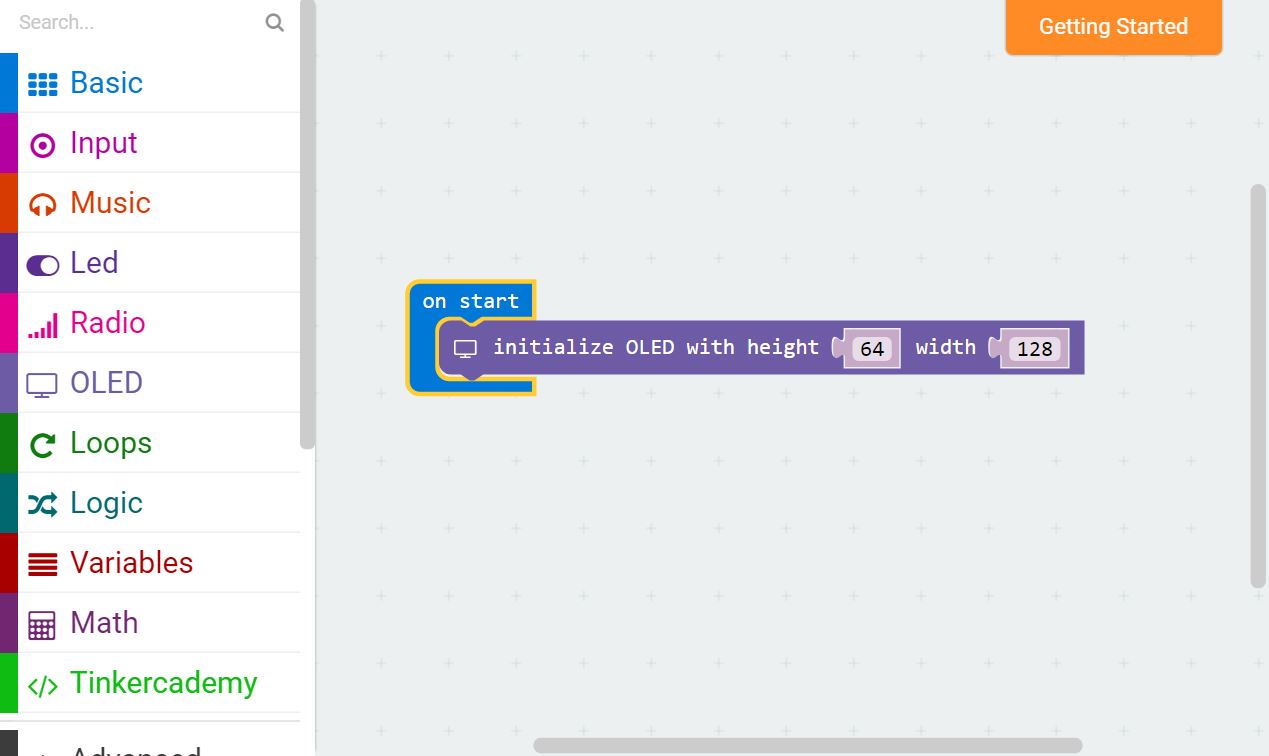
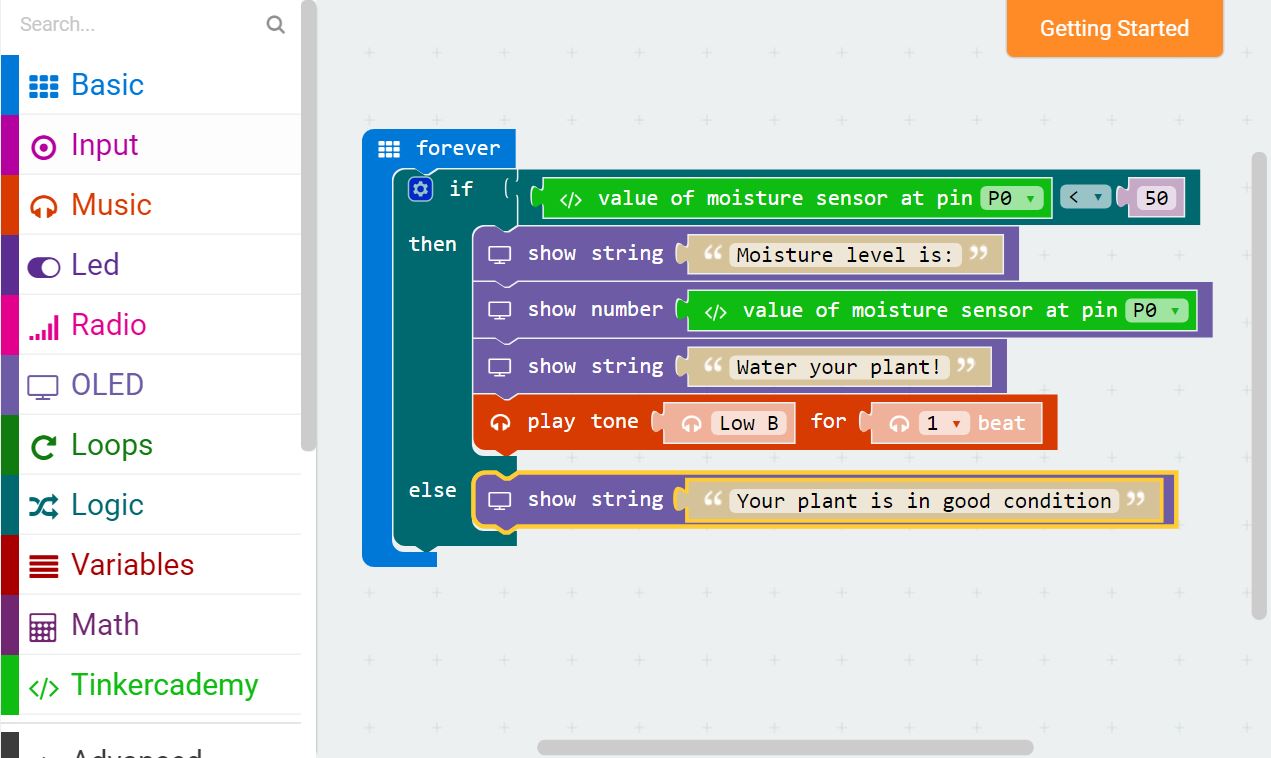
When the moisture sensor value is less than 50, this indicates that there is not enough water in the pot. As a result, the buzzer will sound and the OLED will display the message “Water your plant!”. Or else, if the moisture sensor value is larger than 50, the buzzer will not sound and the OLED will display the message “Your plant is in good condition”.
