Make a Music Machine
Use the 5-button ADKeyboard to make some sweet, sweet… 5-note music. On a buzzer.
Goals
- Get to know the ADKeyboard
- Make something with ADKeyboard
- Make something with Mini Buzzer
Materials
1 x BBC micro:bit
1 x Micro USB cable
1 x Breakout board
1 x Mini buzzer
1 x ADKeyboard
2 x Female-Female jumper wires
Step 1
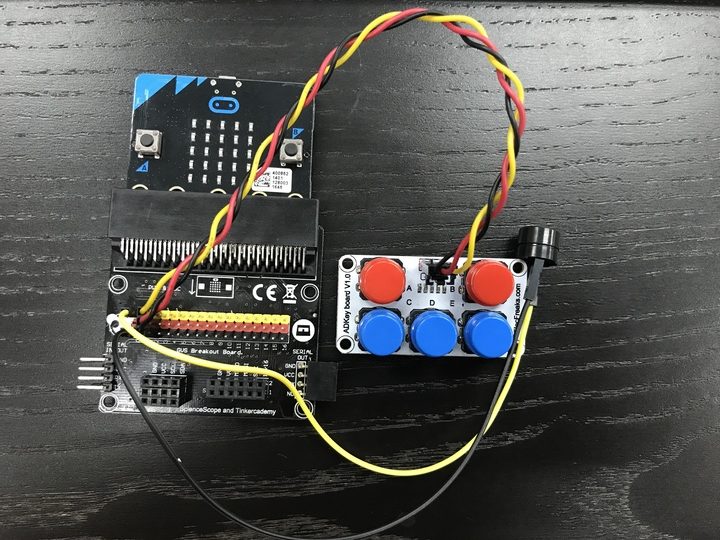
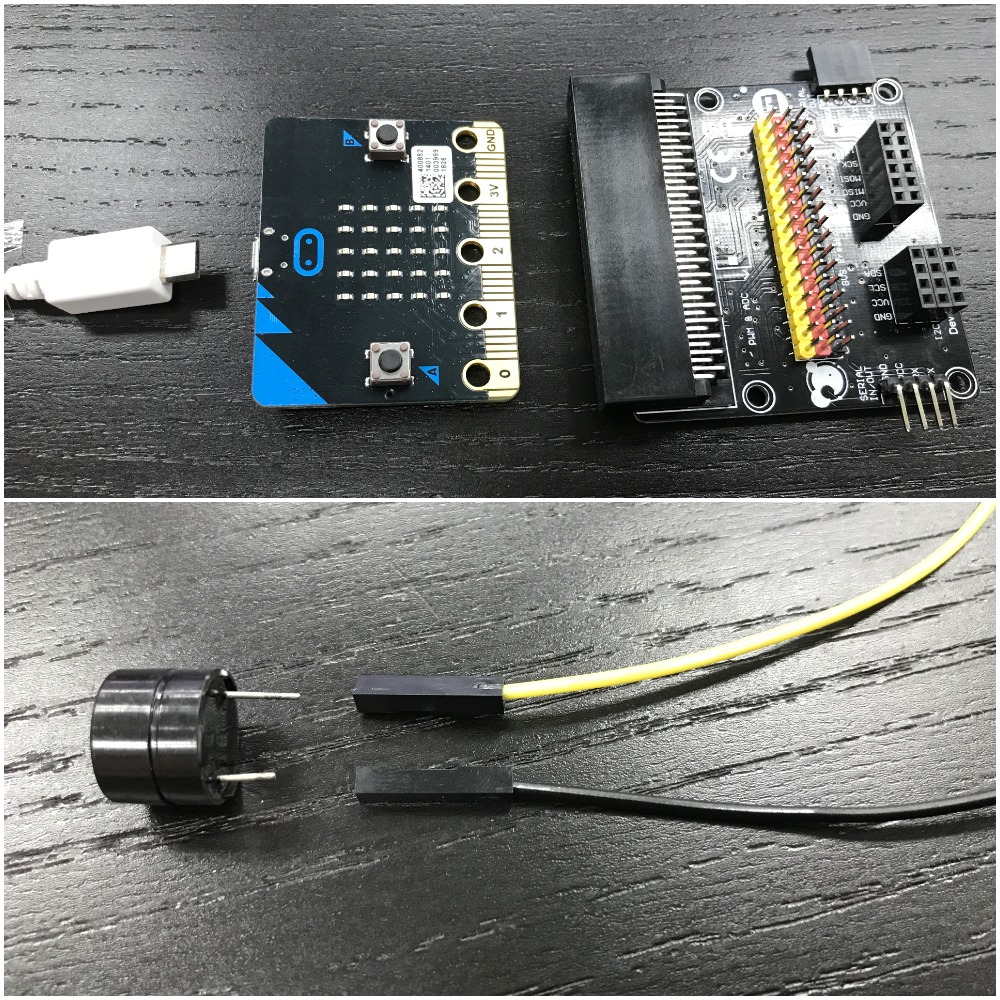
- After connecting one end of the USB cable to your computer, connect the other end to the micro:bit as shown in the picture
- Connect the side of the micro:bit where the pins are located to the breakout board
- Connect 2 wires to the buzzer
- The pin under the ‘+‘ sign on the buzzer (usually the longer one) will connect to the yellow pin on the break out board, while the other pin (usually the shorter one) connects to the black.
Step 2
- Plug in the buzzer to Pin 0 (the pins beside the number ‘0’ on the breakout board)
- Plug in the ADKeyboard to Pin 2
- Make sure the colour of the wire of the buzzer and the ADKeyboard follows the colour of the pins on the breakout board

Step 3 – Pre-coding
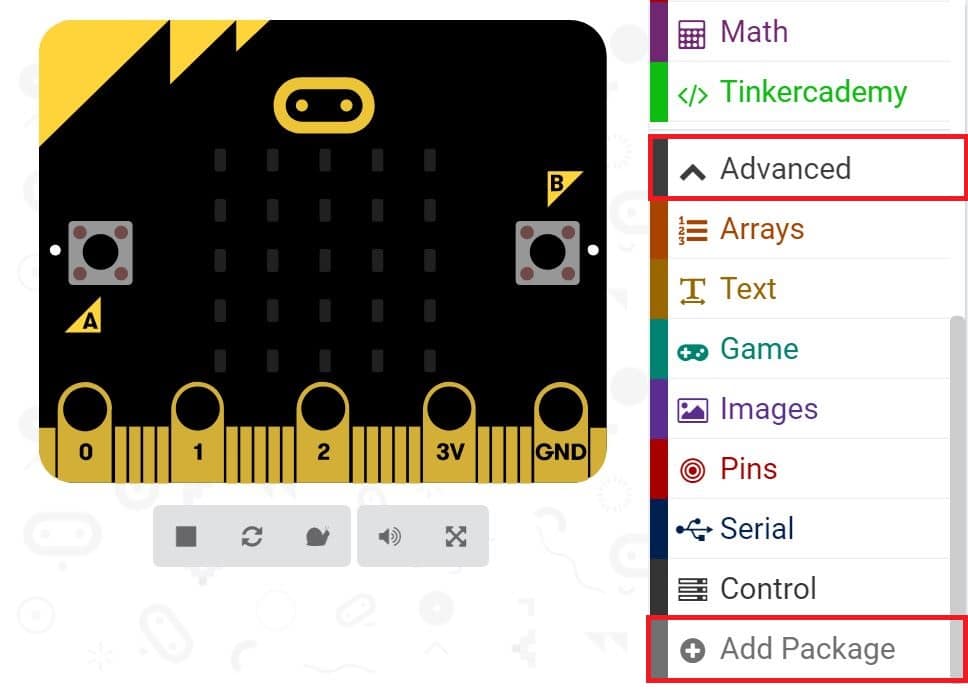
We’ll need to add a package of code to be able to use our kit components. Click on Advanced in the Code drawer to see more code sections and look at the bottom of the Code Drawer for Add Package.
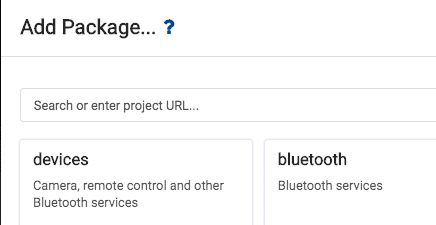
This will open up a dialog box. Do a search for tinkercademy or just tinker. Click on the search icon  or press enter, then click on tinkercademy-tinker-kit.
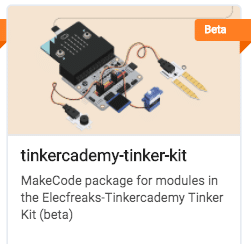
Note: If you get a warning telling you some packages will be removed because of incompatibility issues, either follow the prompts or create a new project in the Projects file menu.
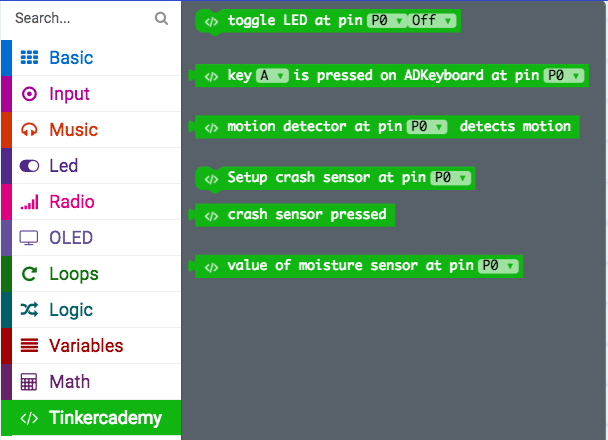
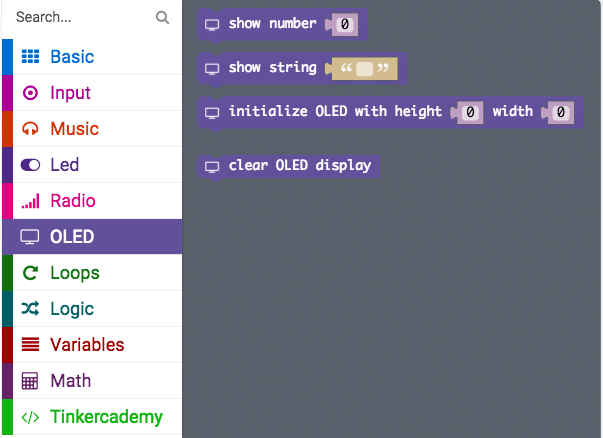
Click on Tinkercademy or OLED inside the Code Drawer to find our custom blocks for the various components in your kit
Step 4
- Next, let’s create an conditional statement as shown in the picture (This ‘if-then’ block of code is under the code section Logic of the code drawer)
- The code shown below means that when button A is pressed on the ADKeyboard while the ADKeyboard is plugged in at pin P2 of the breakout board, the buzzer will play a sound of 175 Hertz

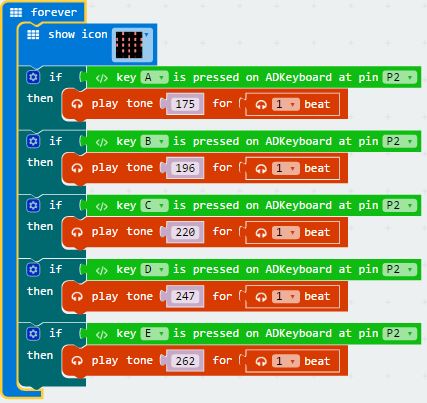
- Since there are 5 buttons, we need to code 5 similar conditional statements
- Each button ‘controls’ a sound of a particular pitch and so pressing each buttion produces sounds of different pitches
Success! You now have your very own Micro:bit Music Machine 🙂
