

I have always been fascinated with the idea of Automata. A quick Pinterest search will yield you countless amazing examples of these, made out of wood, paper, metal and more…
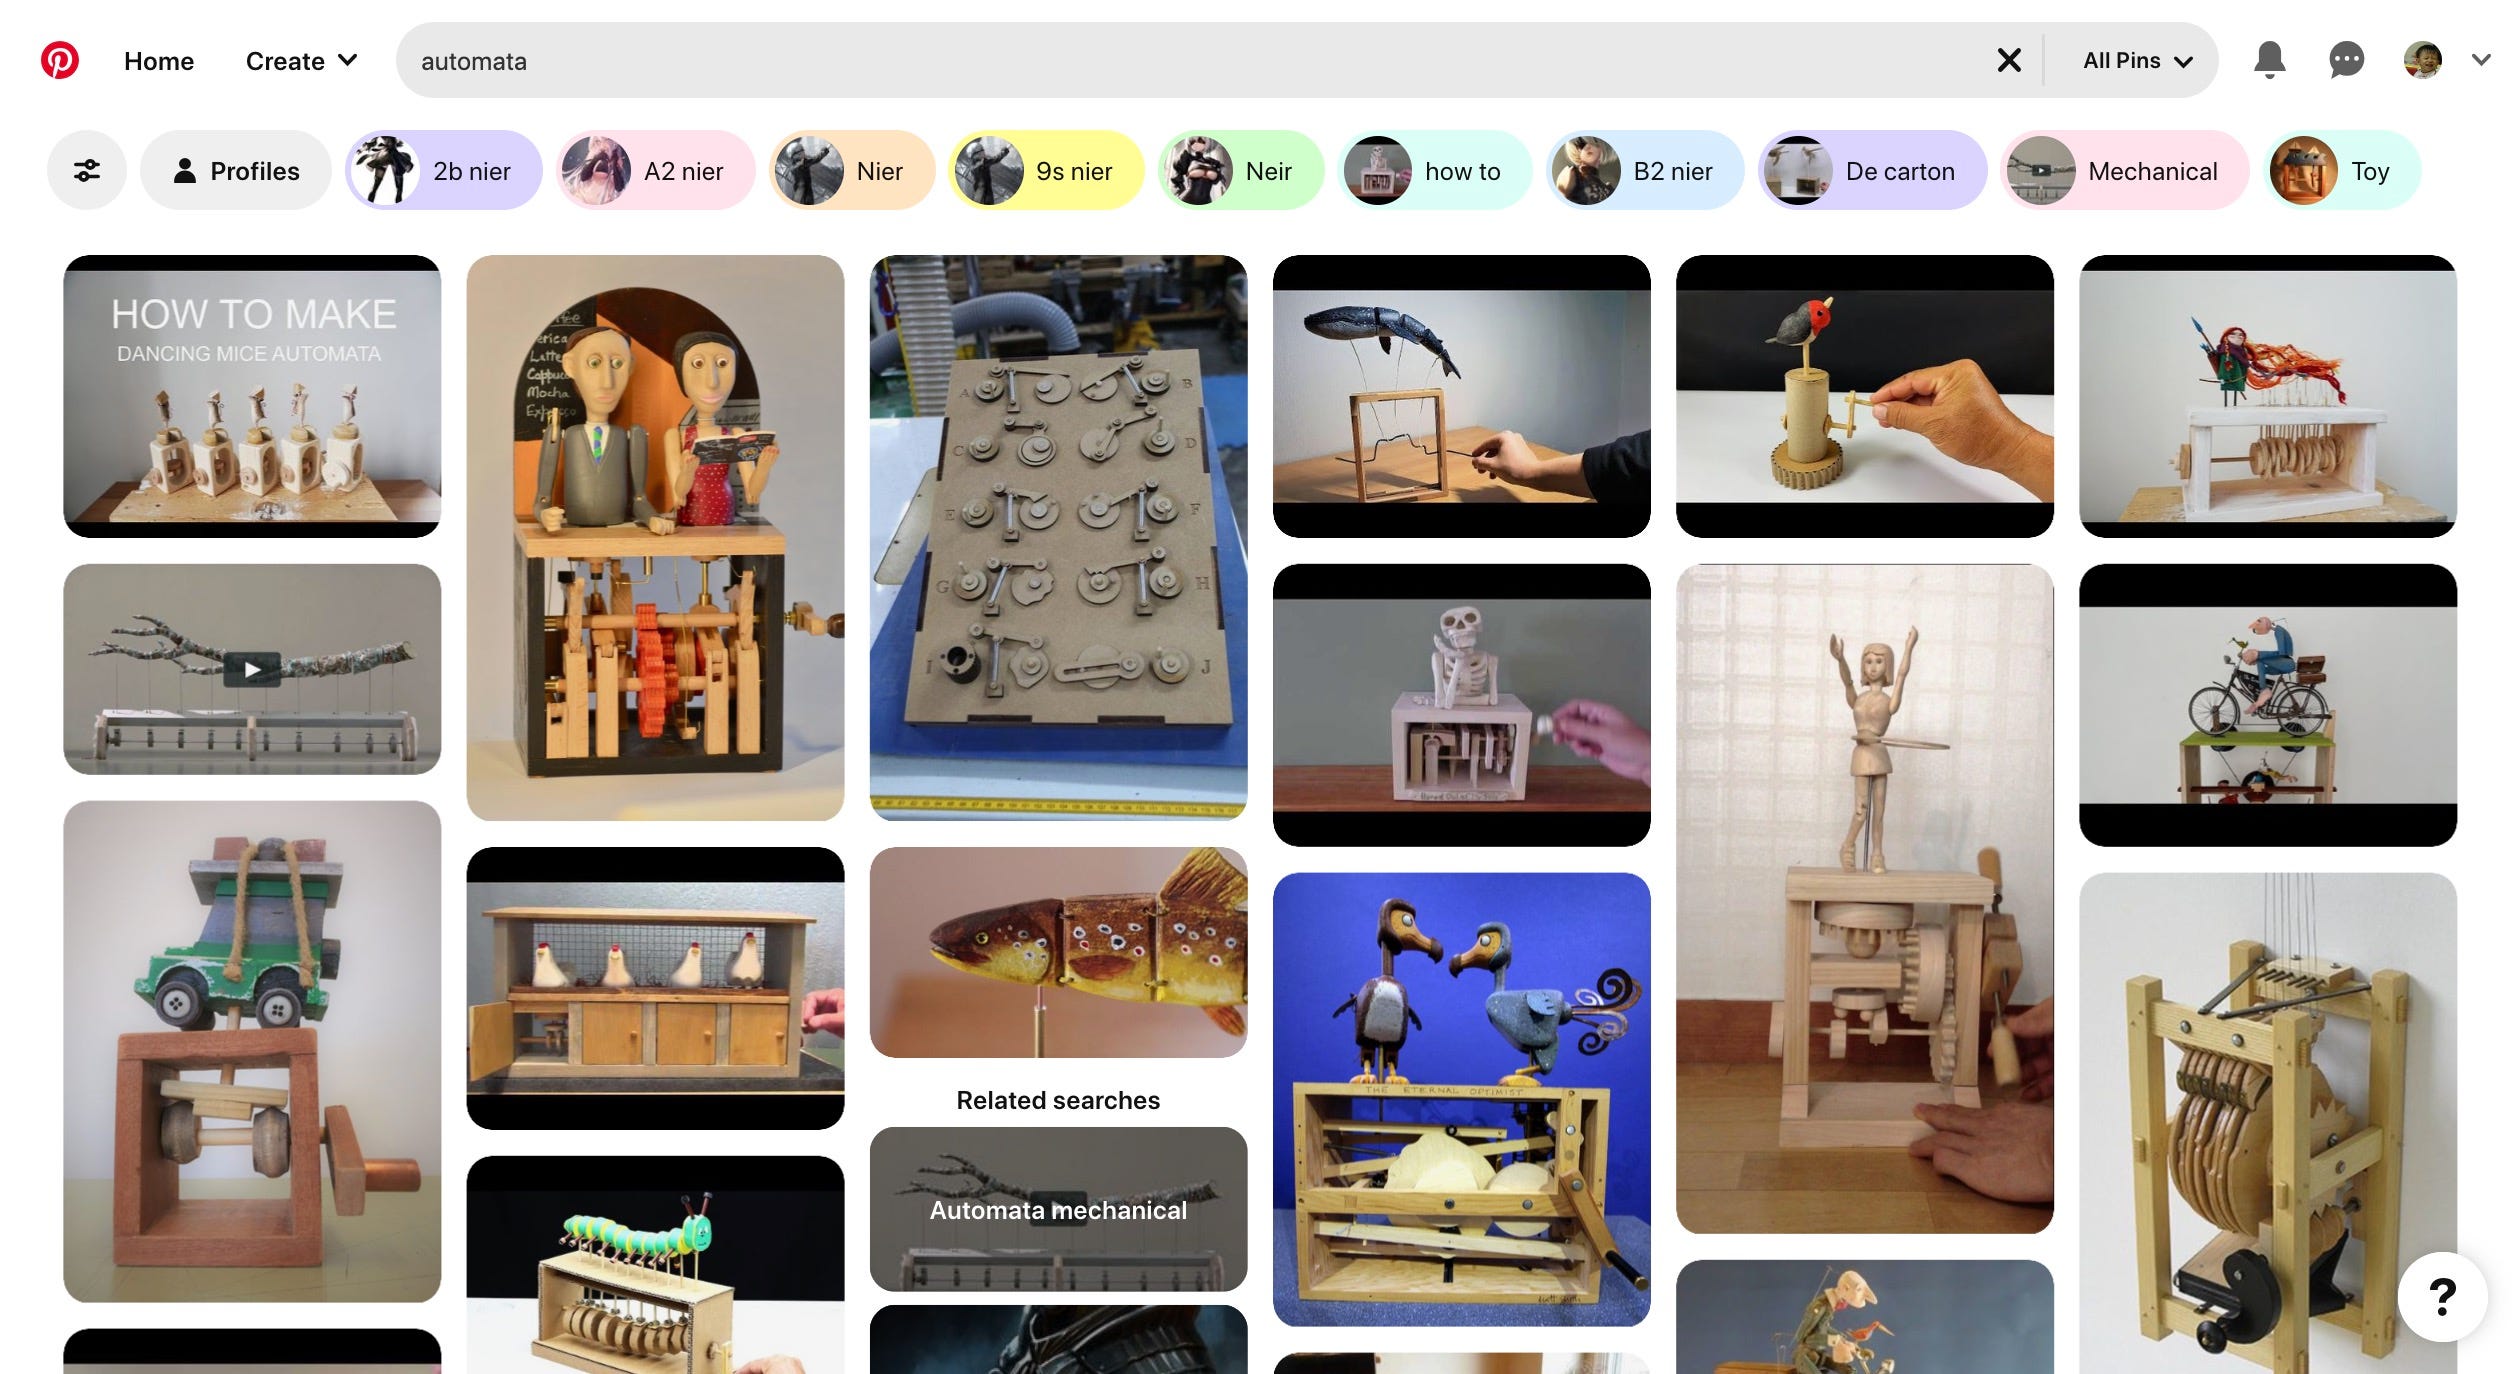
Lots of fabulous examples on Pinterest !
Automaton (singular form of Automata), is defined as:
a machine which performs a range of functions according to a predetermined set of coded instructions
Once upon a time, I came across Keisuke San’s fabulous book: Karakuri: How to make mechanical paper models that move, and was instantly inspired to create some for myself!
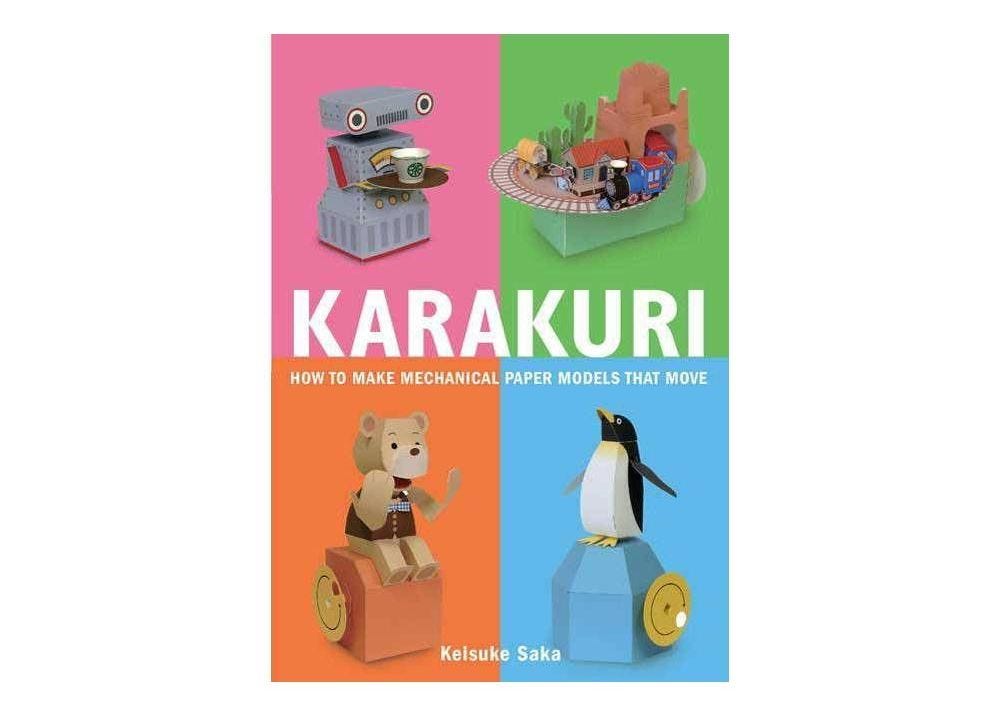
Grab a copy if you can, you won’t regret it!
The book goes through the fundamentals of different kinds of mechanisms, like cams or cranks, and how to utilise them to create motion. Then the book progresses on to combine these with animal models to create living, breathing automata!
Armed with my newfound knowledge, I recreated these mechanisms in my favourite vector package, Illustrator. My Cricut machine helped me ‘cut’ out these shapes perfectly without breaking a sweat (and blood)!
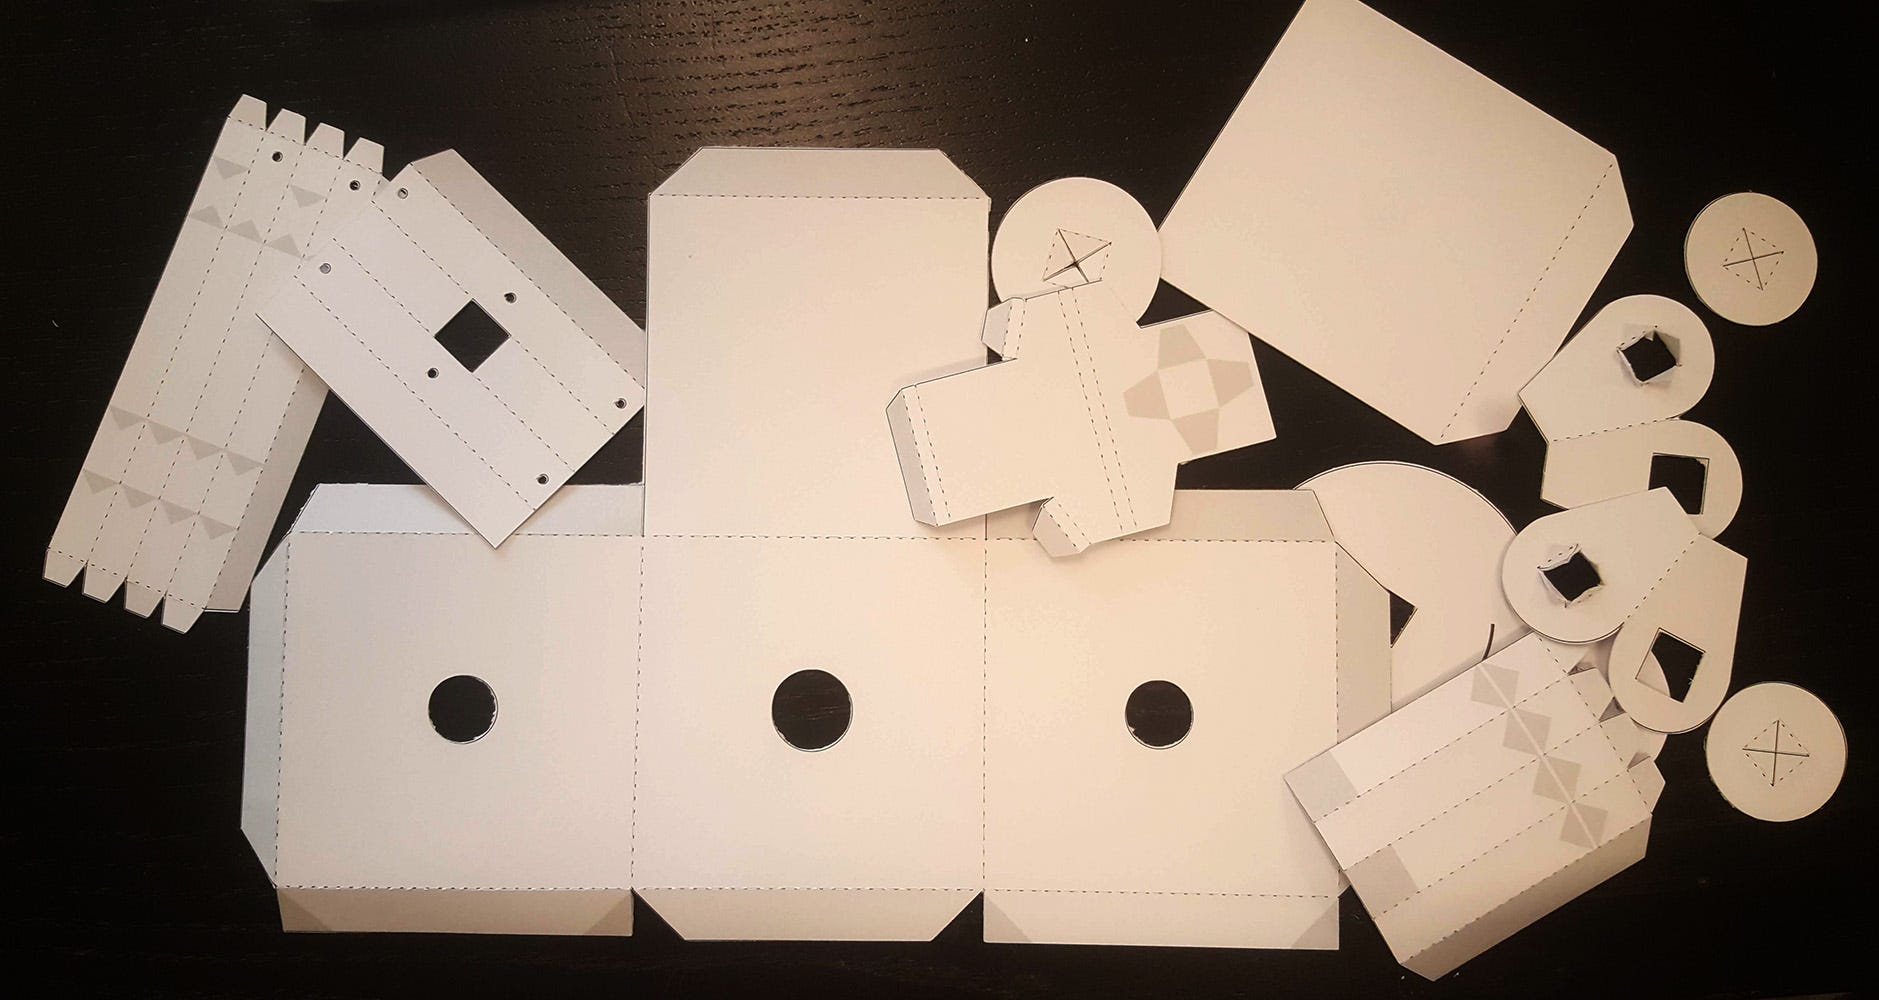
All cut out and ready to go!
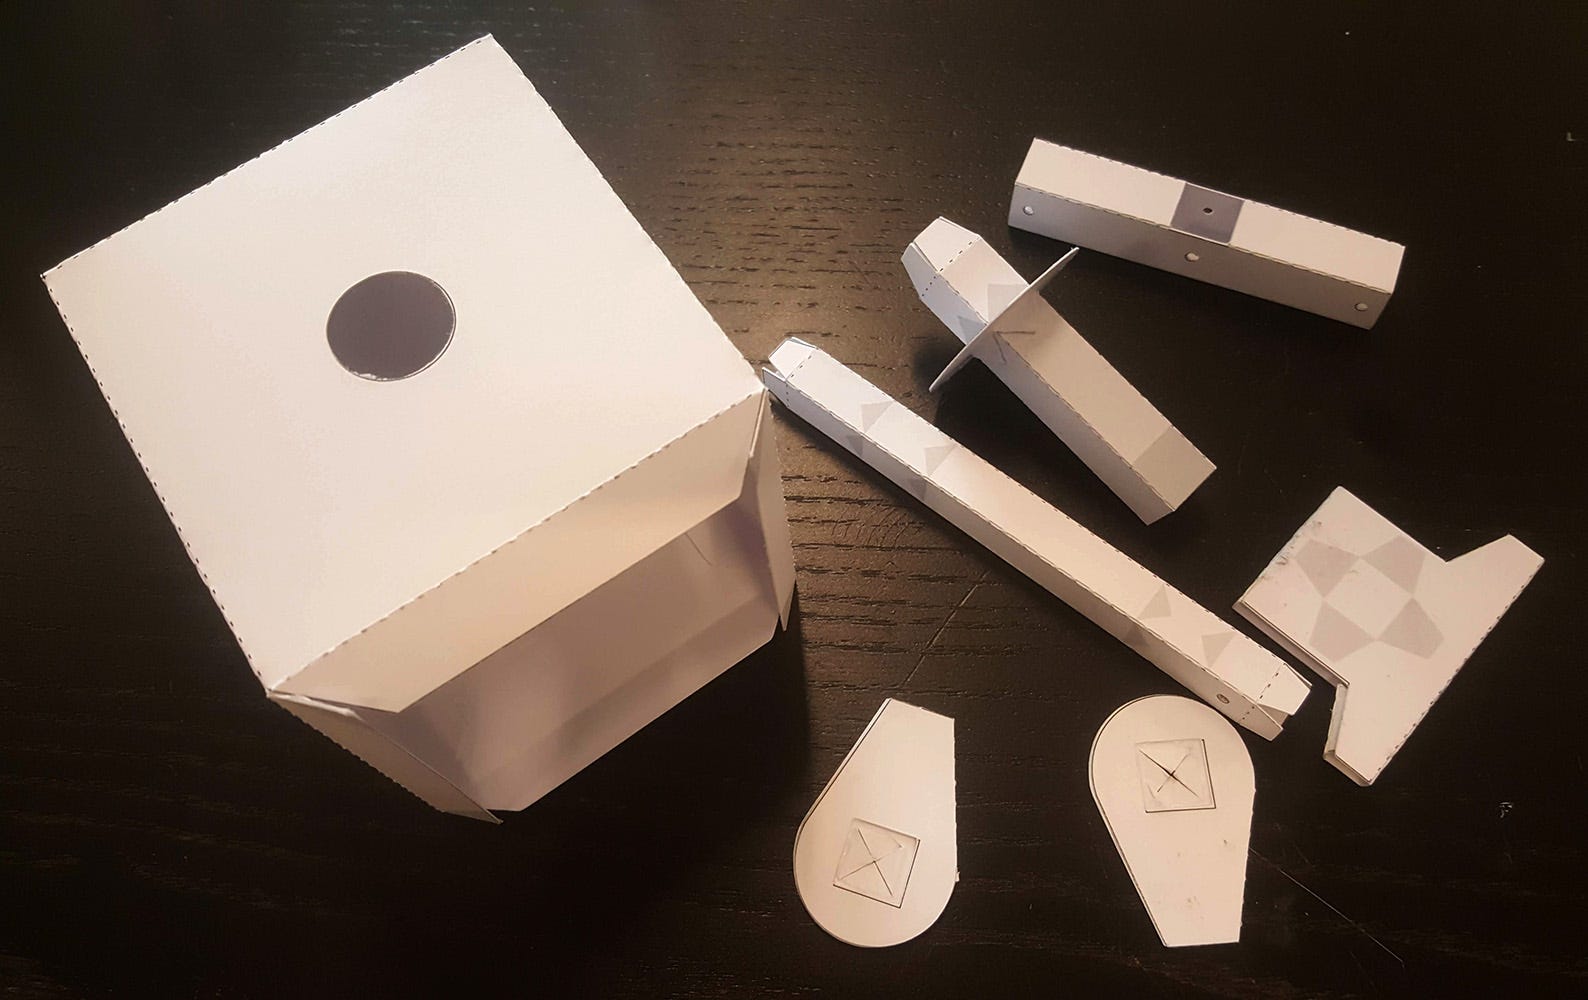
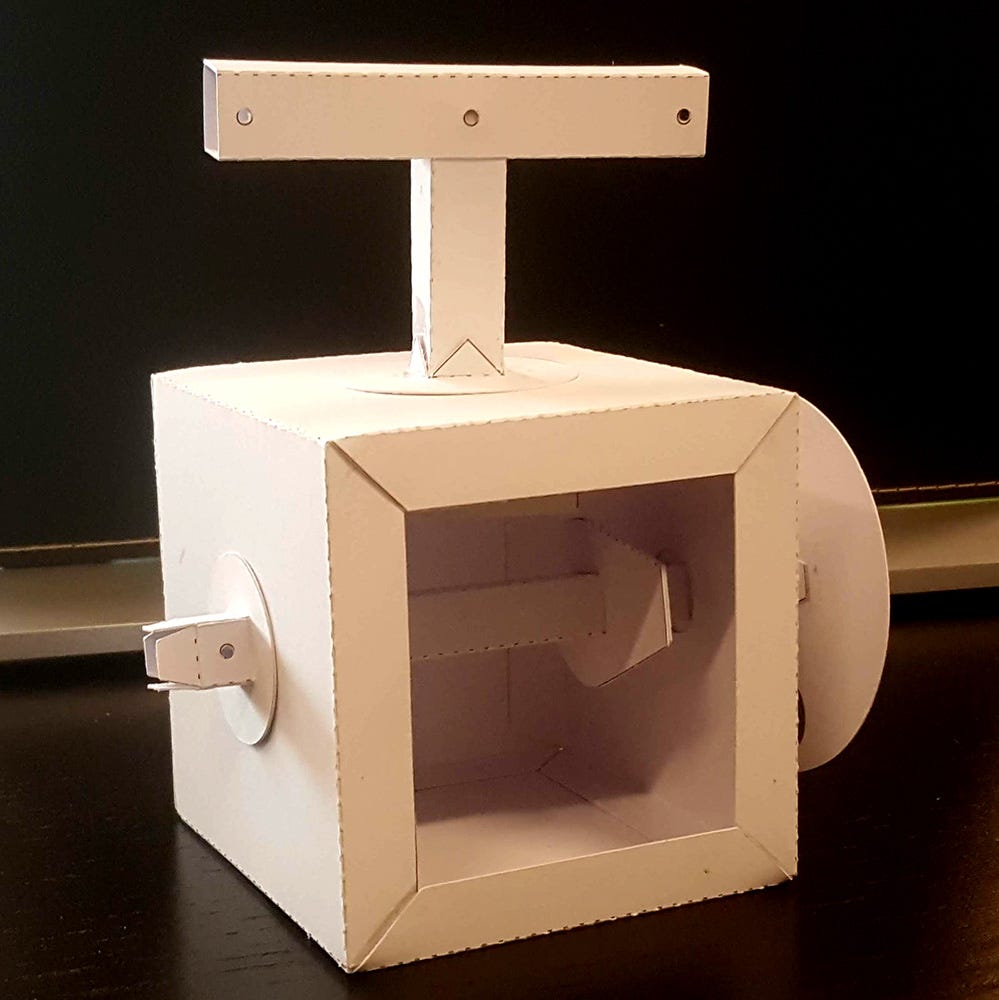
Gluing up the individual components, then assembly!
The gluing up was straightforward; just use regular crafting glue and then allow some time for the glue to dry… The sequence of assembly is also important to make sure that parts can be put together. Don’t ask me how I know :)
Blessed with a laser cutter in the office, I designed and made myself a mount to attach a motor, so that we can use it to ‘drive’ the automata. You’ll see what I mean in a moment…
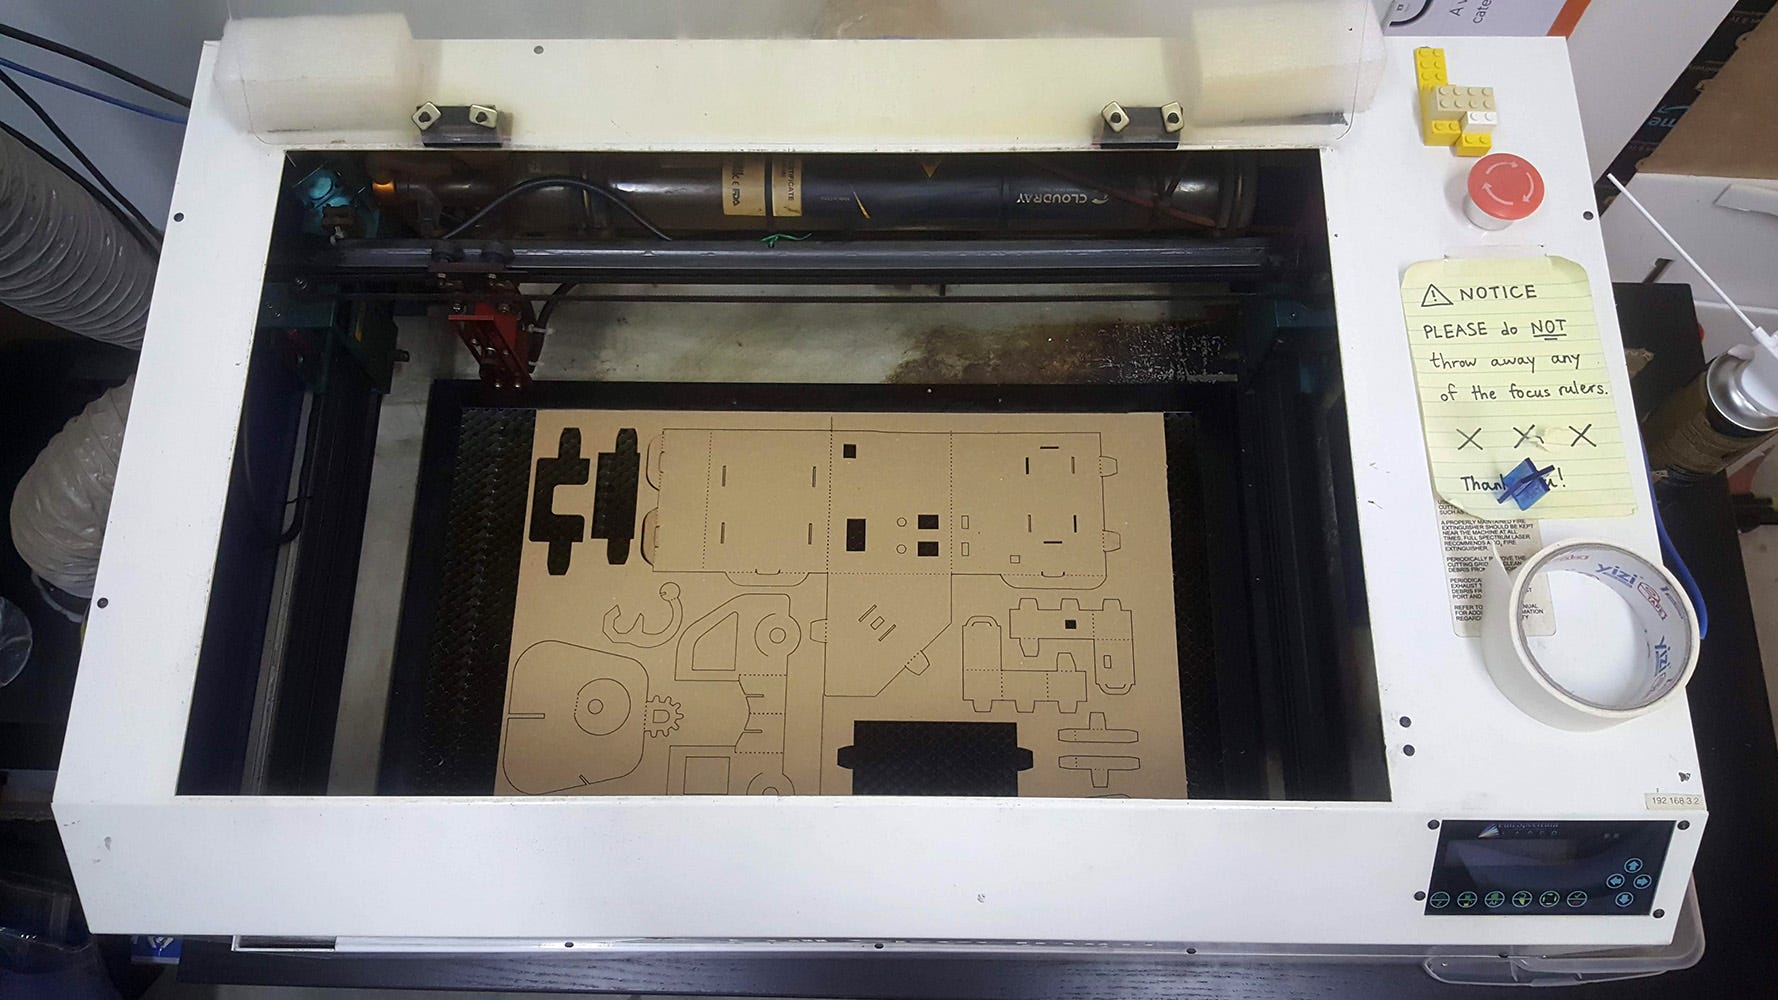
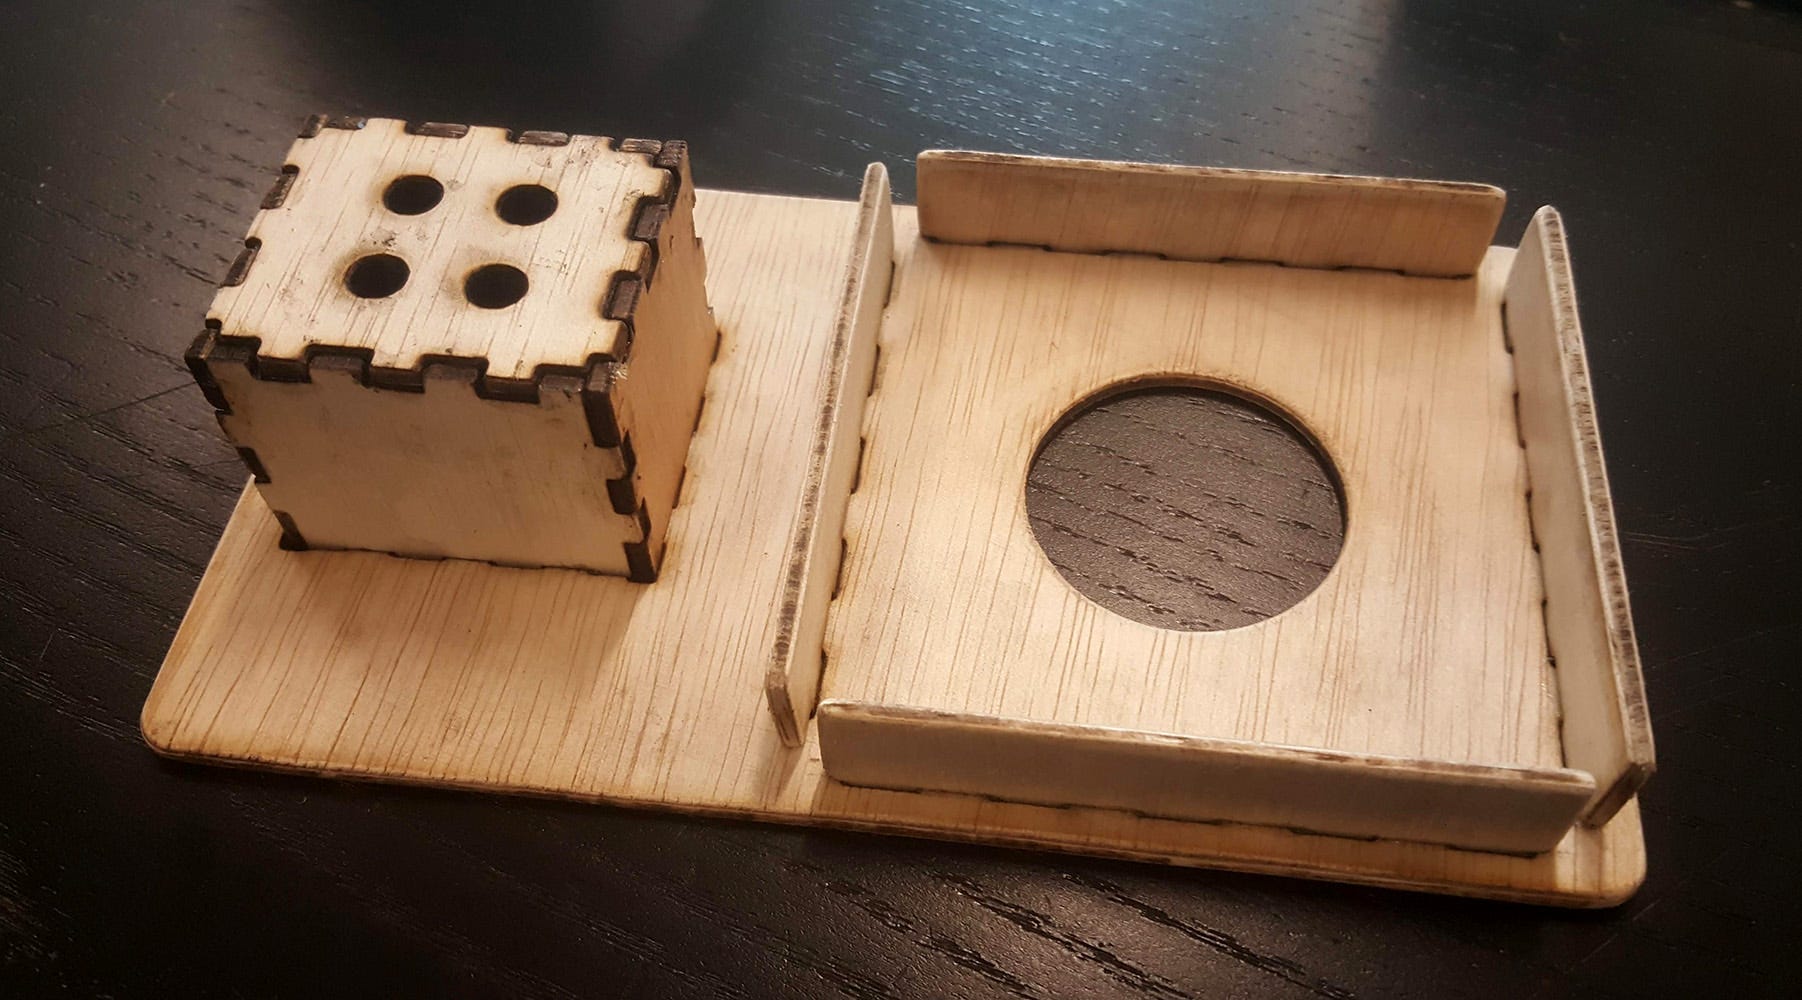
Cutting the parts to make a motor mount!
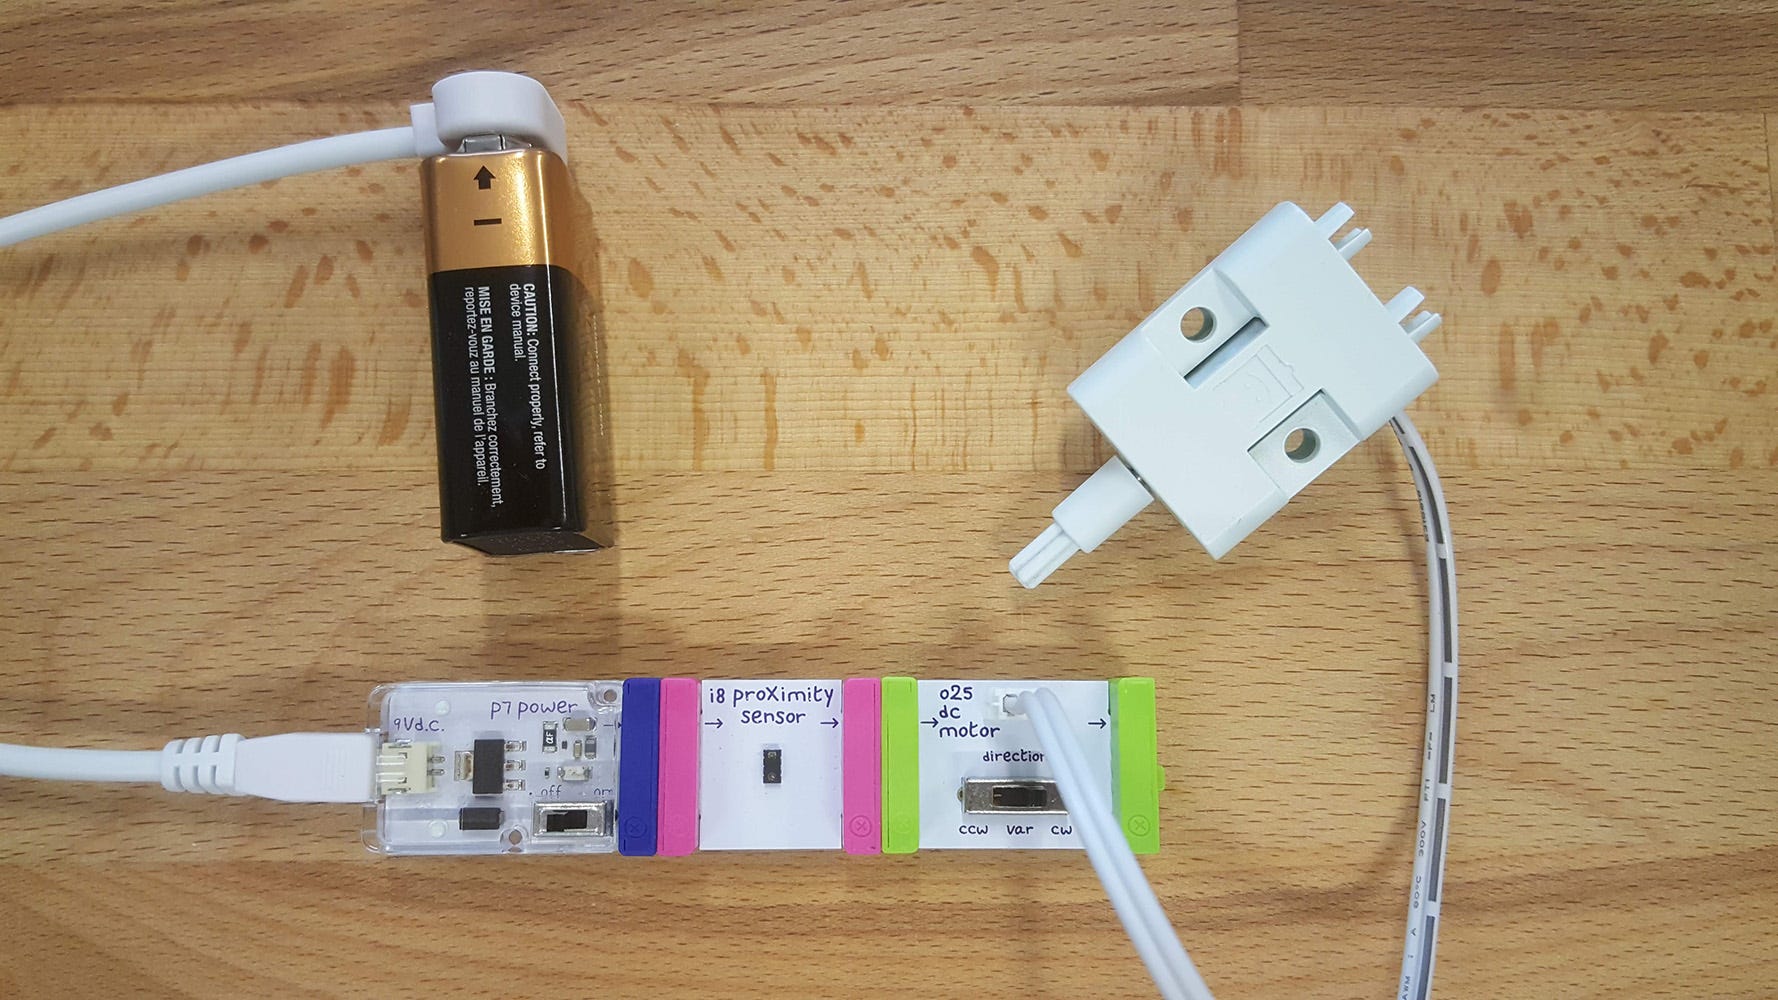
To make my automata move on its own, I decided to make use of the plethora of LittleBits that we had in our shop. They were dead simple to setup, and simply works without fuss! The proximity sensor was thrown in to allow me(or anyone else), to activate the automata on demand.
In the book, many different mechanisms were introduced, so I tried my hand at replicating a few of them as well. Below are some of the fruits of my labor:
With the mechanisms and LittleBits set up and ready to go, it was time to get creative! I won’t bore you with the details of how I do arts and crafts, but here are some of my beloved creations:
Of course, you’re not limited to just LittleBits. For the automaton below, I tinkered a bit, and combined Micro:bit with LittleBits to incorporate some simple coding to my automata; it only moves when it senses a presence, and stops after some time.
Now that you have seen what’s possible, it’s your turn to venture out and create your very own automata. Be sure to grab some of these LittleBits parts as well to make your creations come alive and respond to the world around them!
Have fun and stay creative!